L'Ouvrage de Froideterre


LOCATION:

   49°11'50.52"N -   5°24'11.85"E

FIND ME:

Click to view this location in Google Earth...

BUILT: 1887 - 1888.
MODIFIED: 1902 - 1905, 1908, 1914 and 1917.
ACCESS:

Prohibited - access was barred once upon a time by metal gates but the locals have "opened" them for our delight!

GARRISON:

125 men.

ARMAMENTS:

1 x twin 75mm turret, 2 x double machine gun turrets, 1 Bourge casemate with 2 x 75mm.

NOTES:

Practically the entire fort is accessible but one corridor down to a gun emplacement has suffered from a direct hit, which badly damaged the concrete overhead leaving it rather precarious. The crew platform on the artillery turret has almost rusted through in several places and there is no light in certain areas. ALWAYS EXERCISE EXTREME CAUTION.


In the interests of making the route into the city impregnable it was decided that the ring of free standing forts on the hills above Verdun should be further reinforced by the building of several smaller forts in the gaps between the major installations. Although these extra fortifications were to all intents and purposes fortresses in their own right they were referred to as ouvrages, which translates as "works", a rather uninspirational name for a fort, albeit one on a slightly smaller scale.

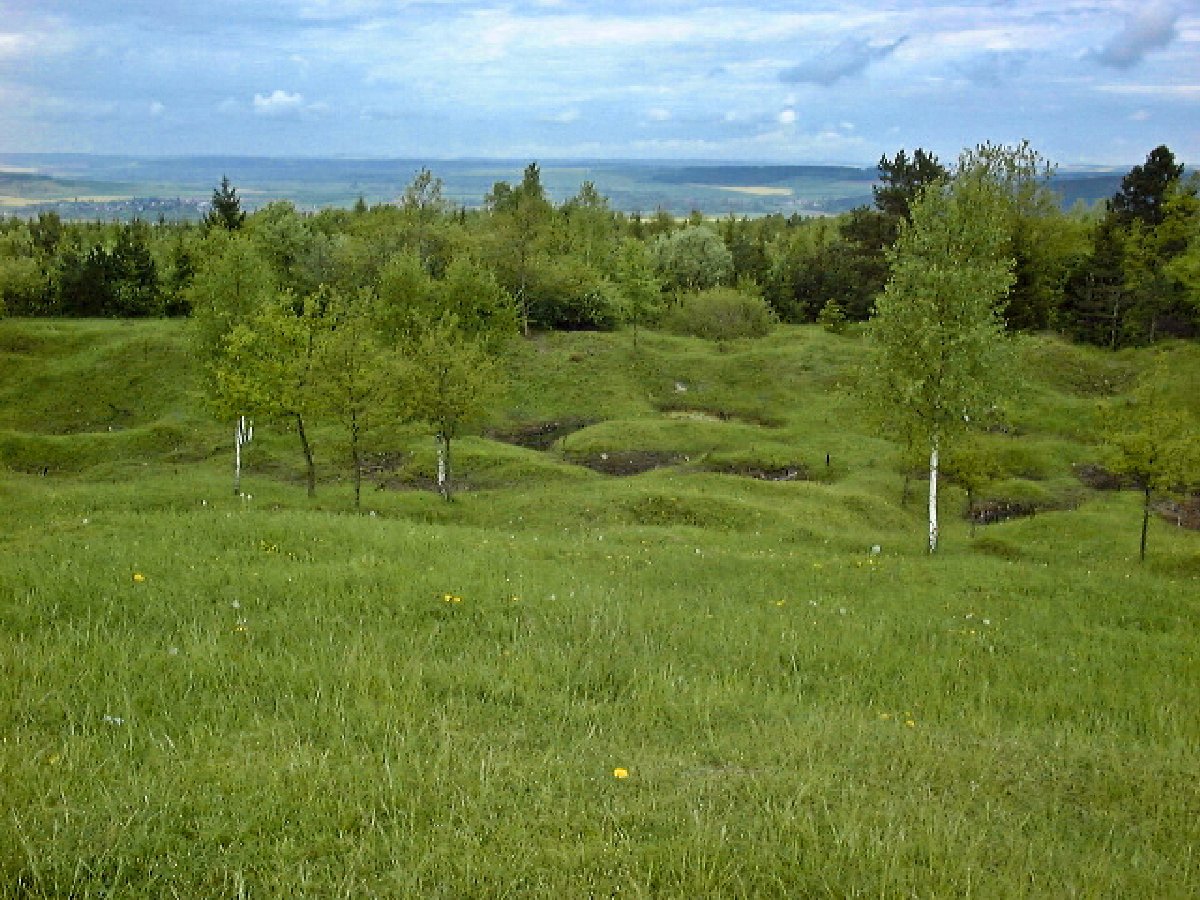
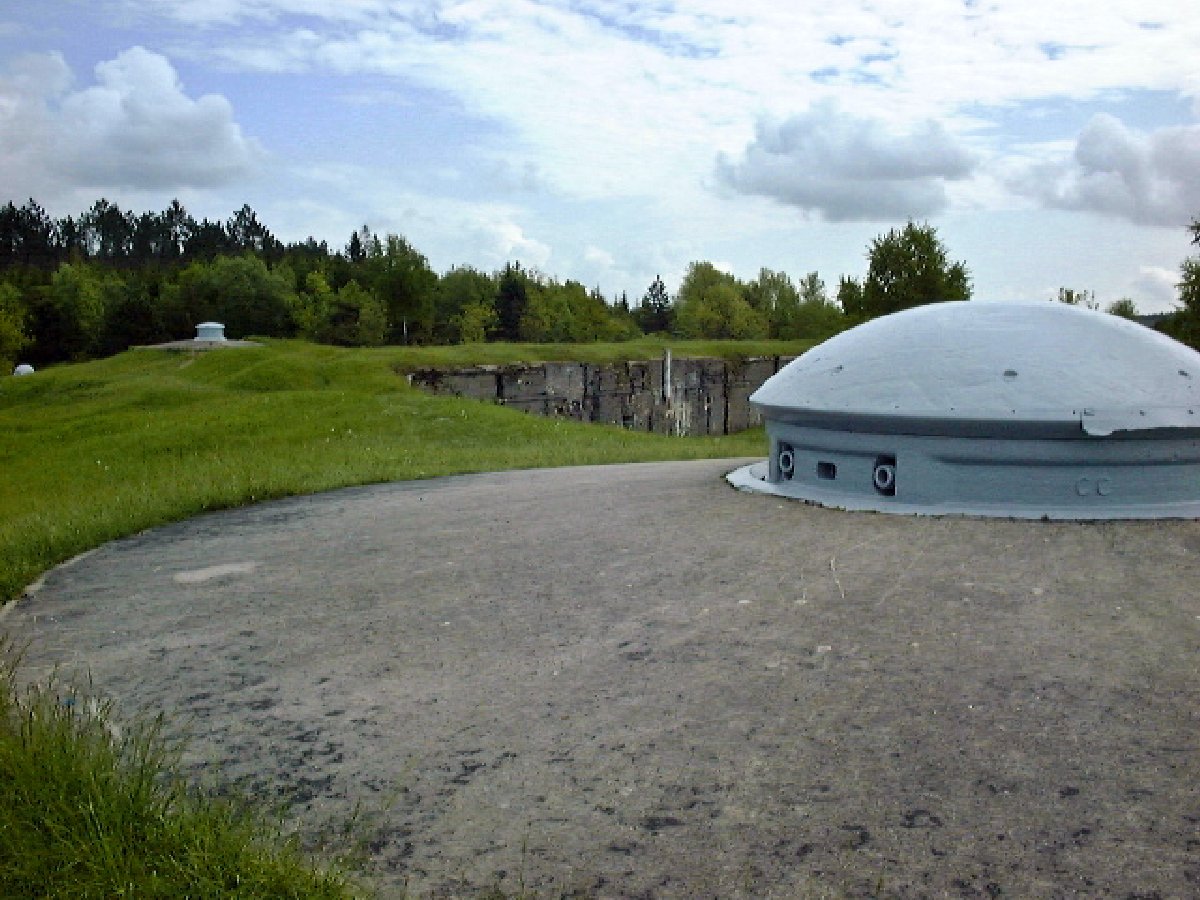
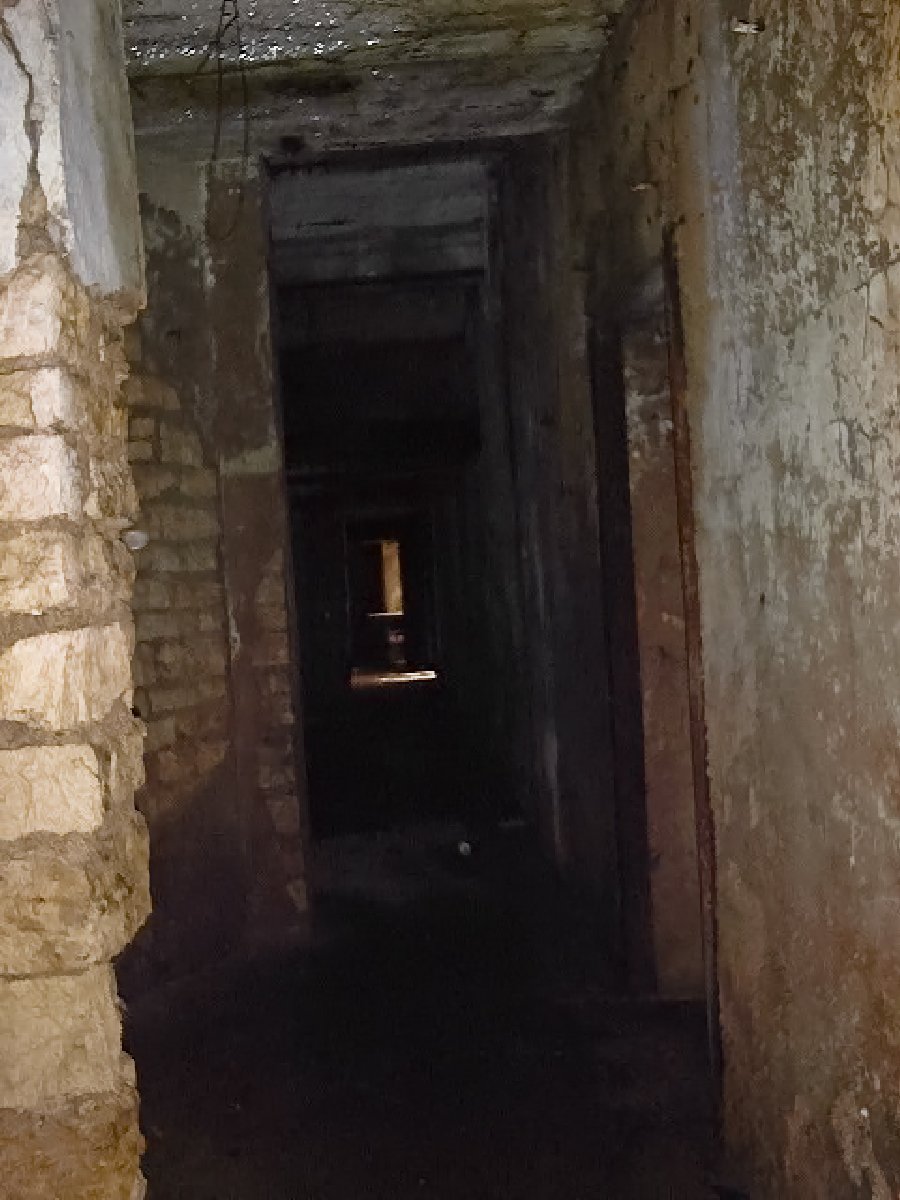
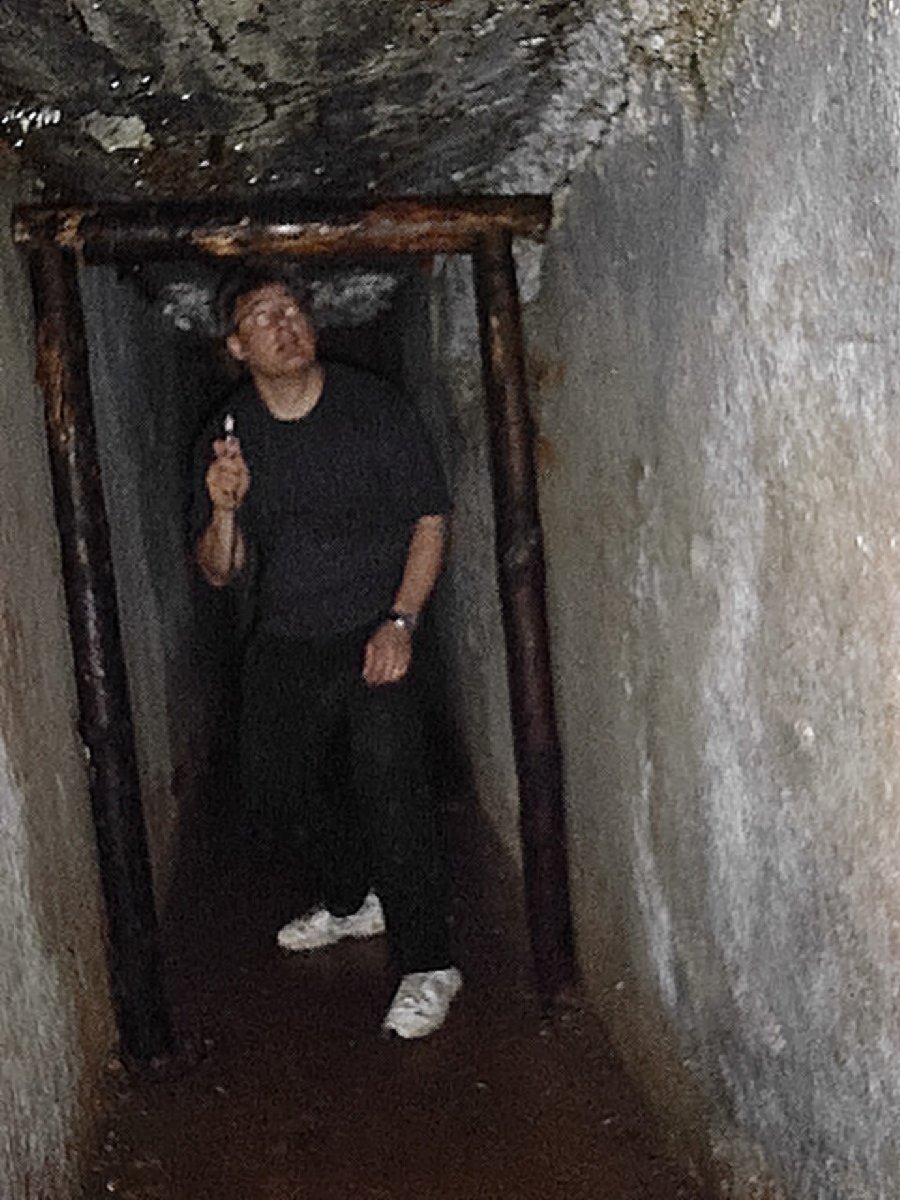
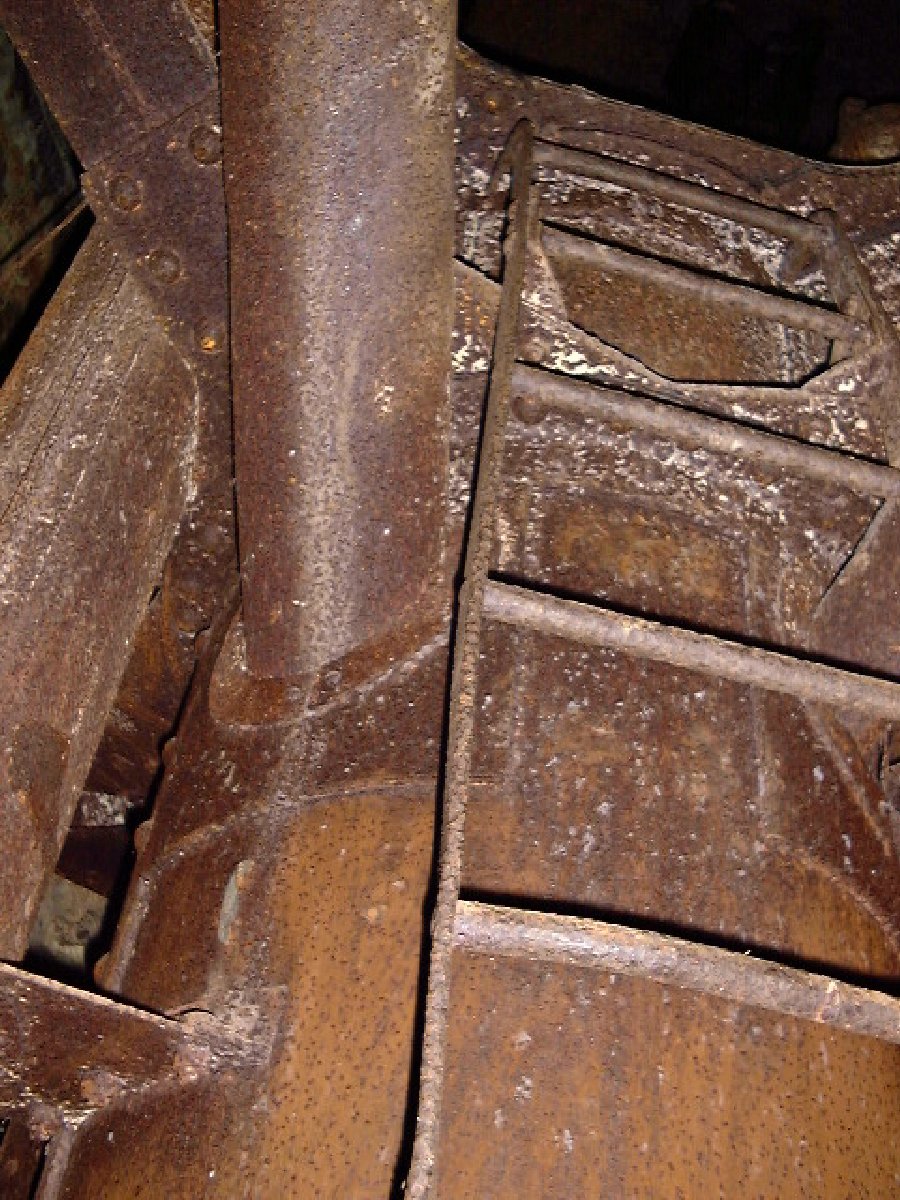
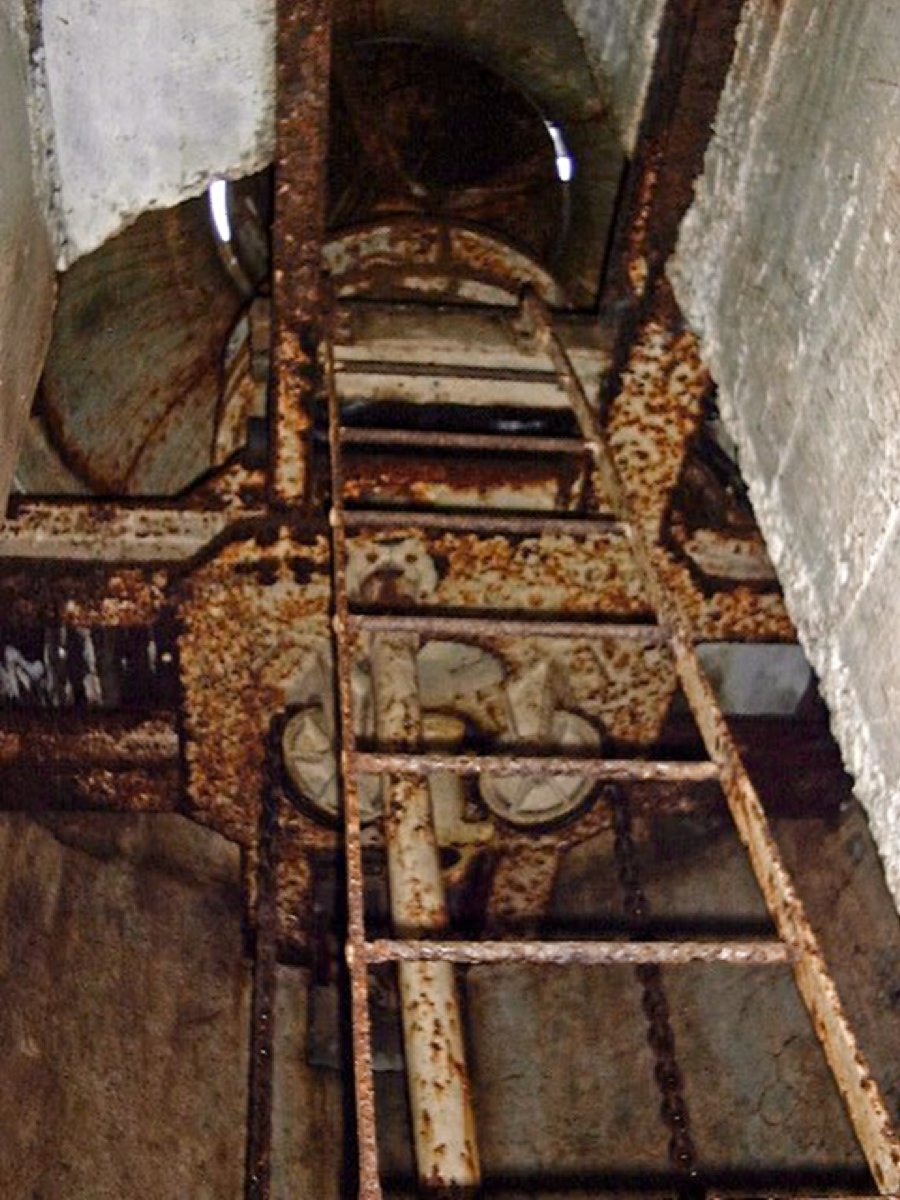
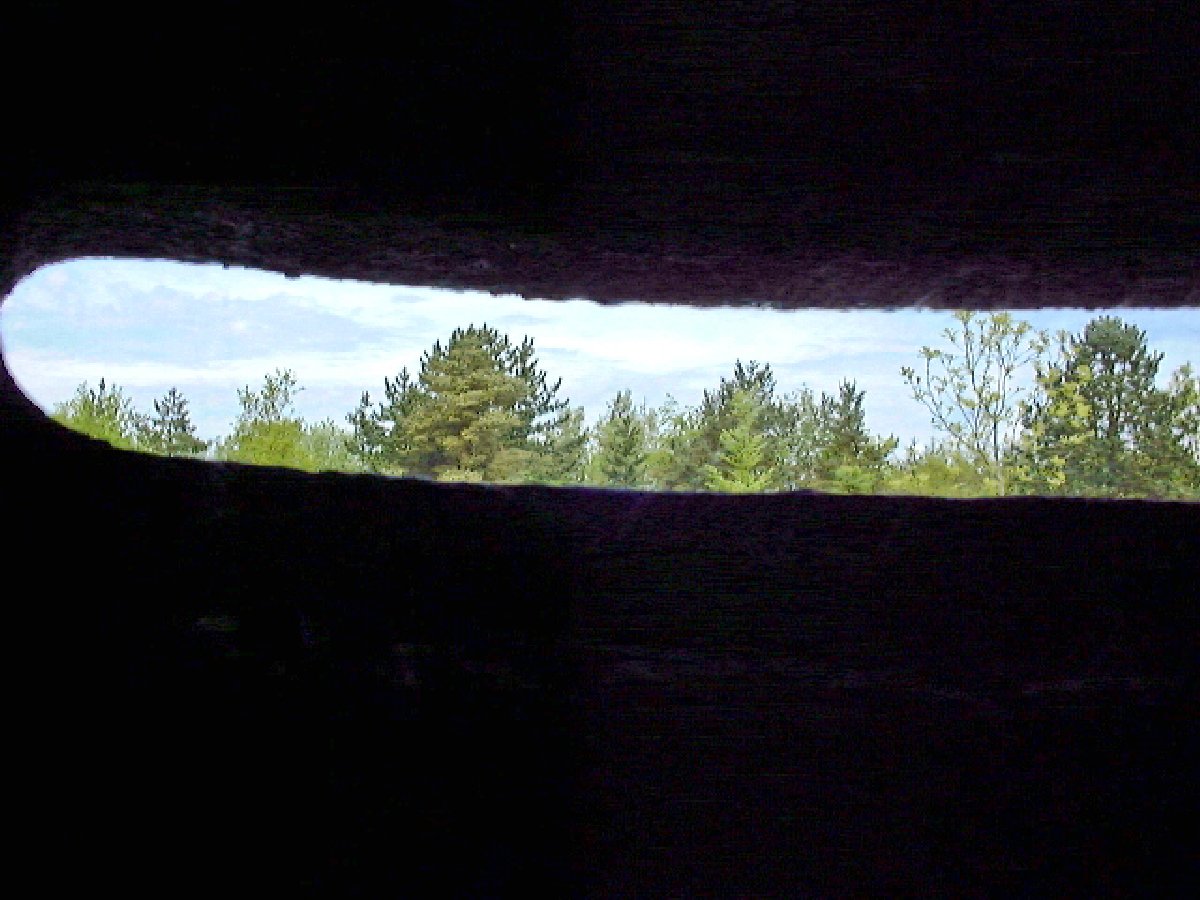
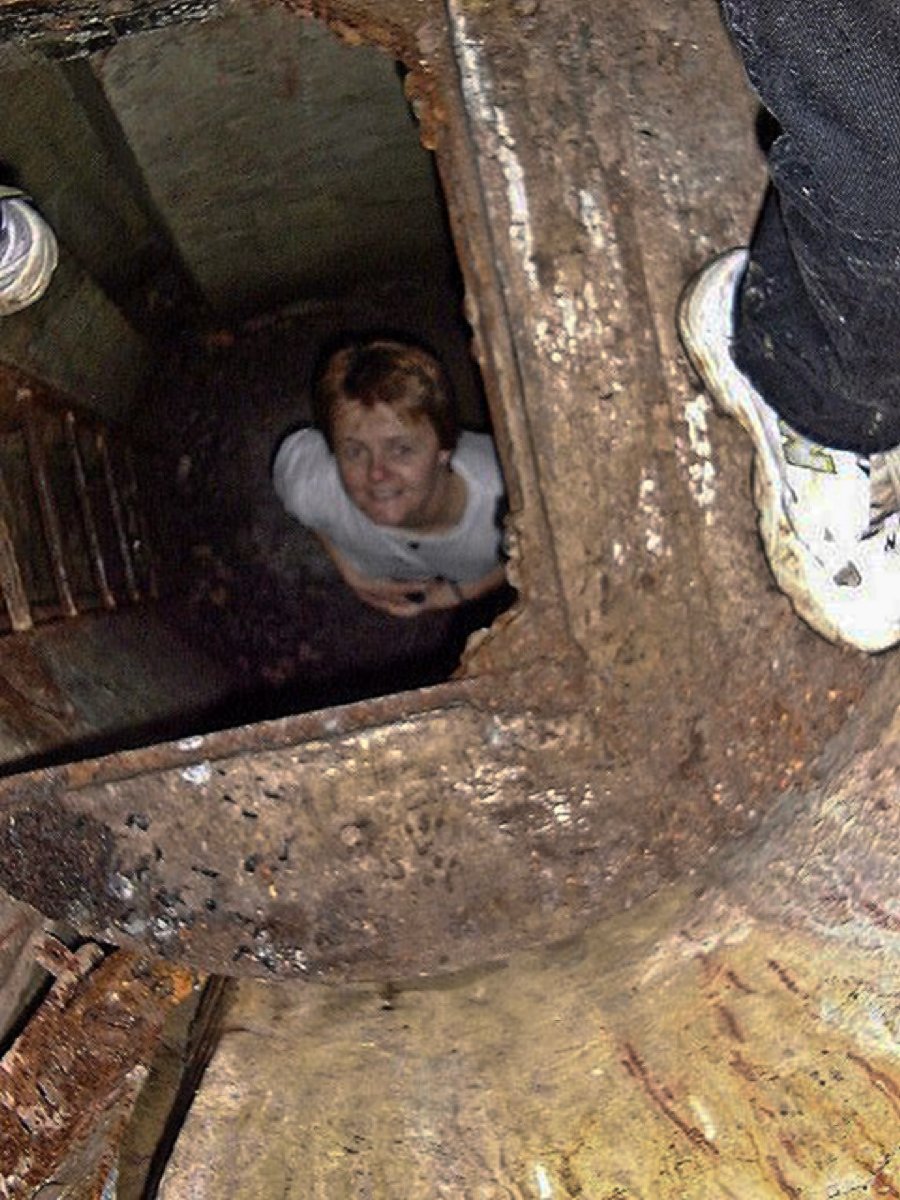
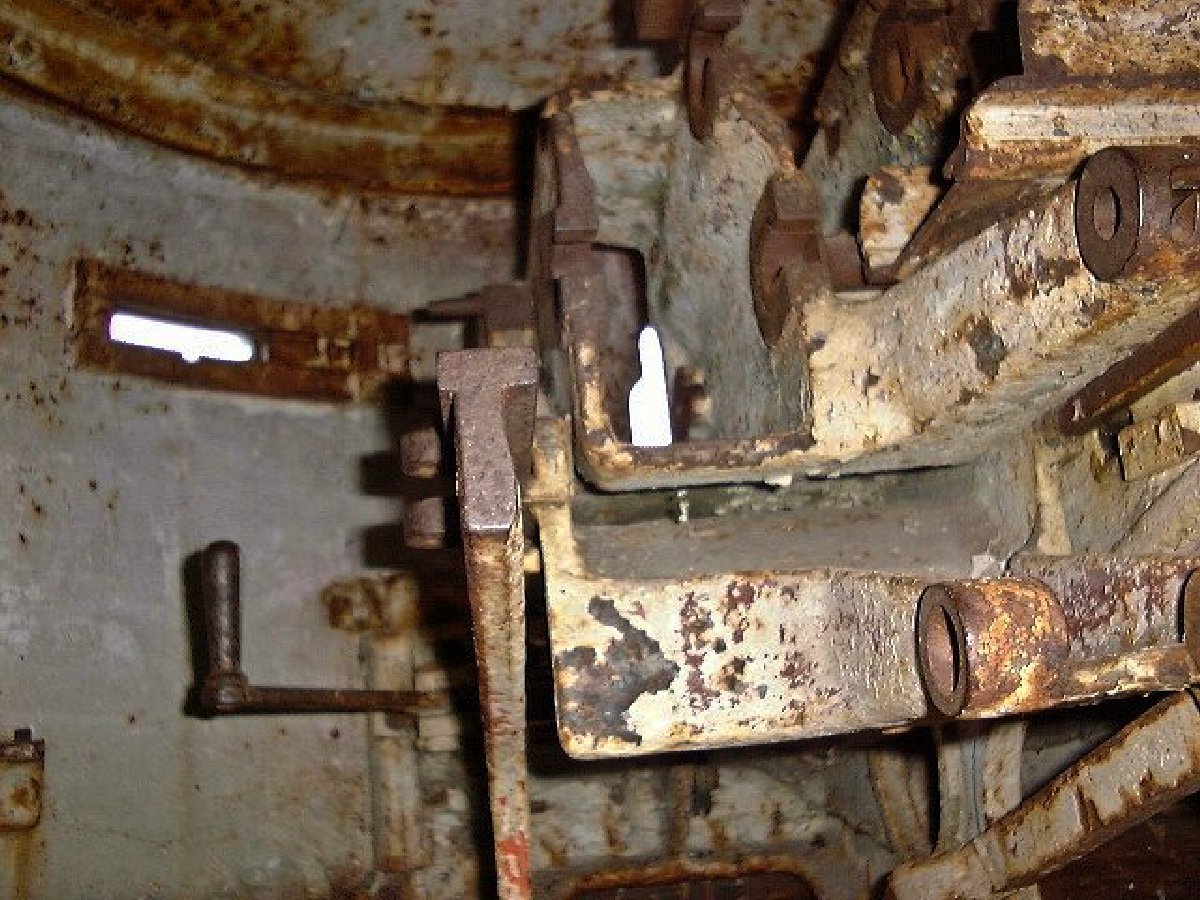
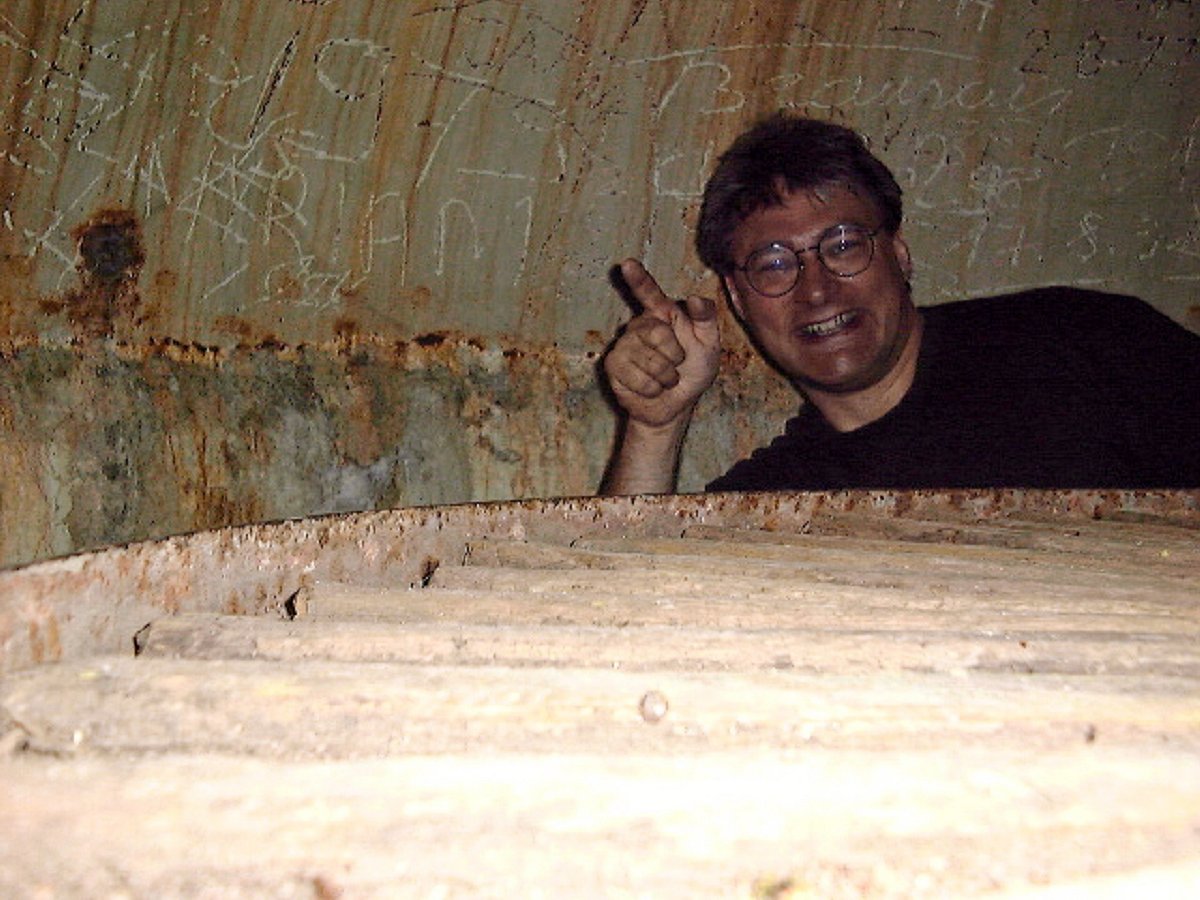
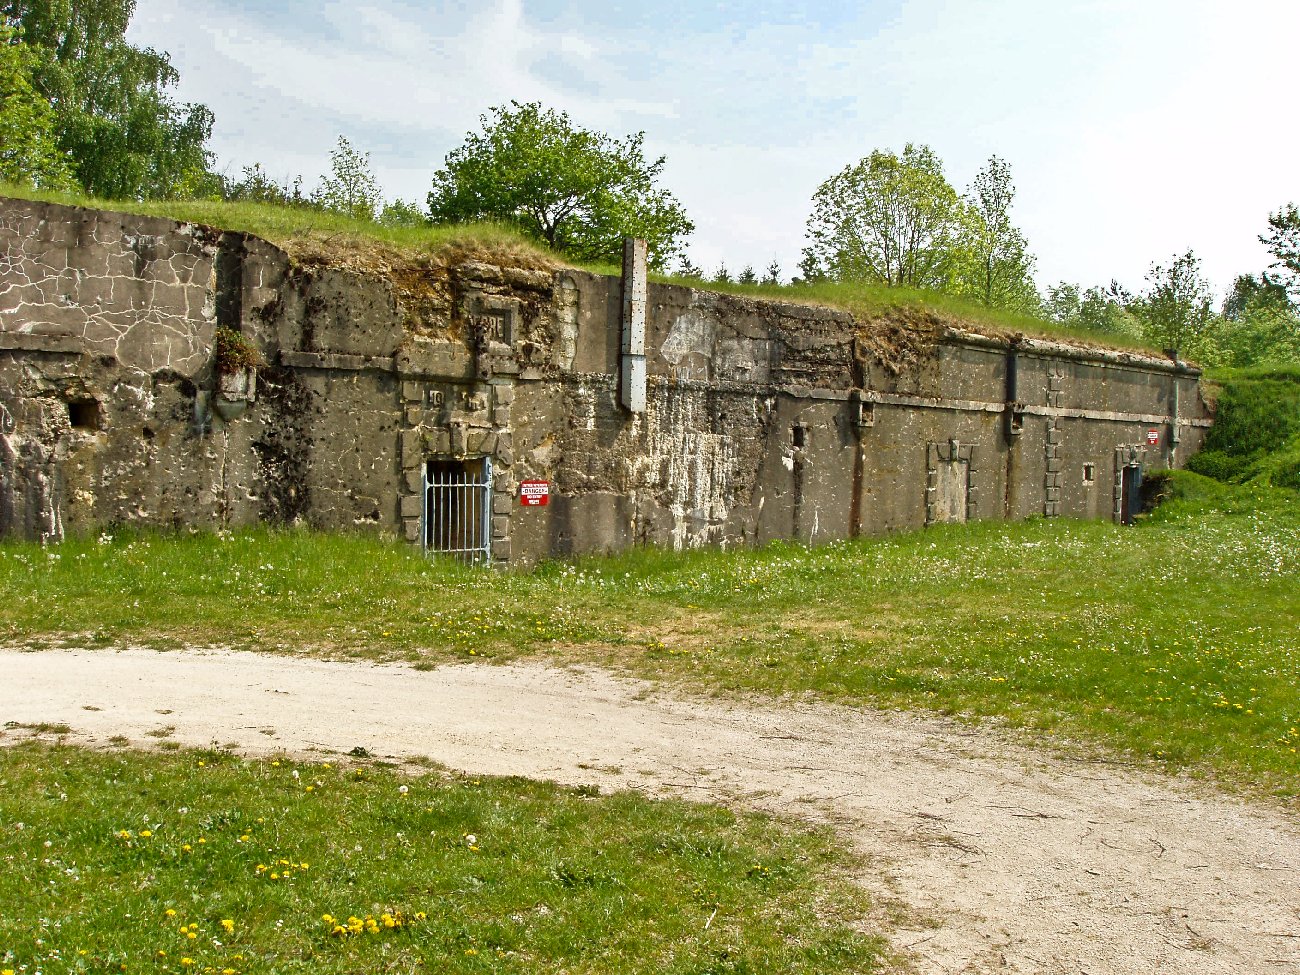
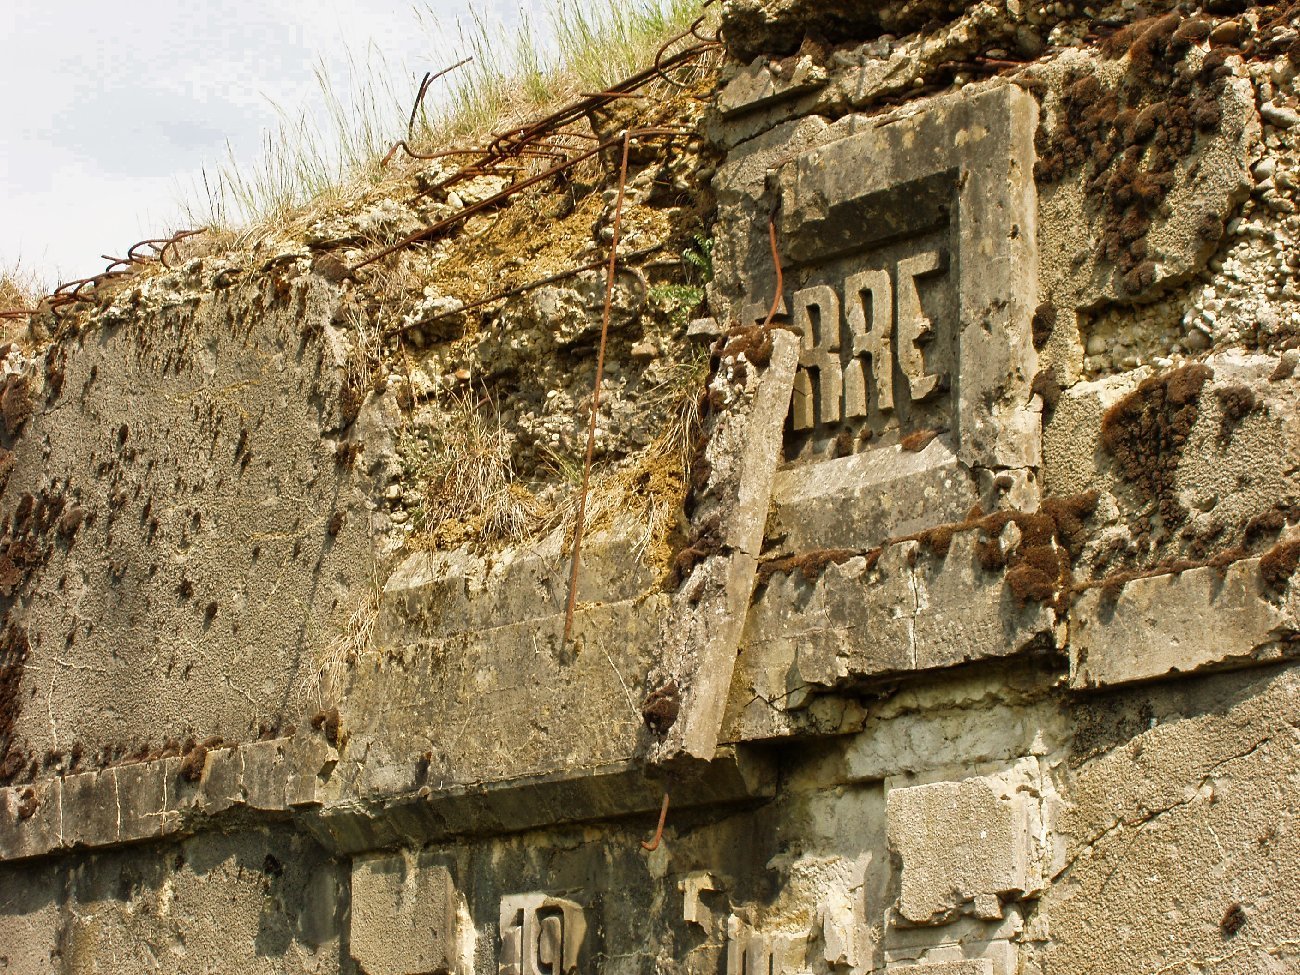
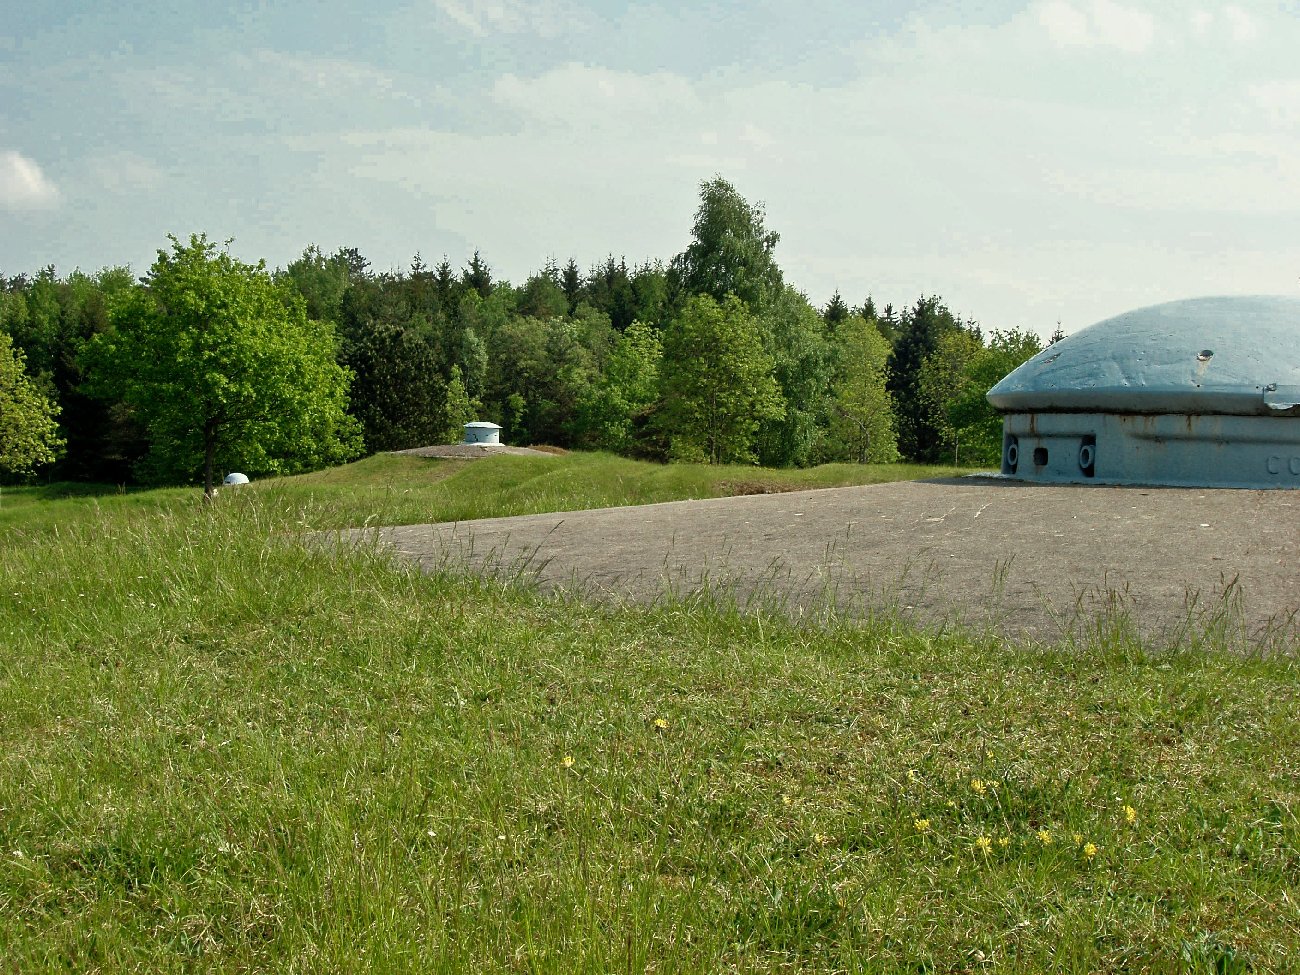
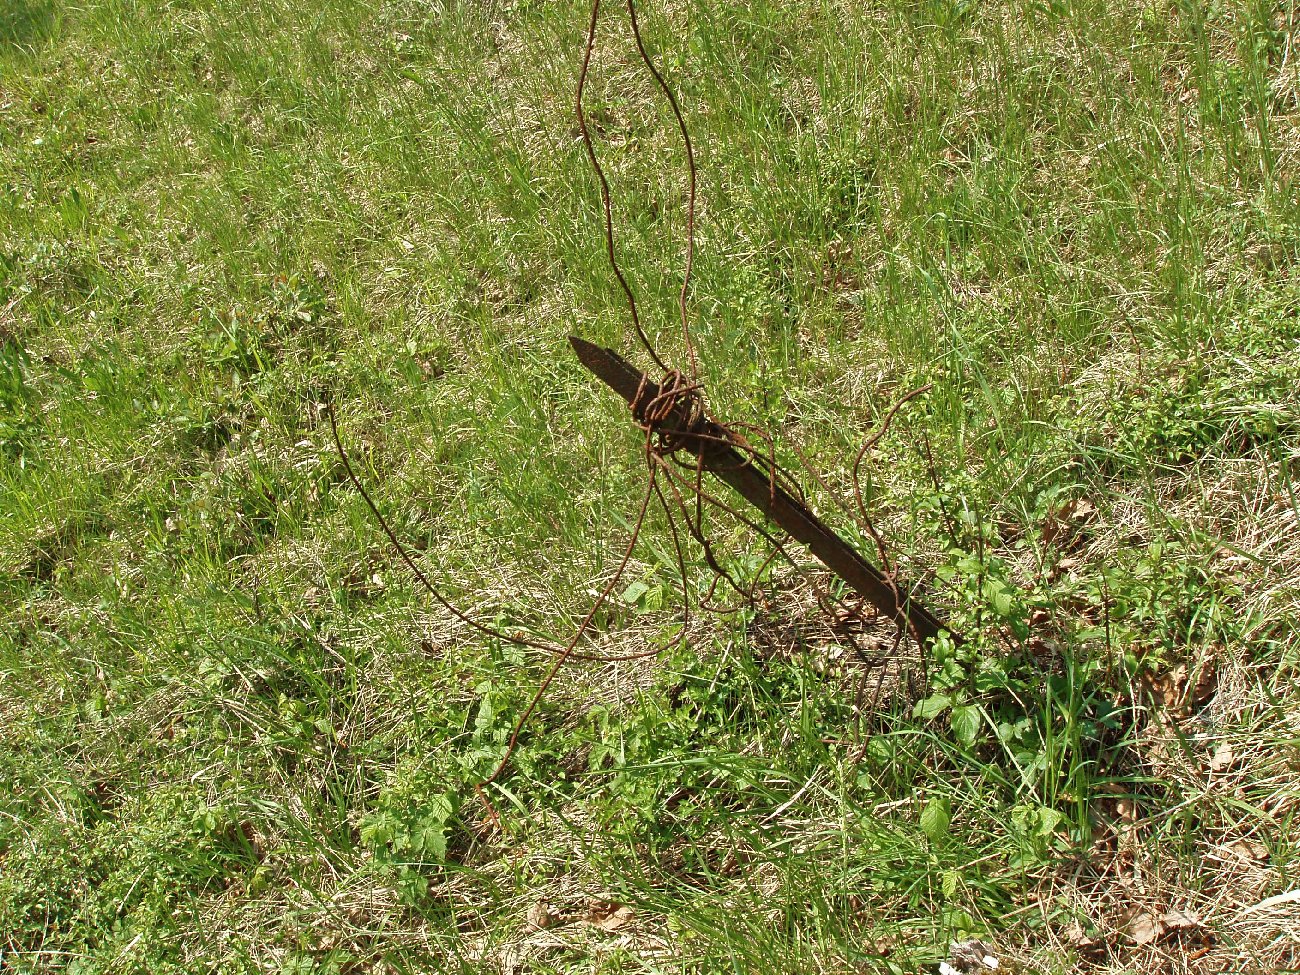
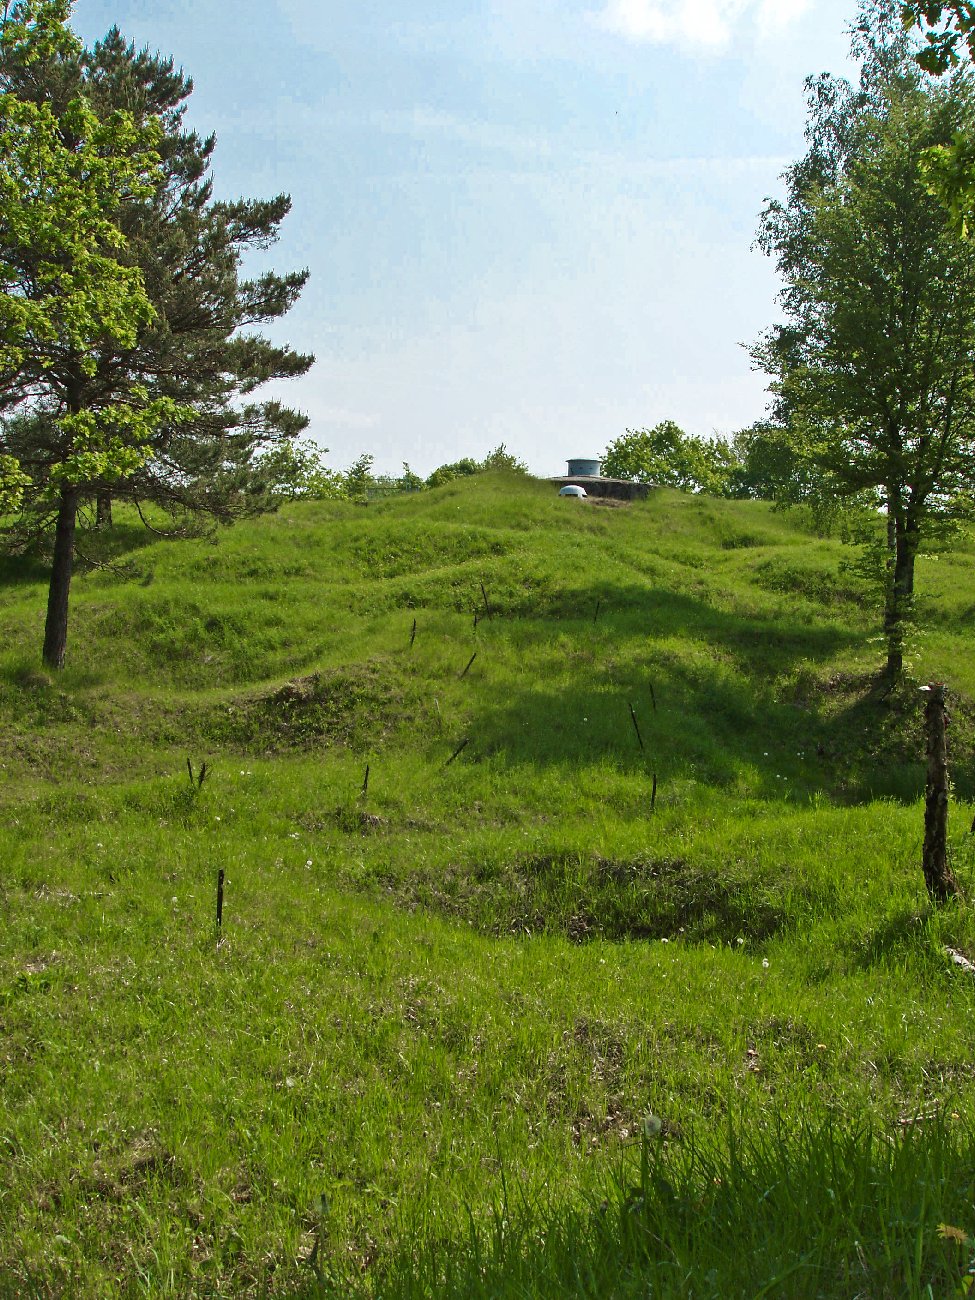
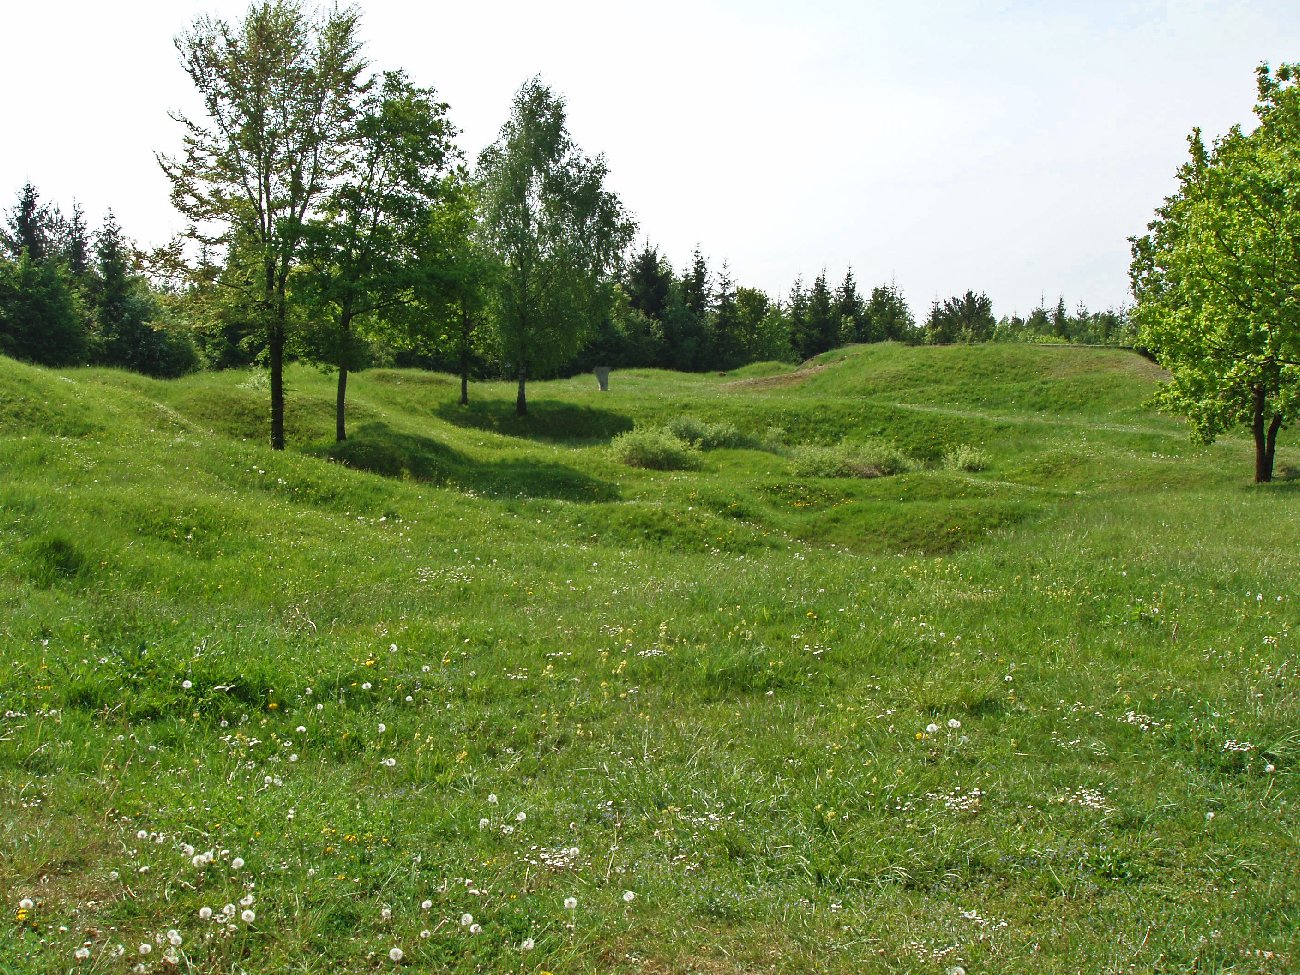
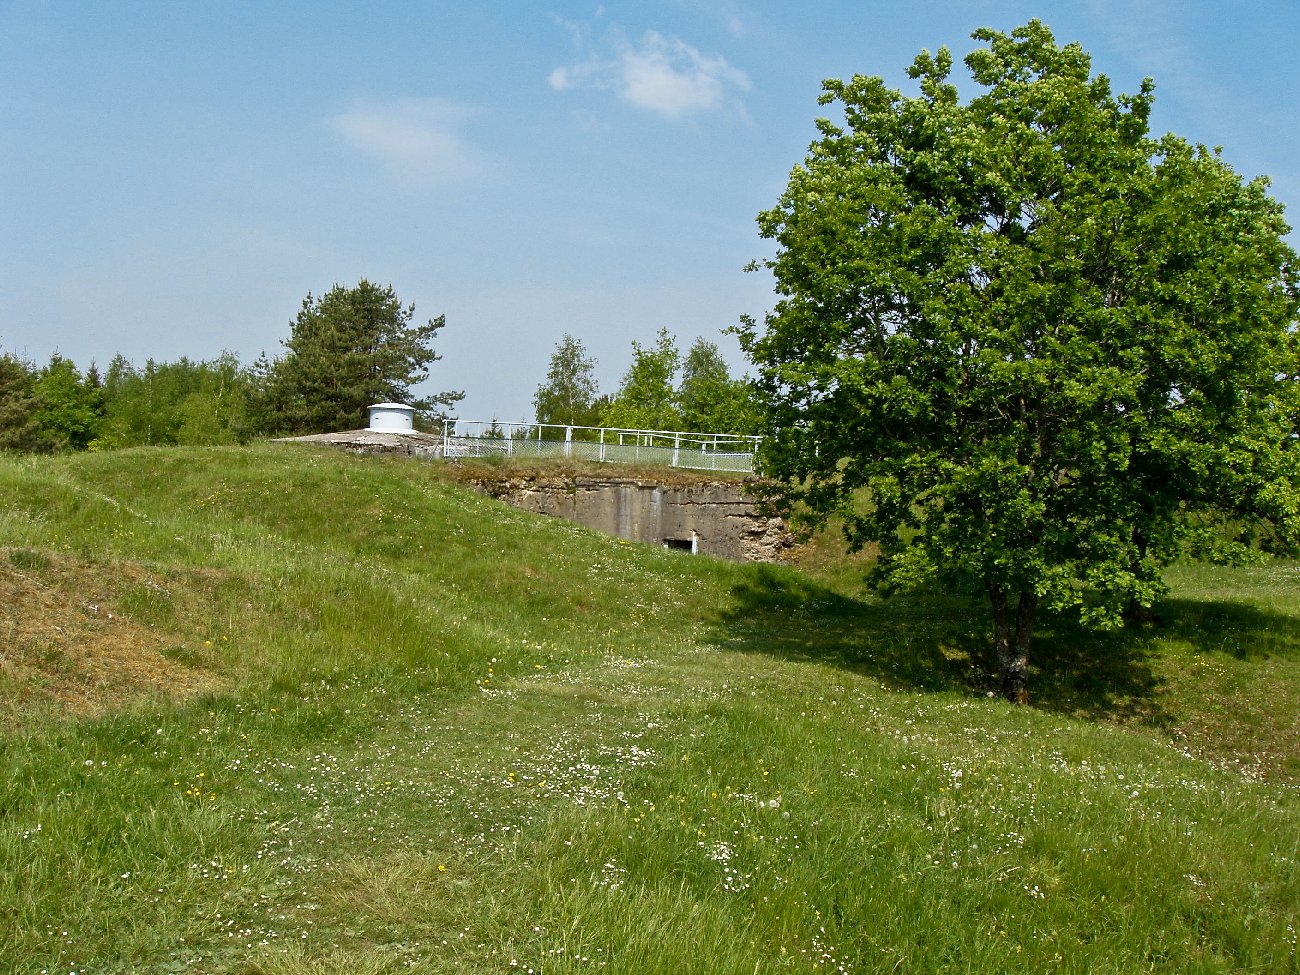
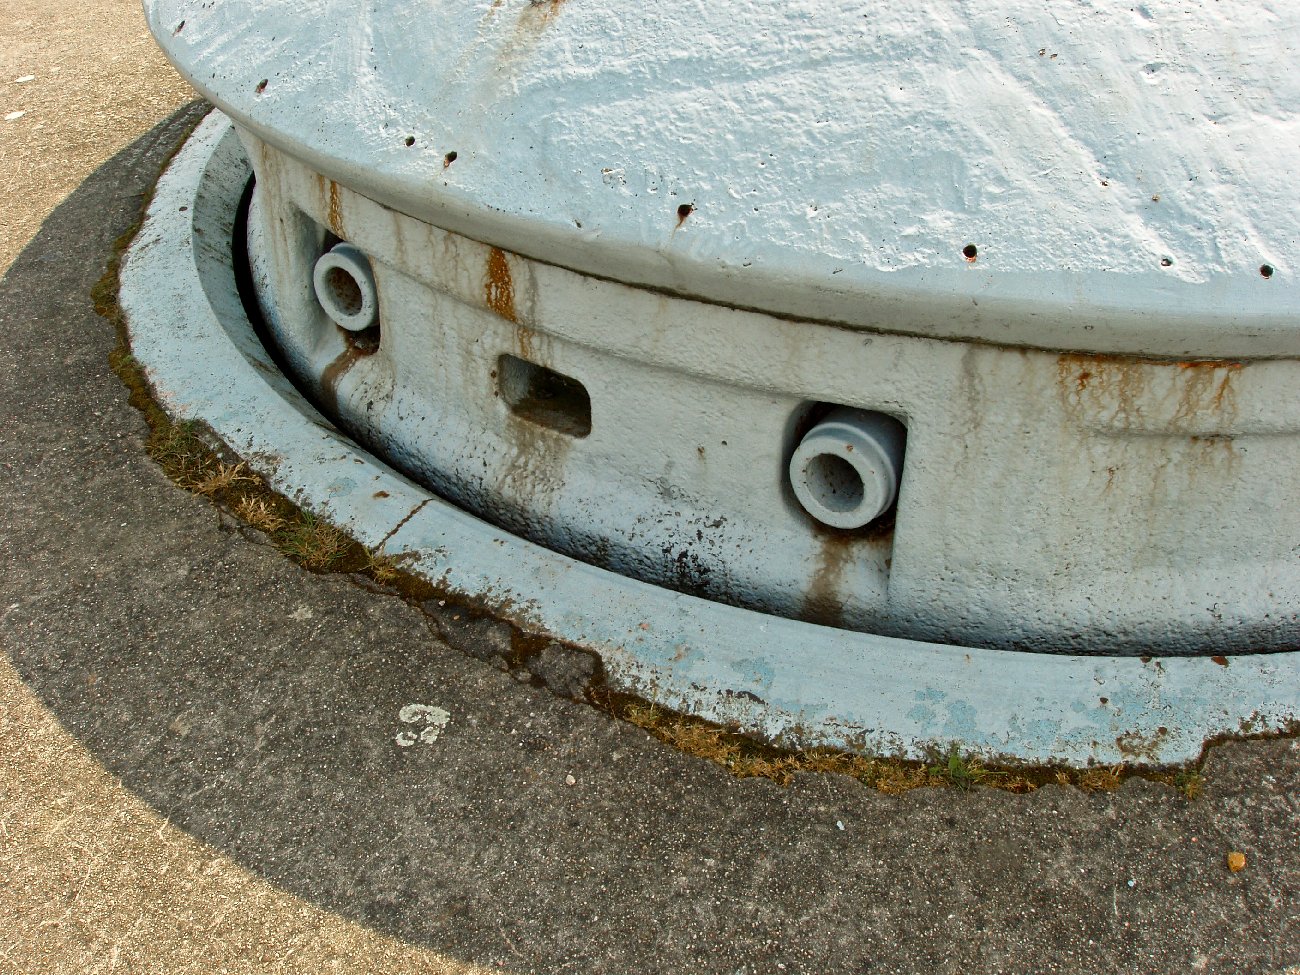
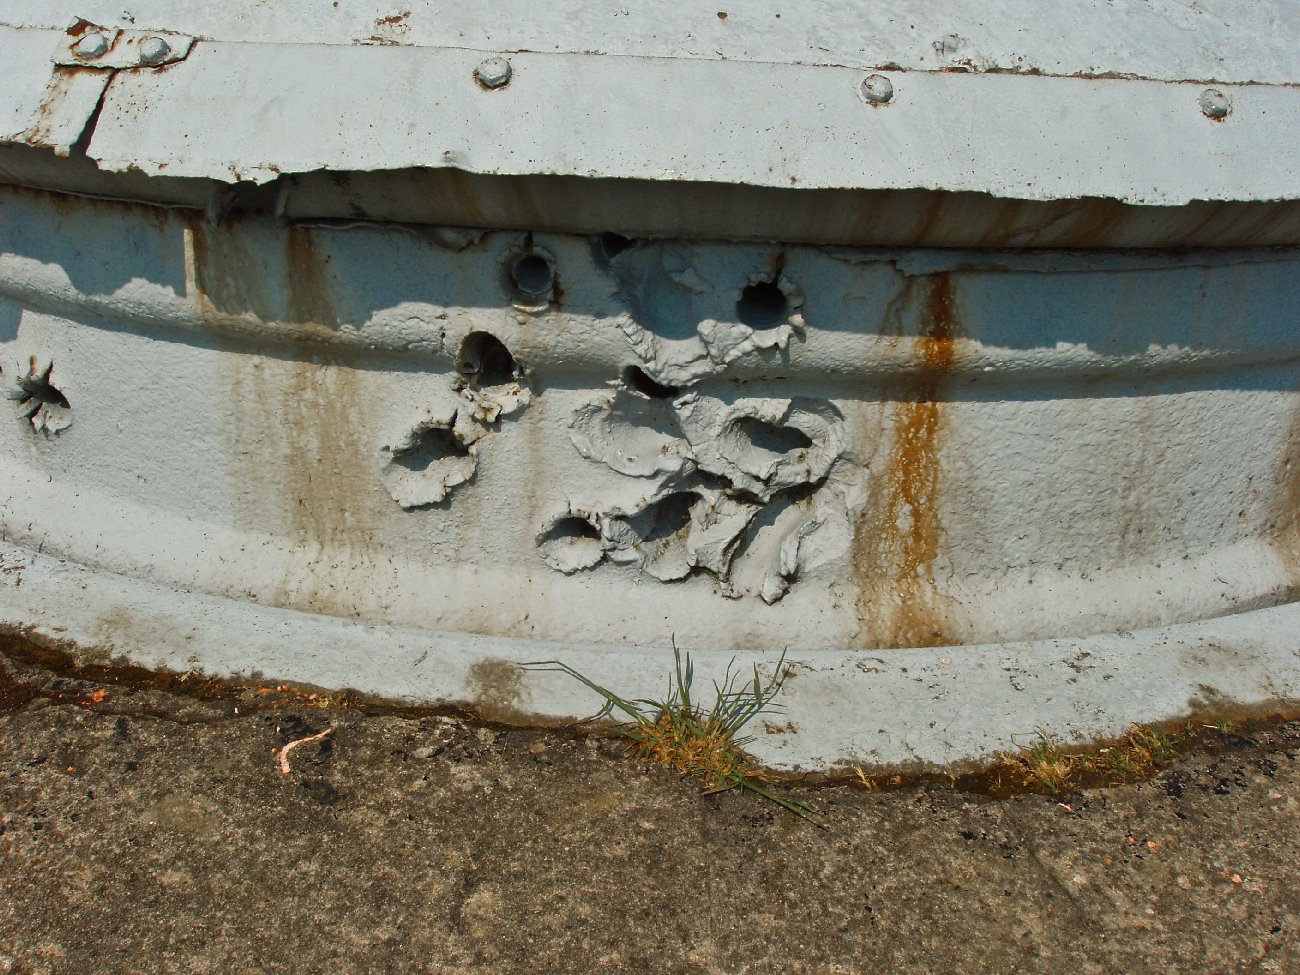
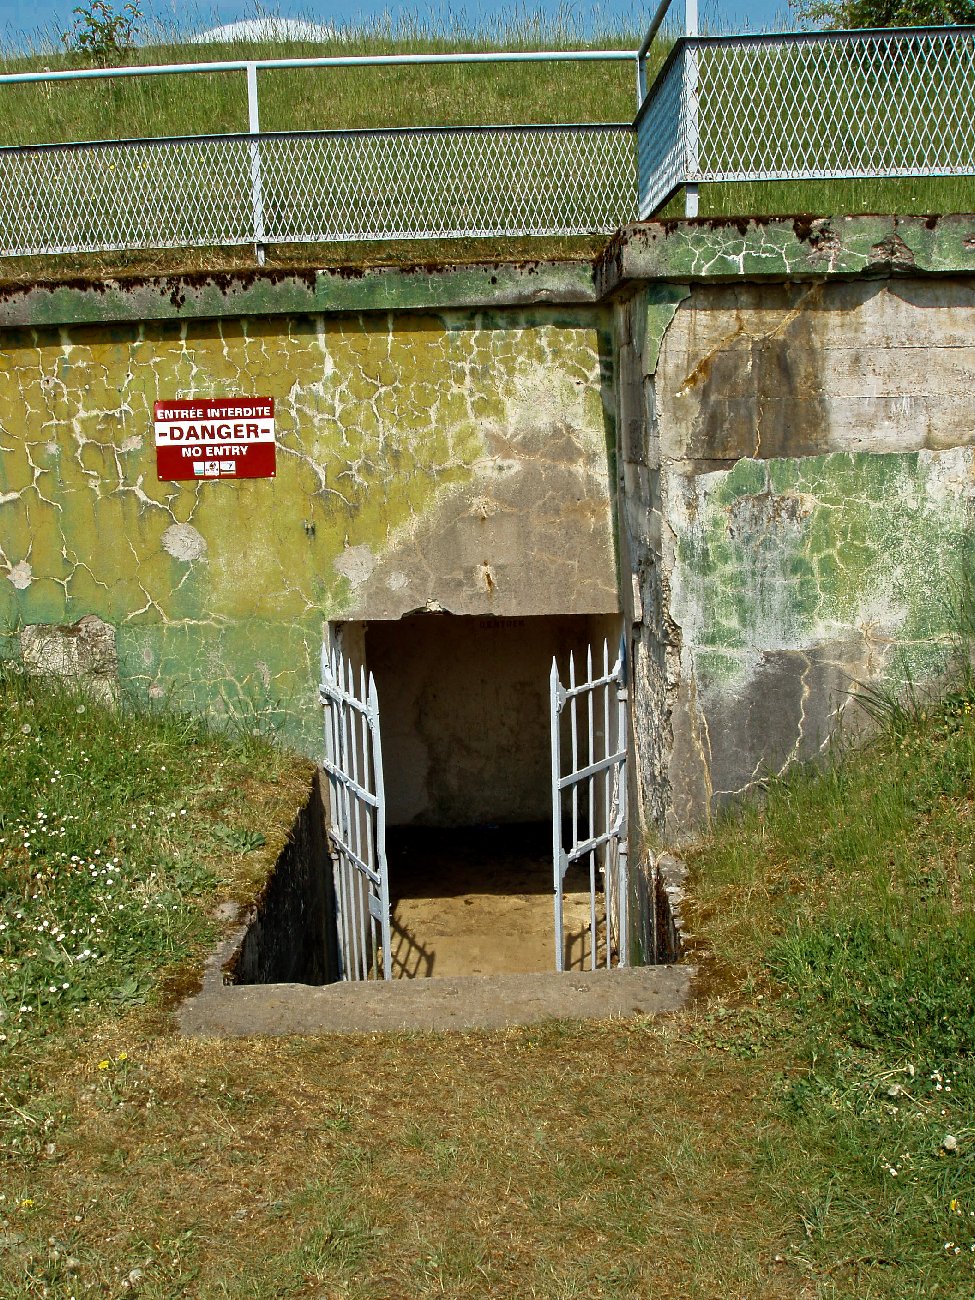
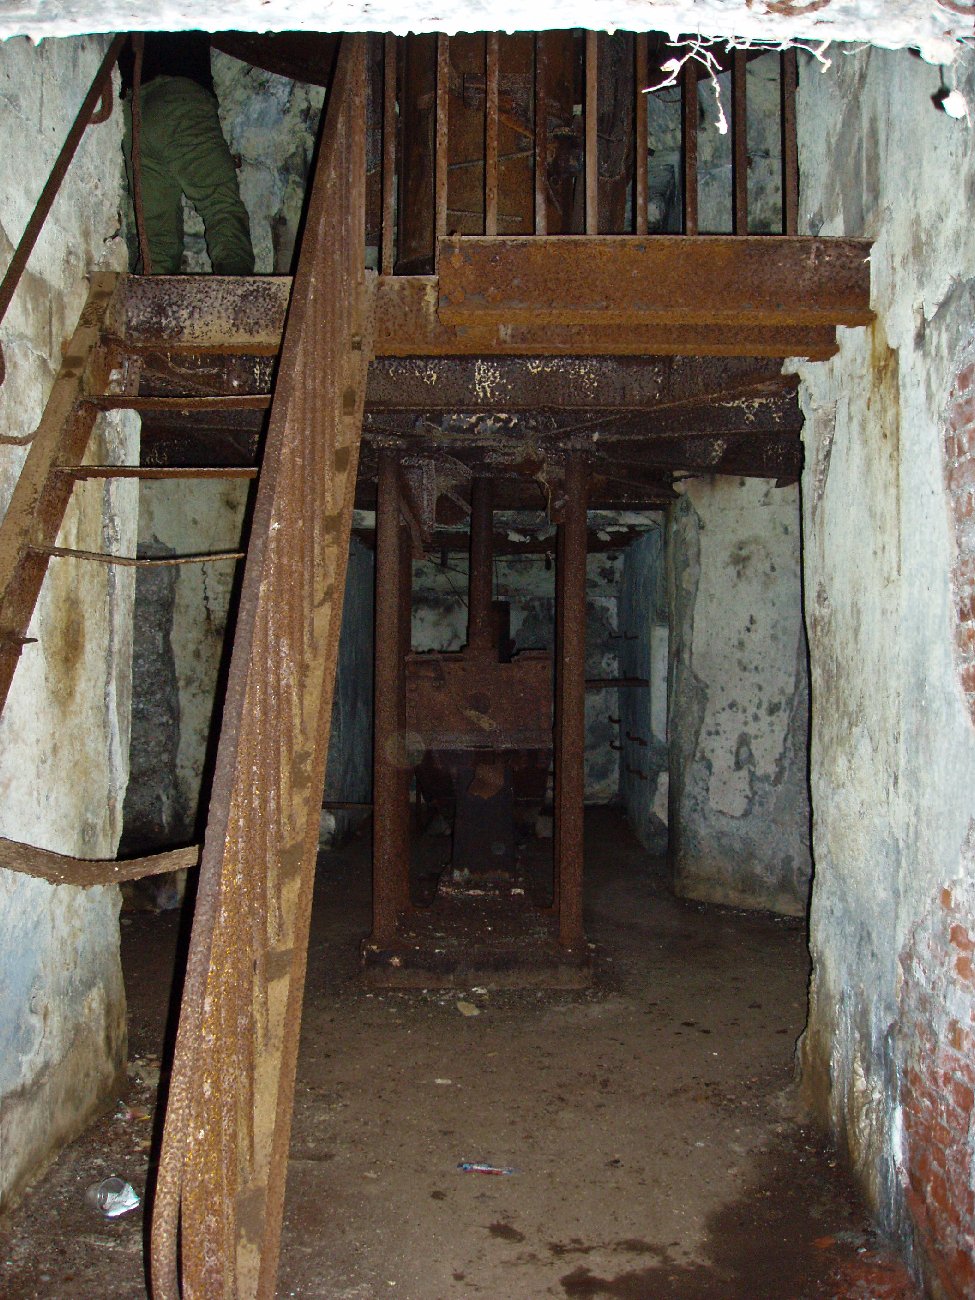
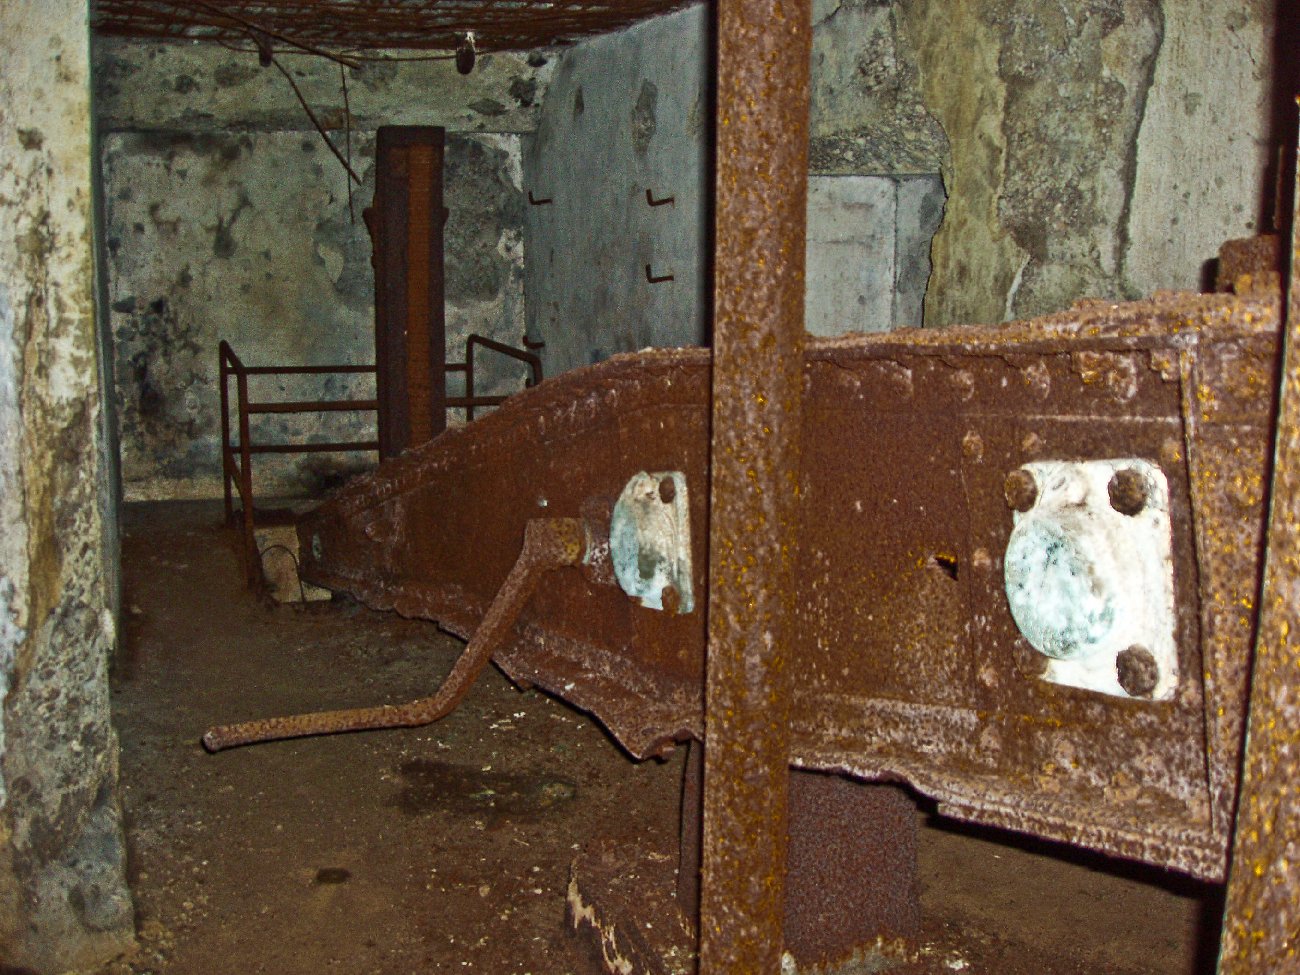
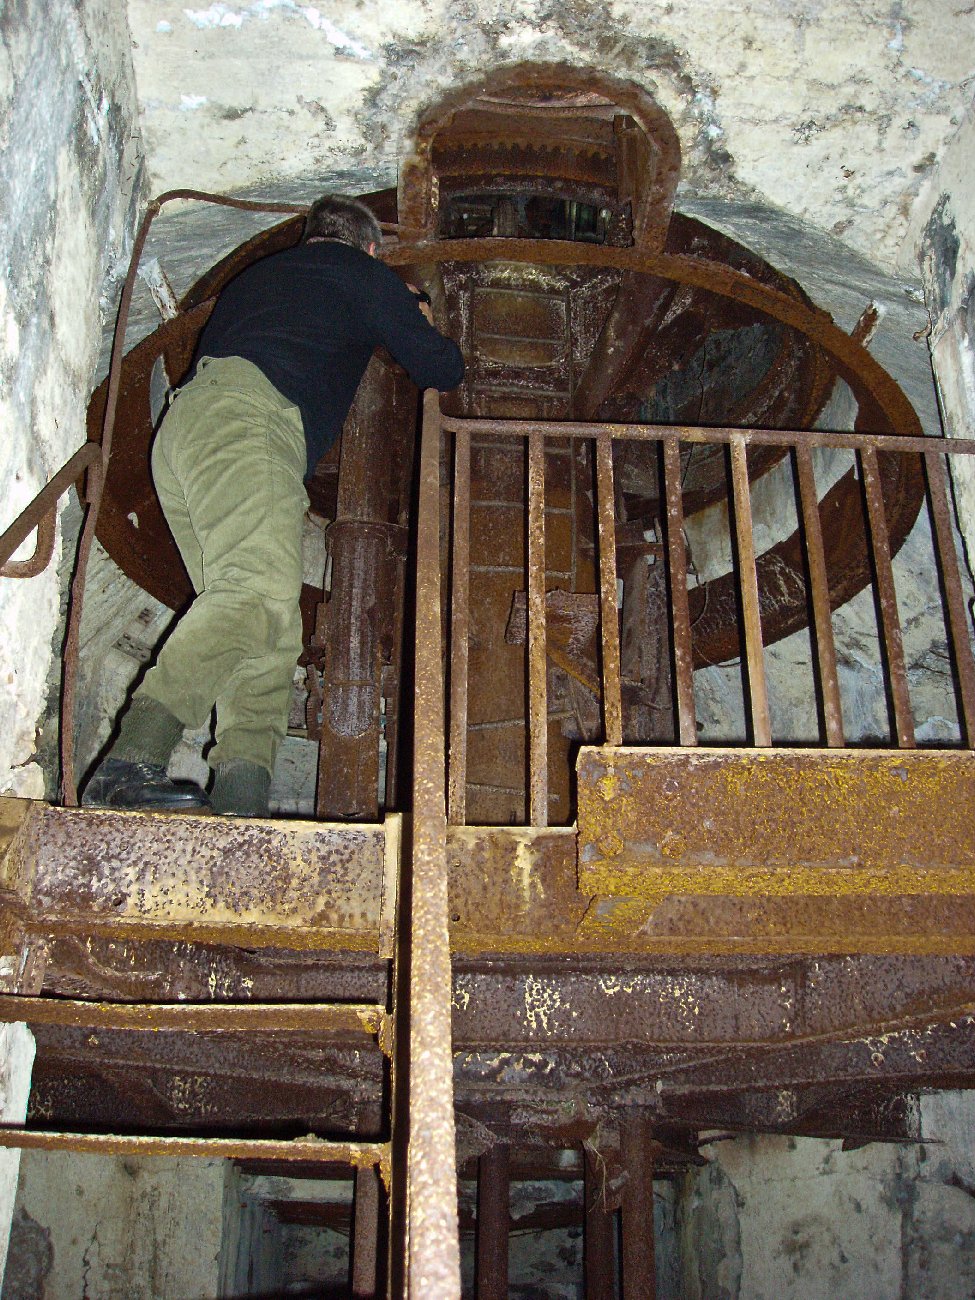
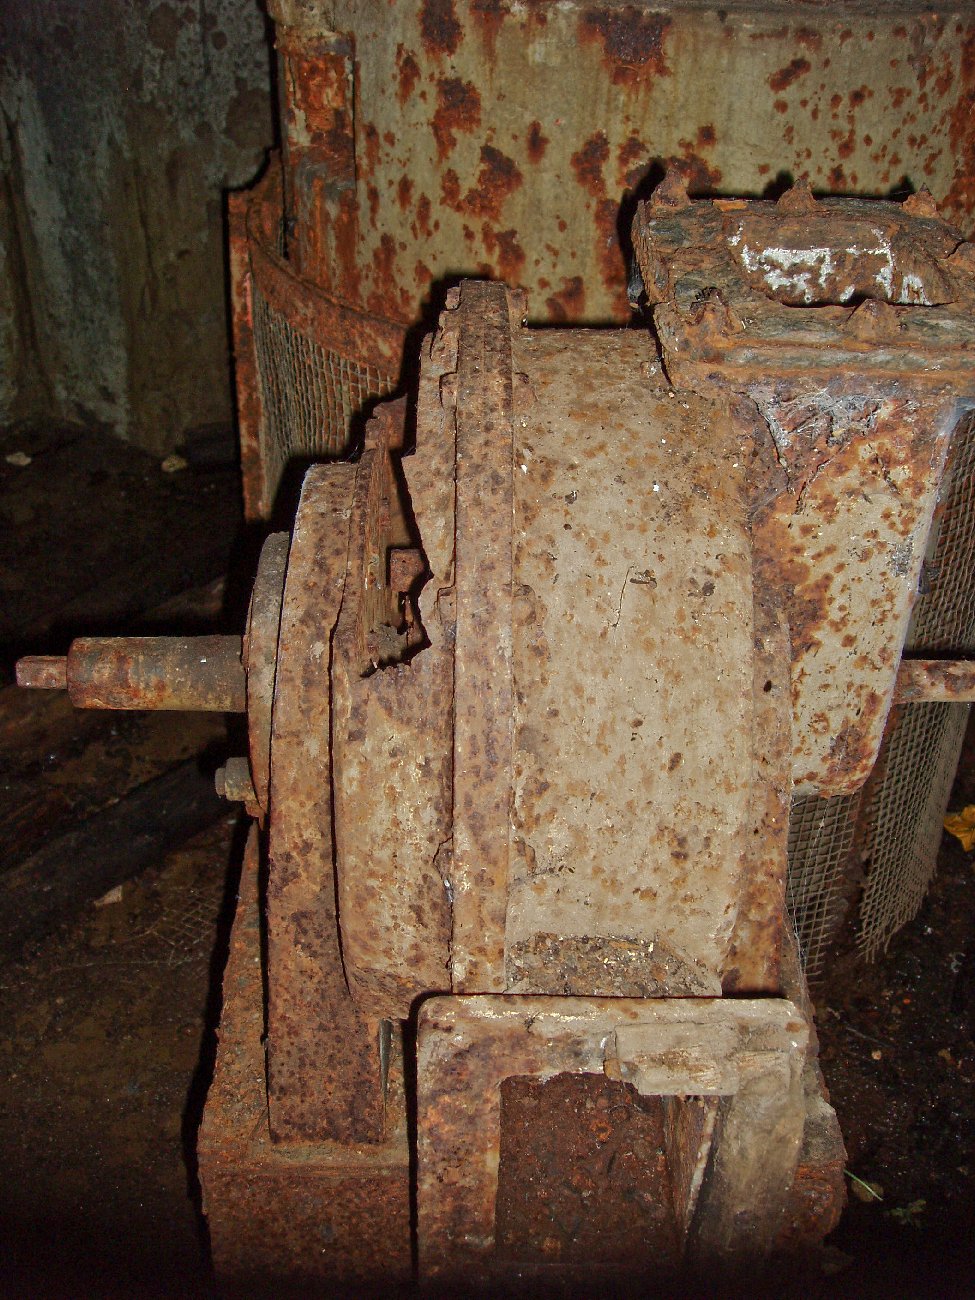
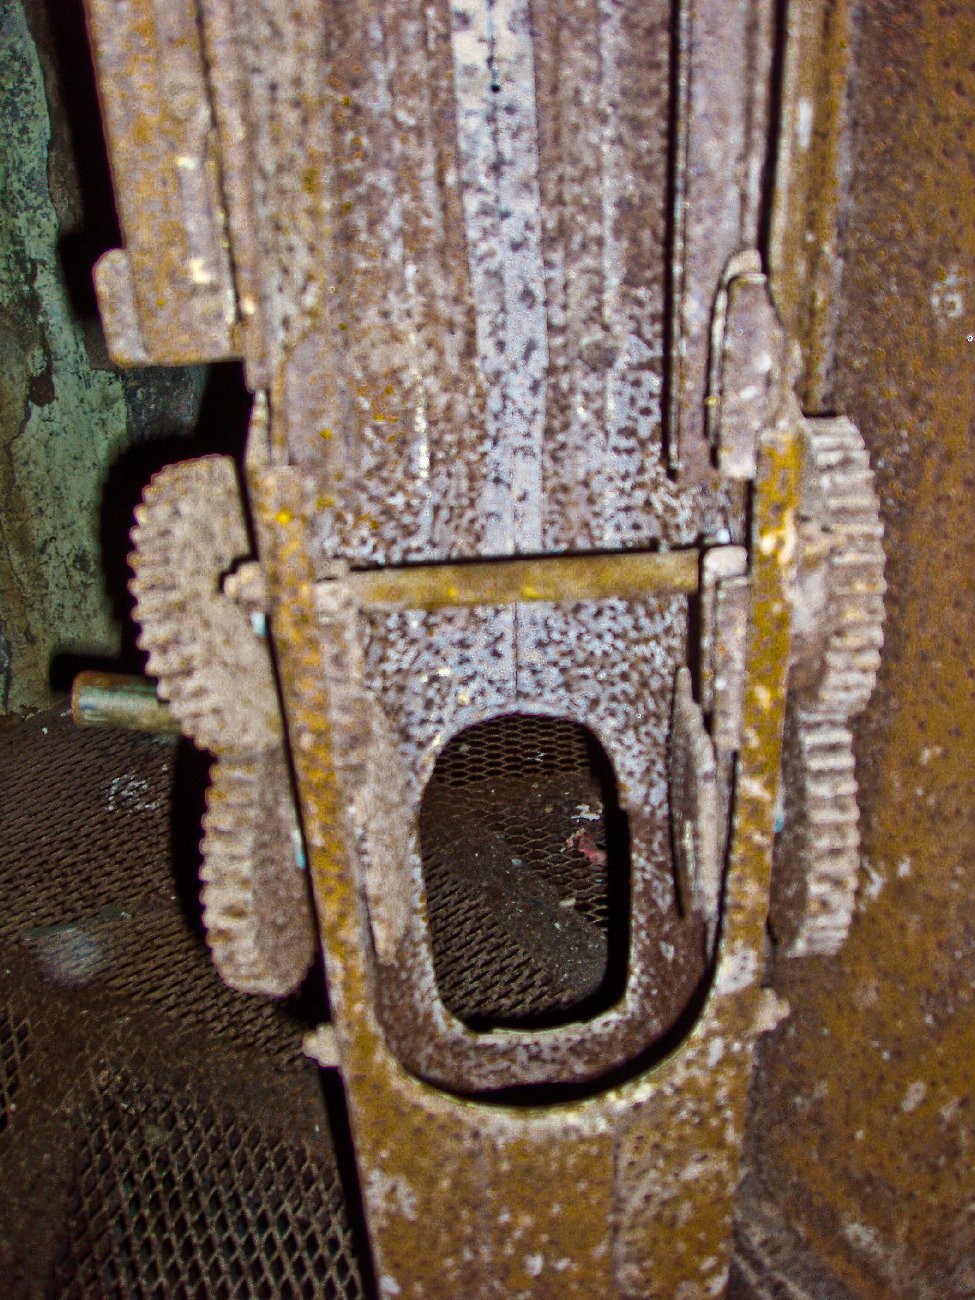
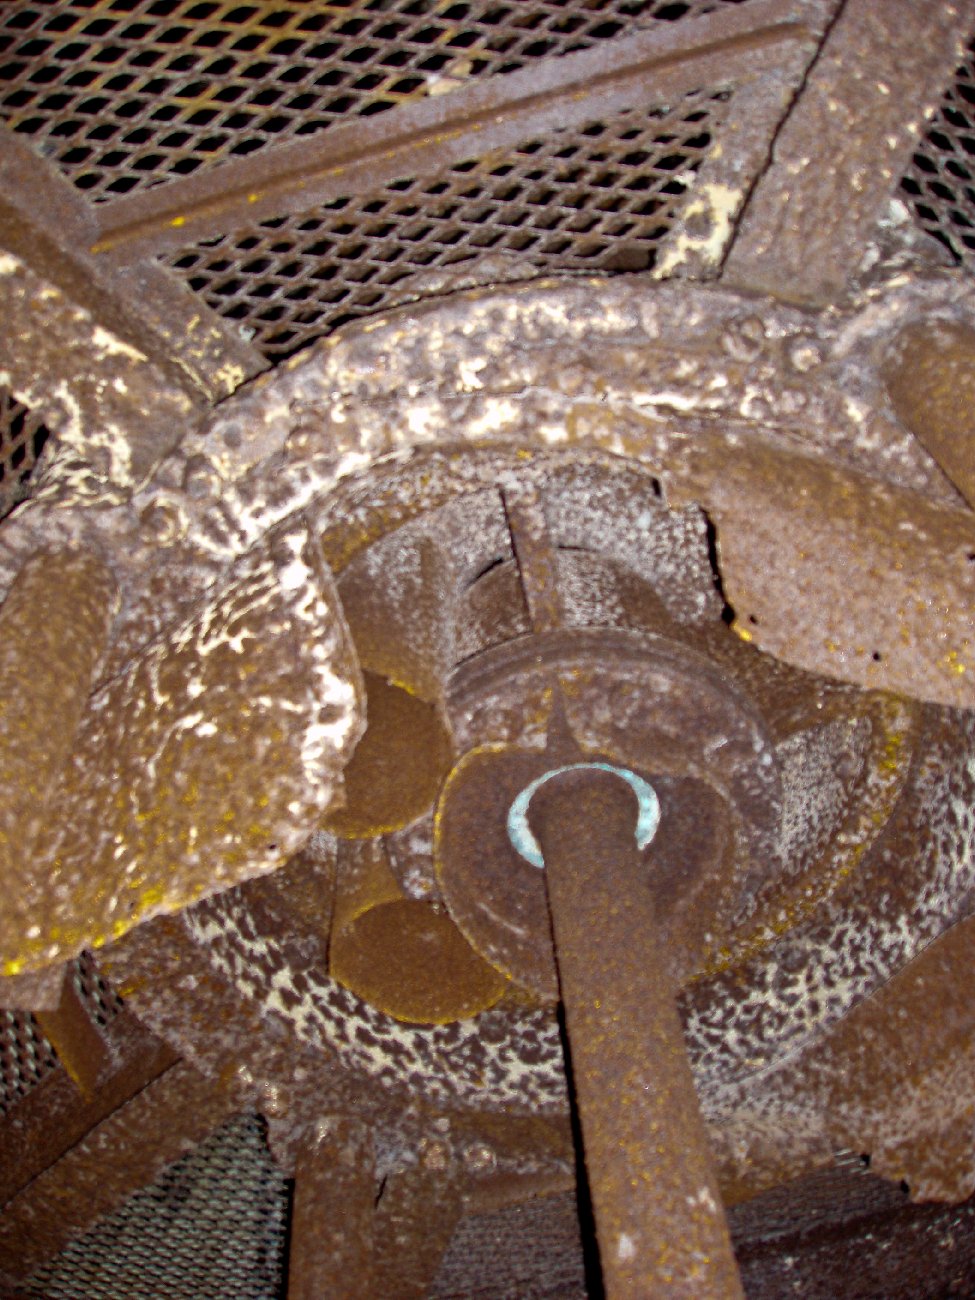
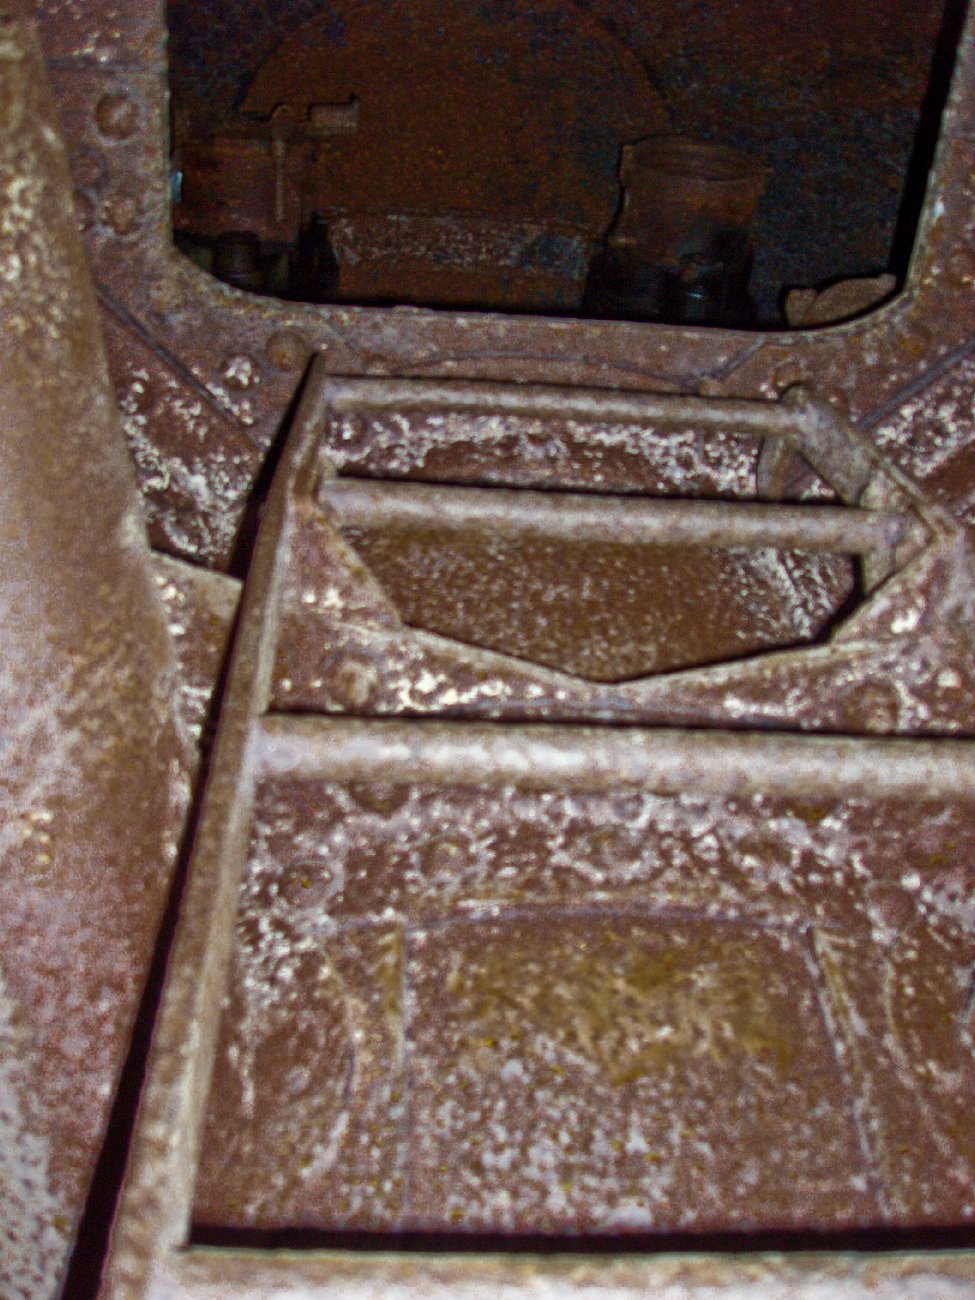
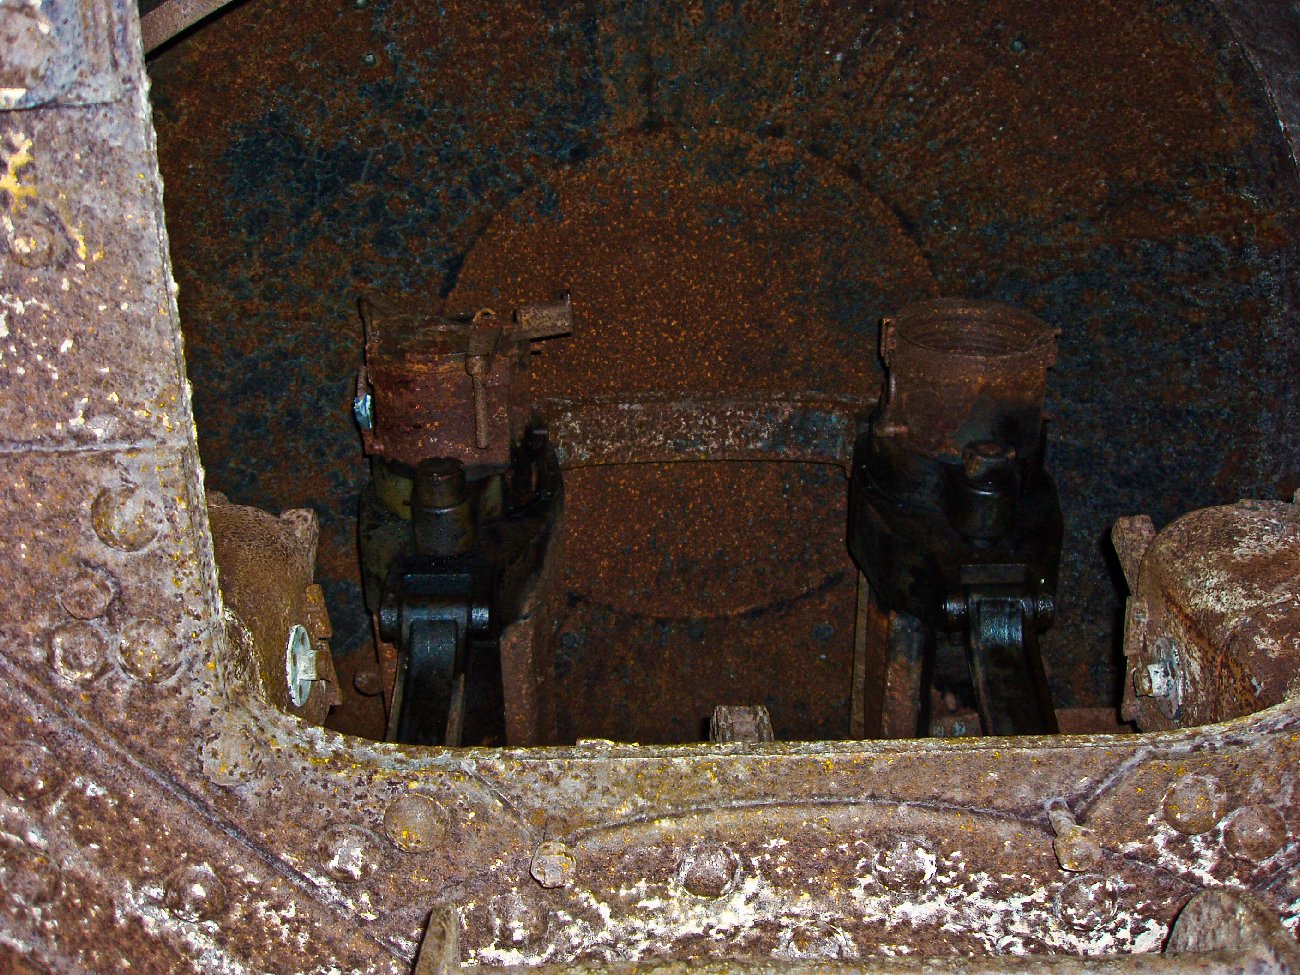
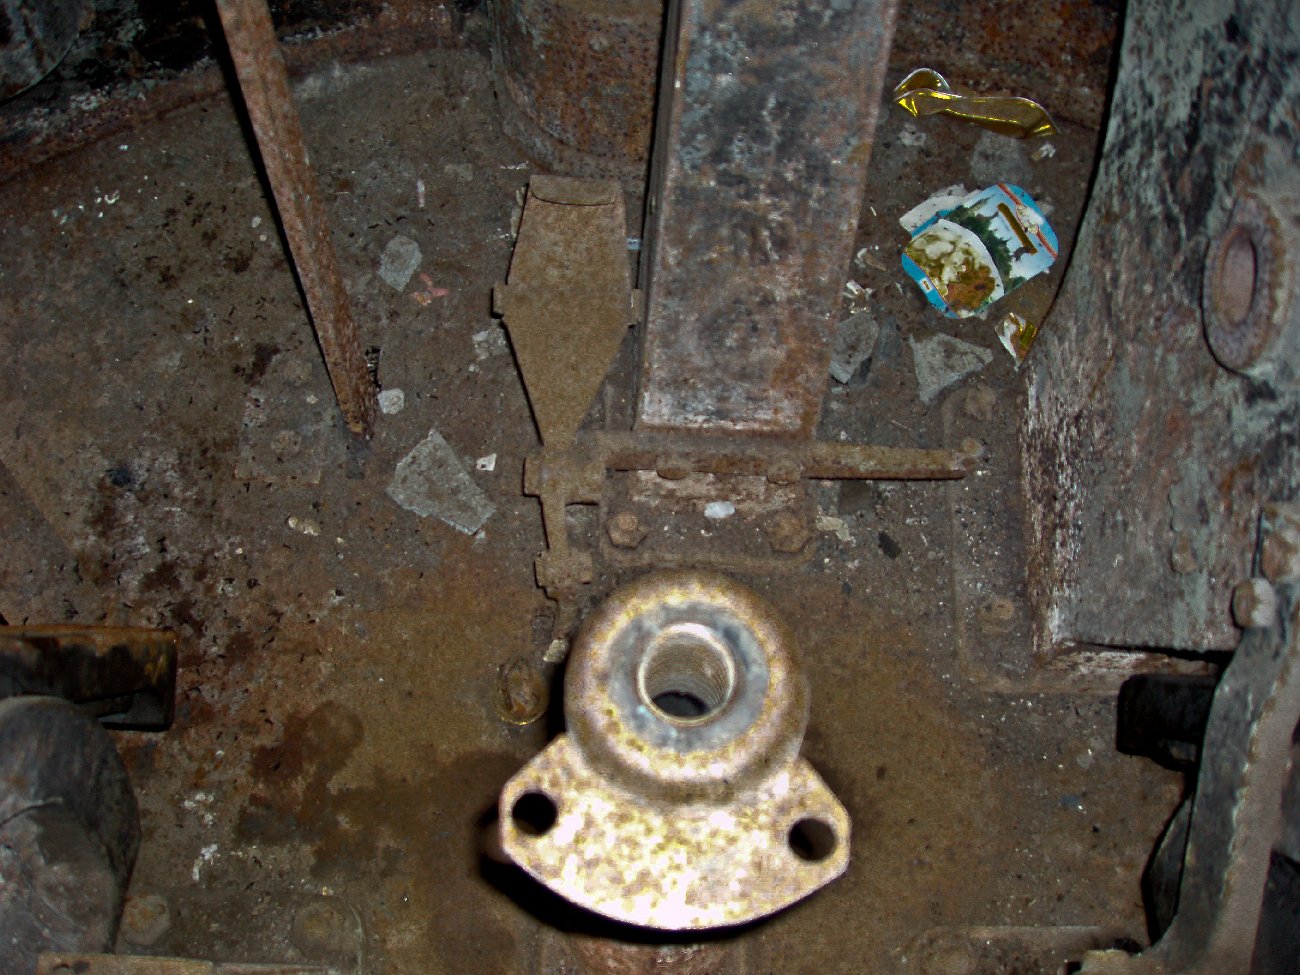
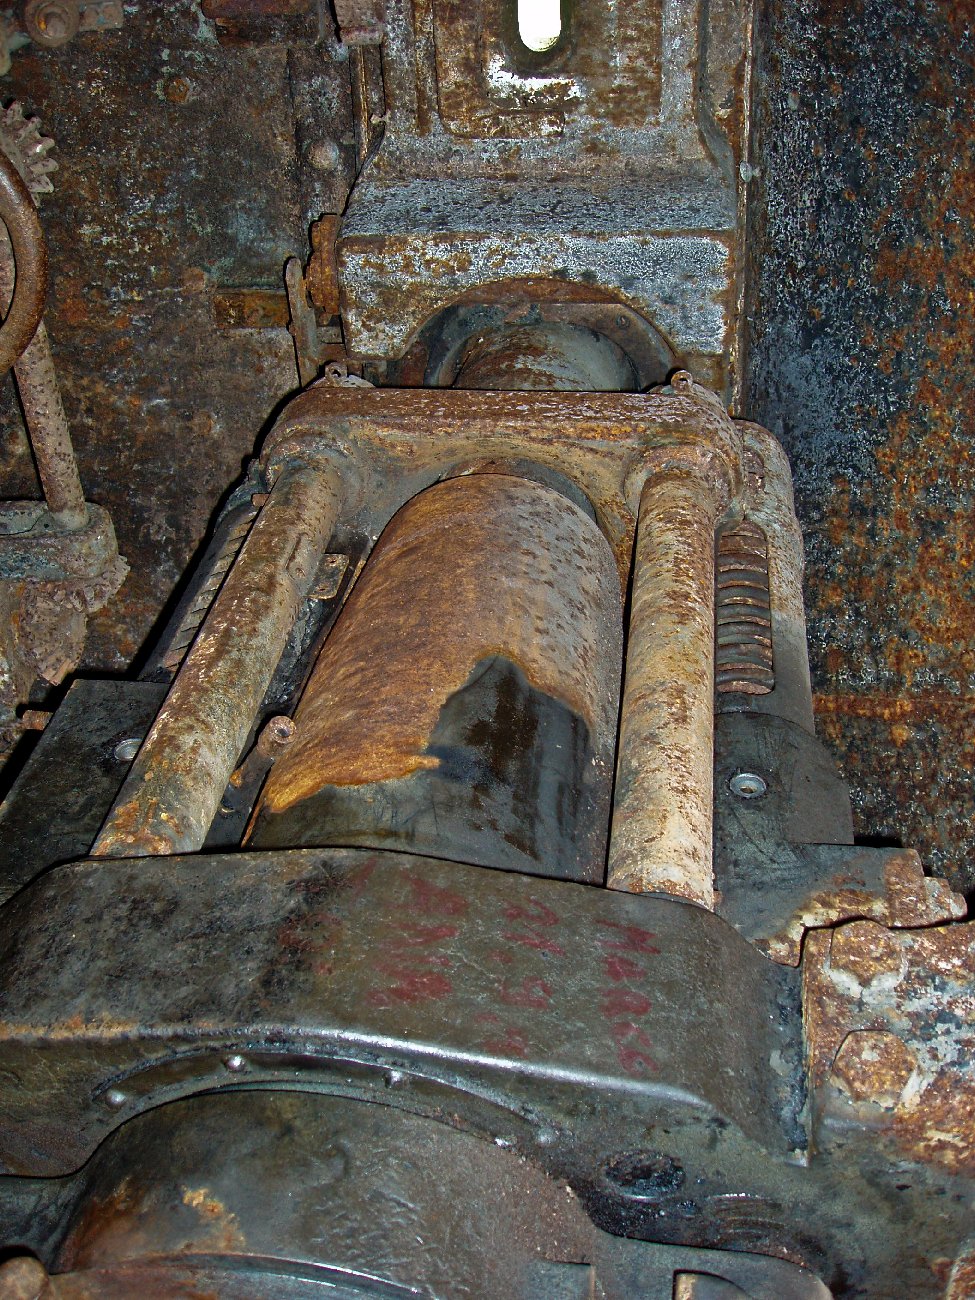
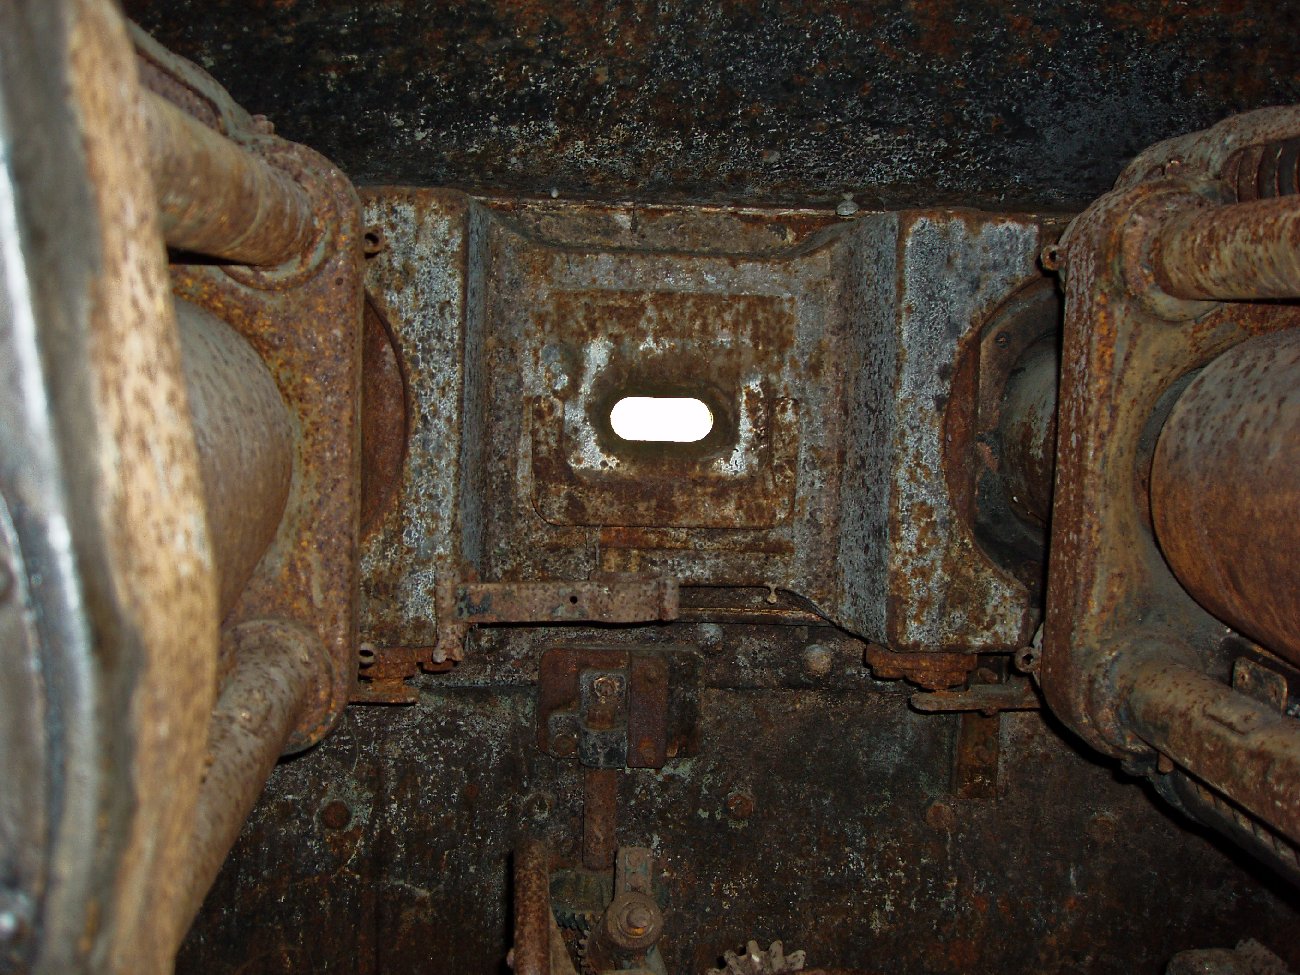
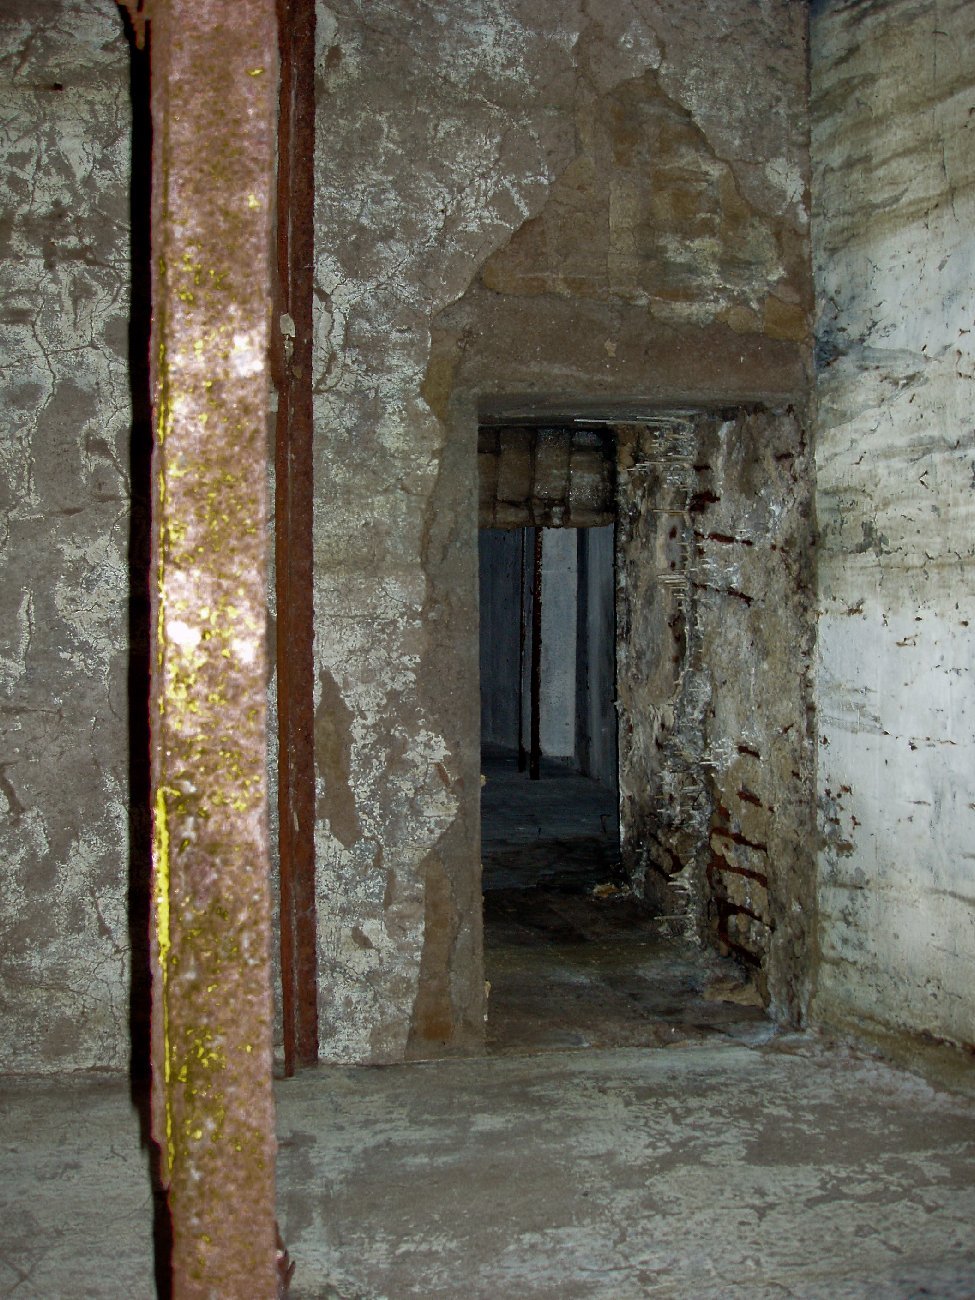
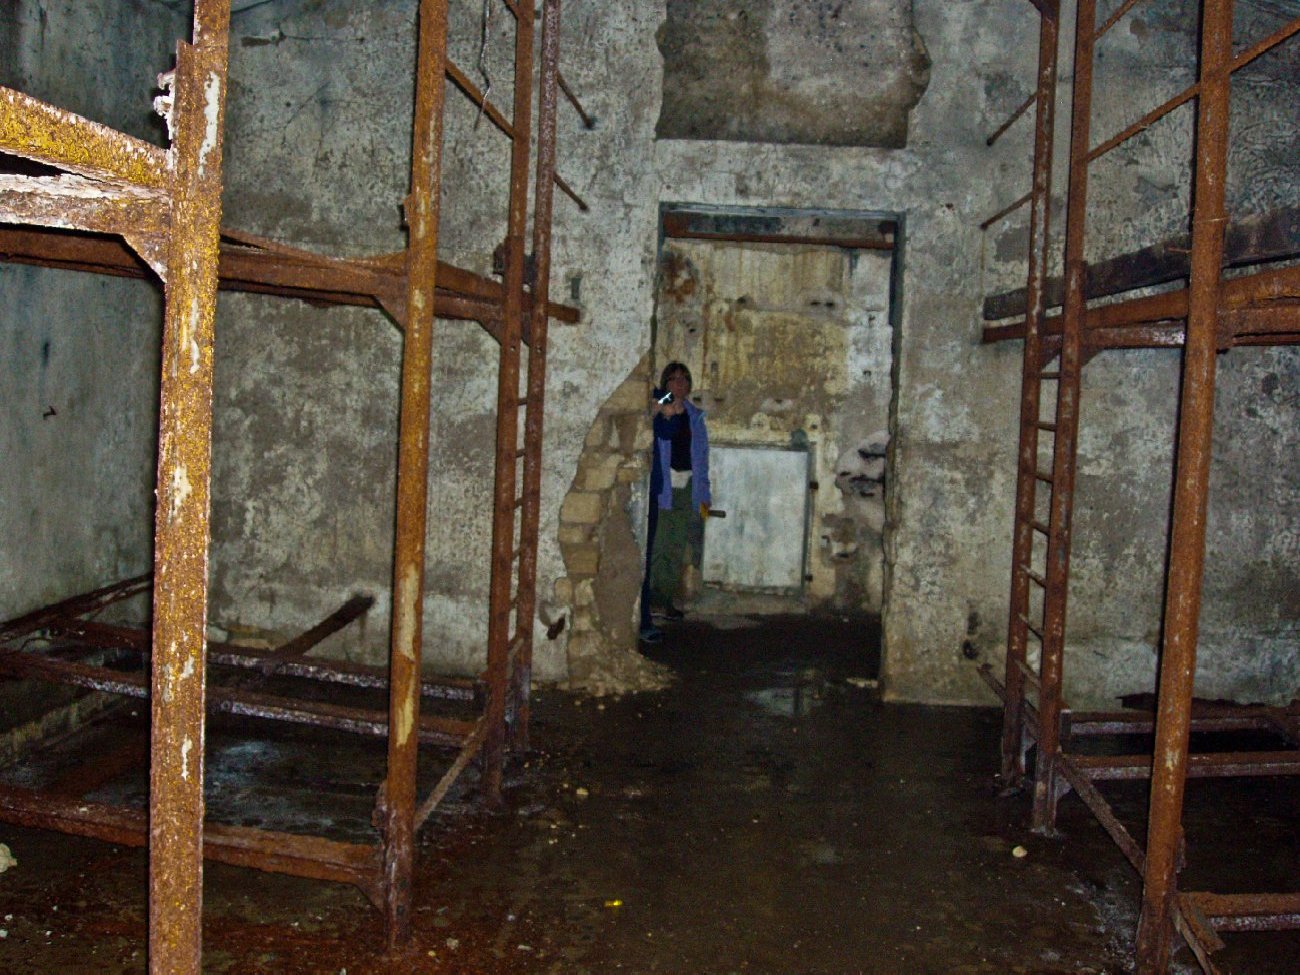
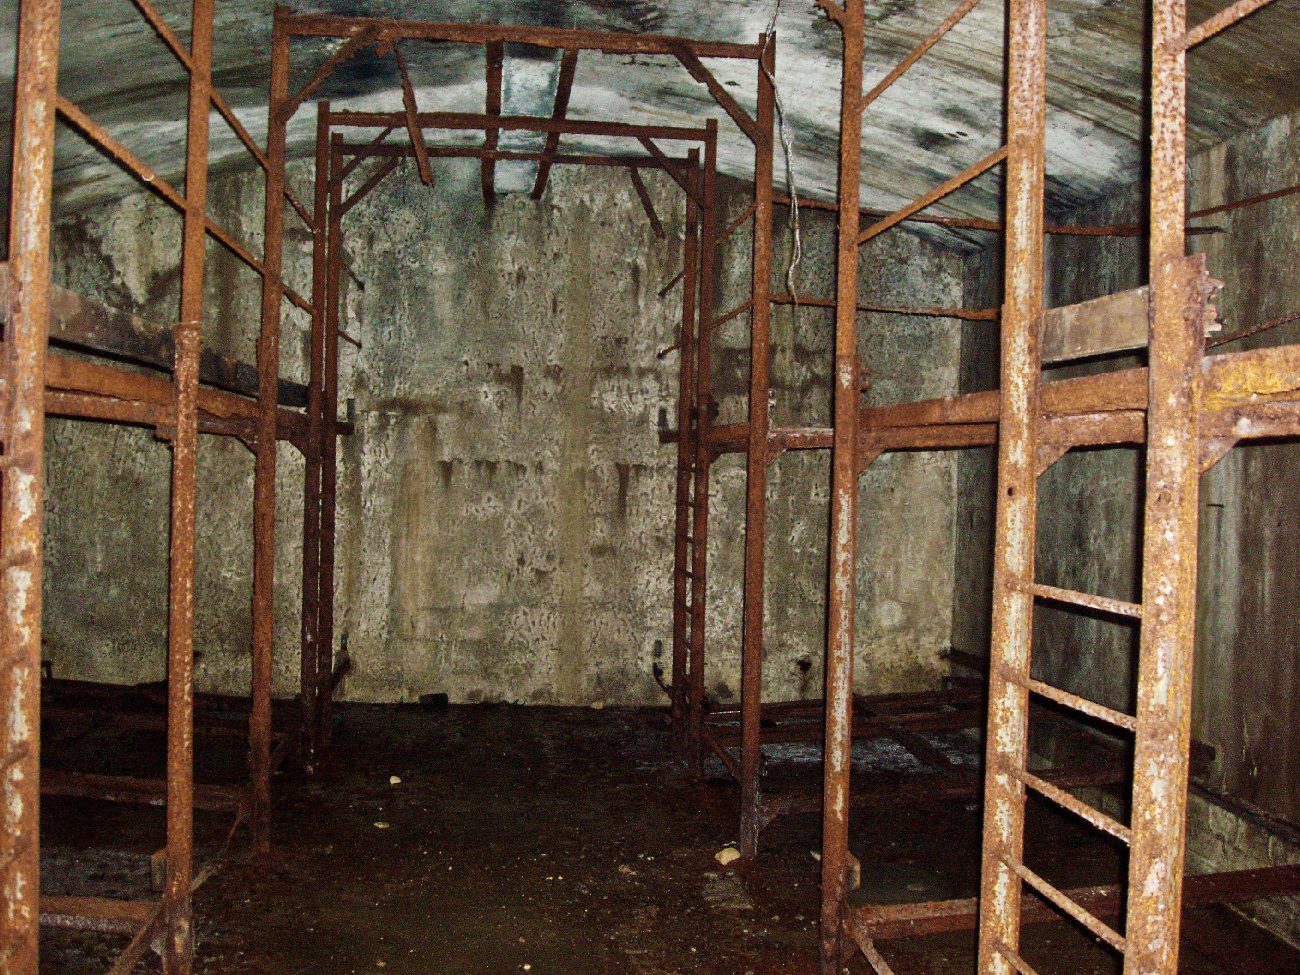
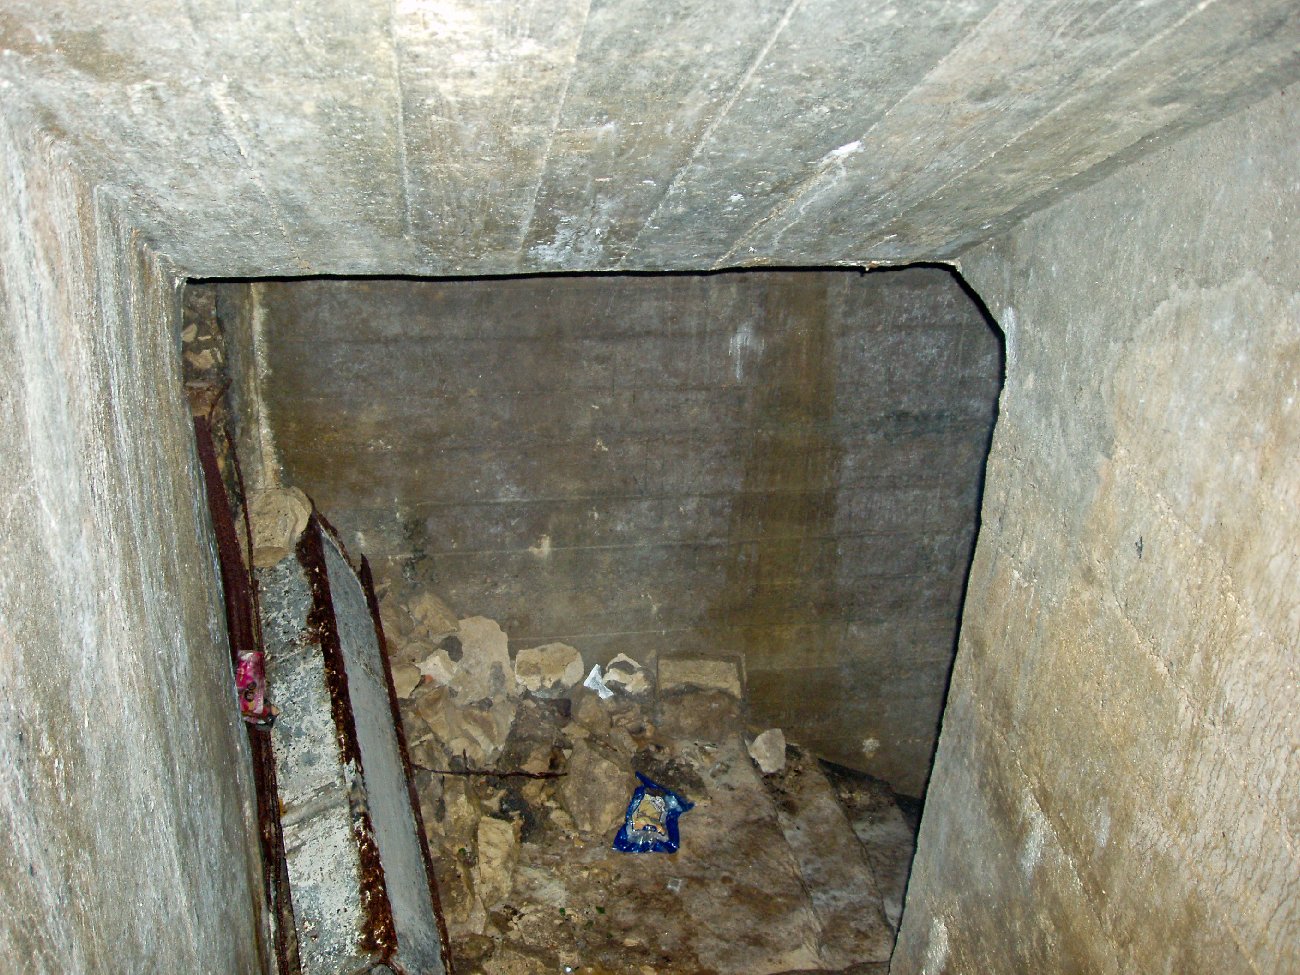
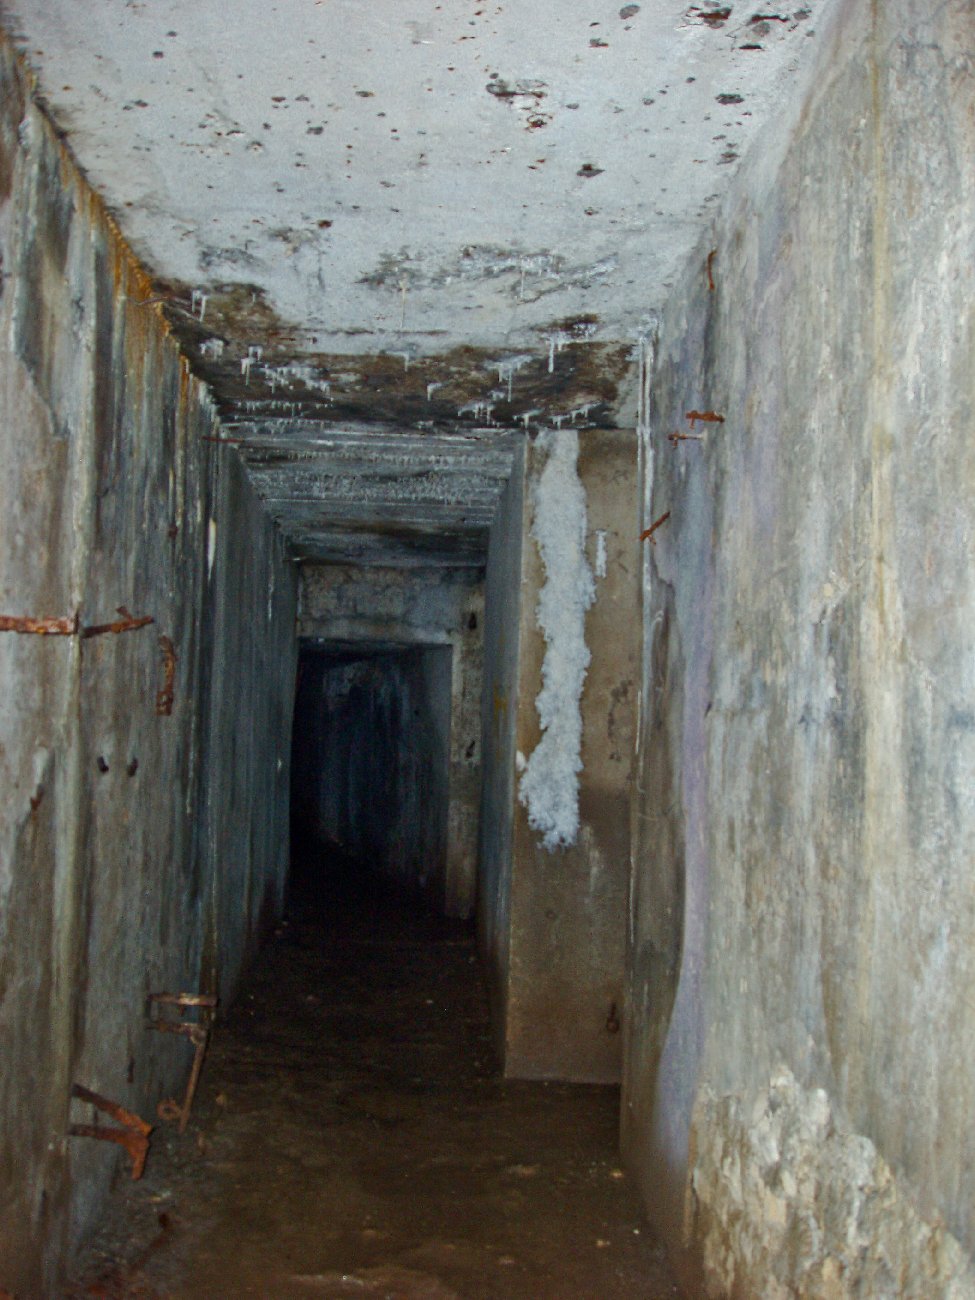
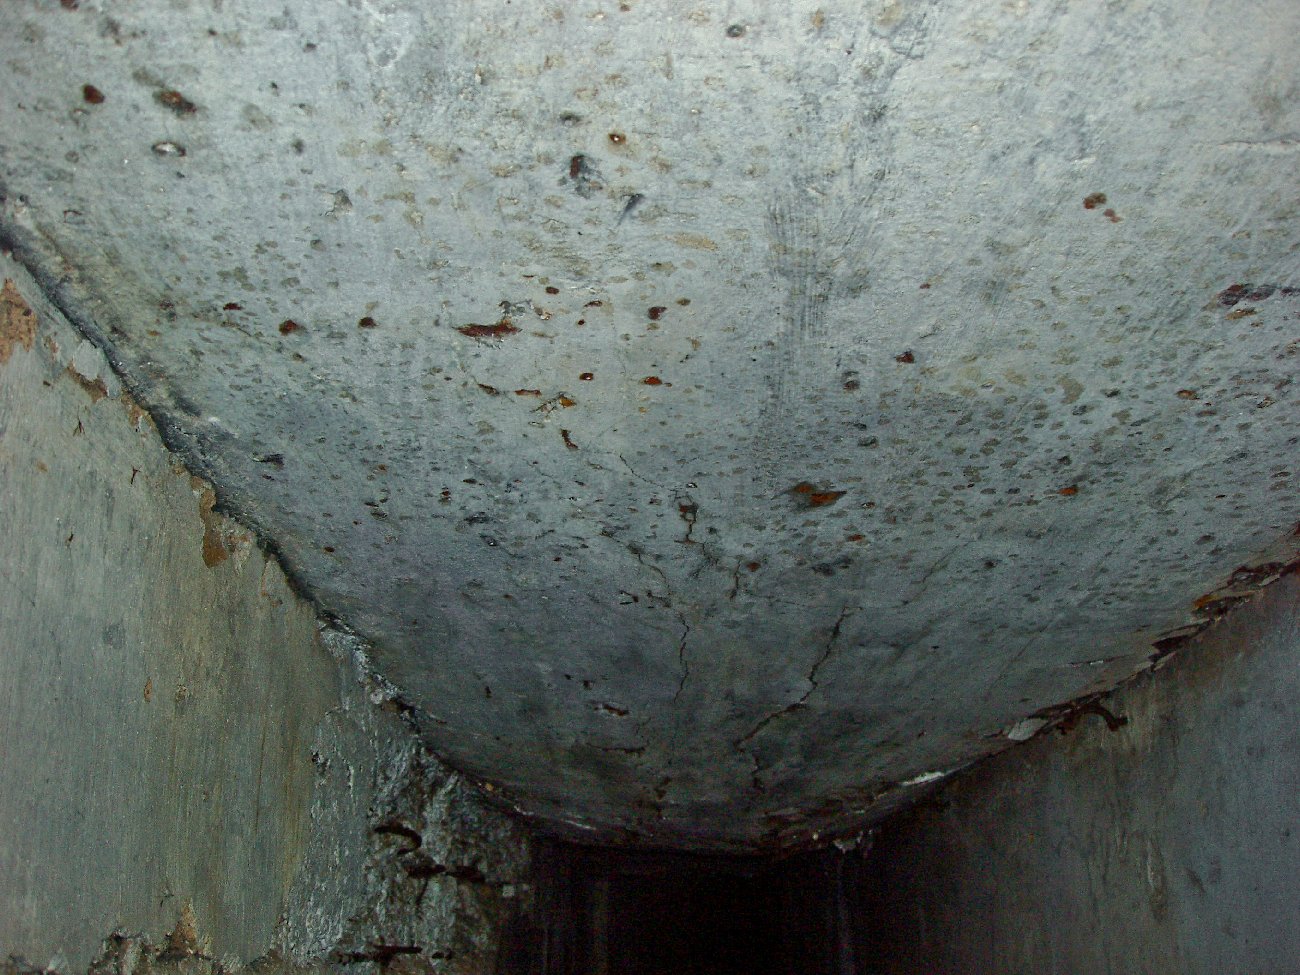
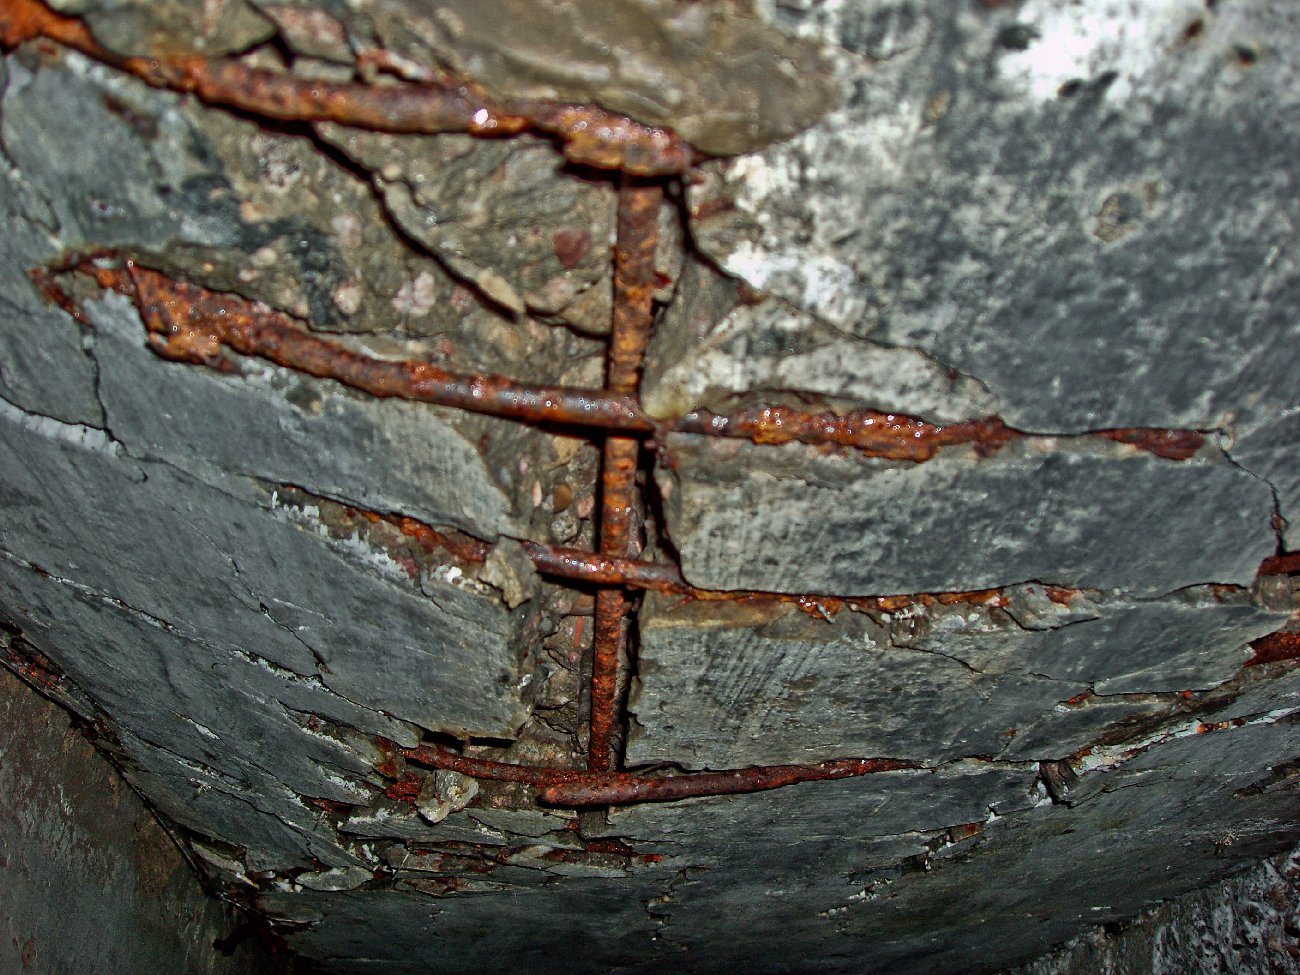
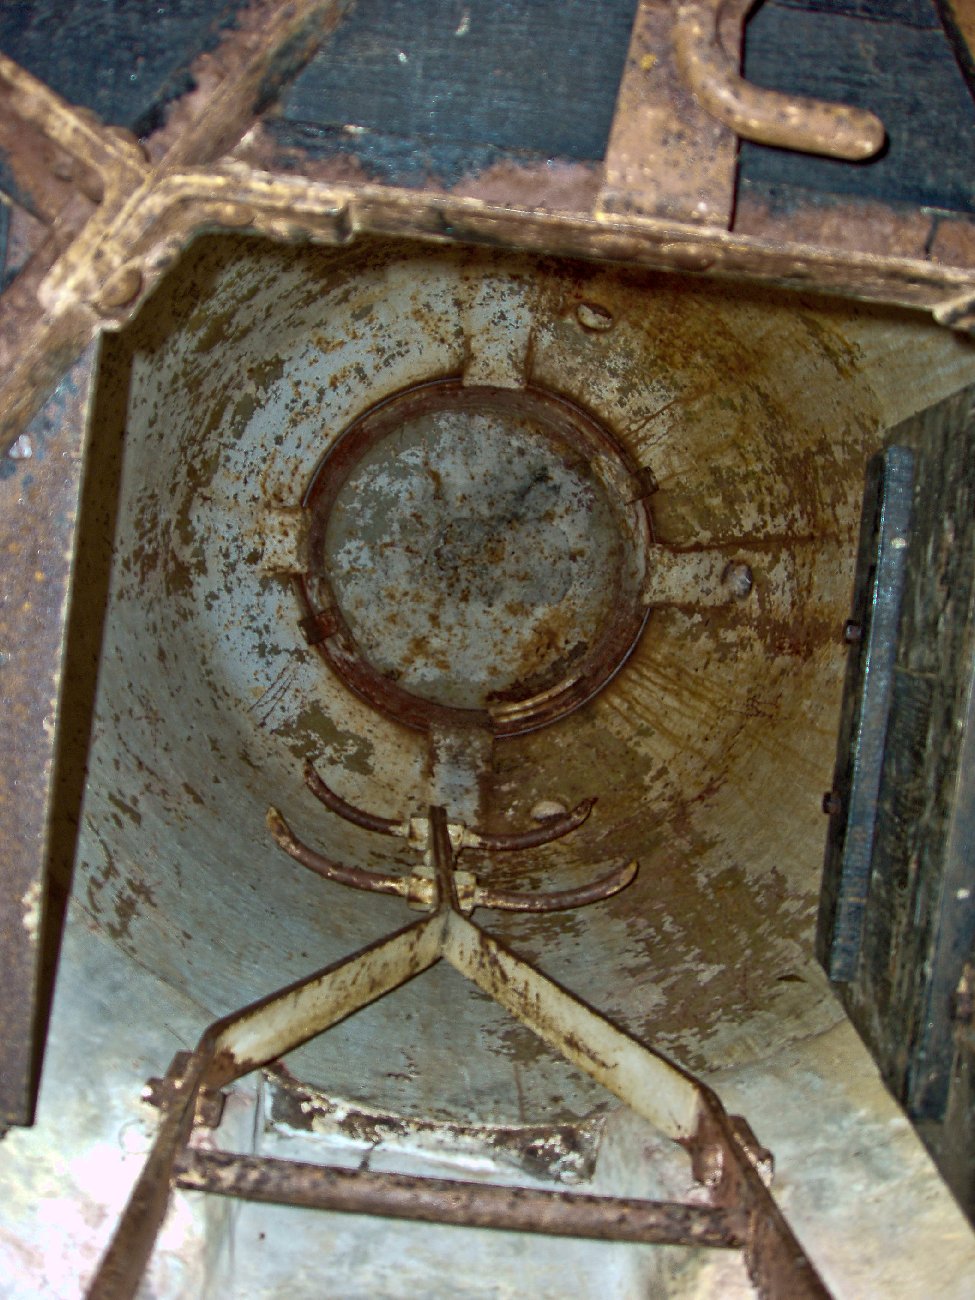
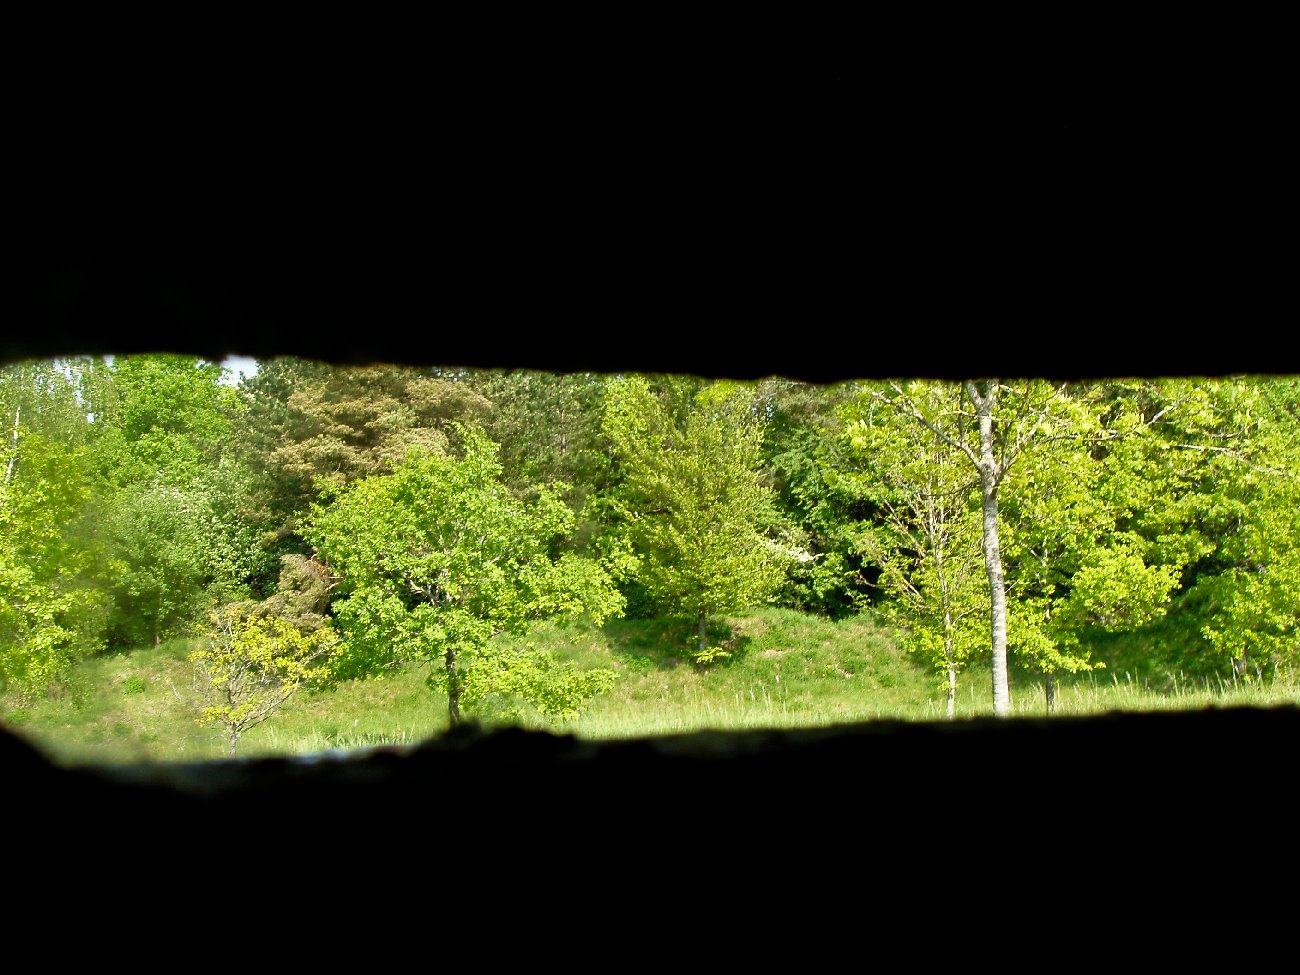
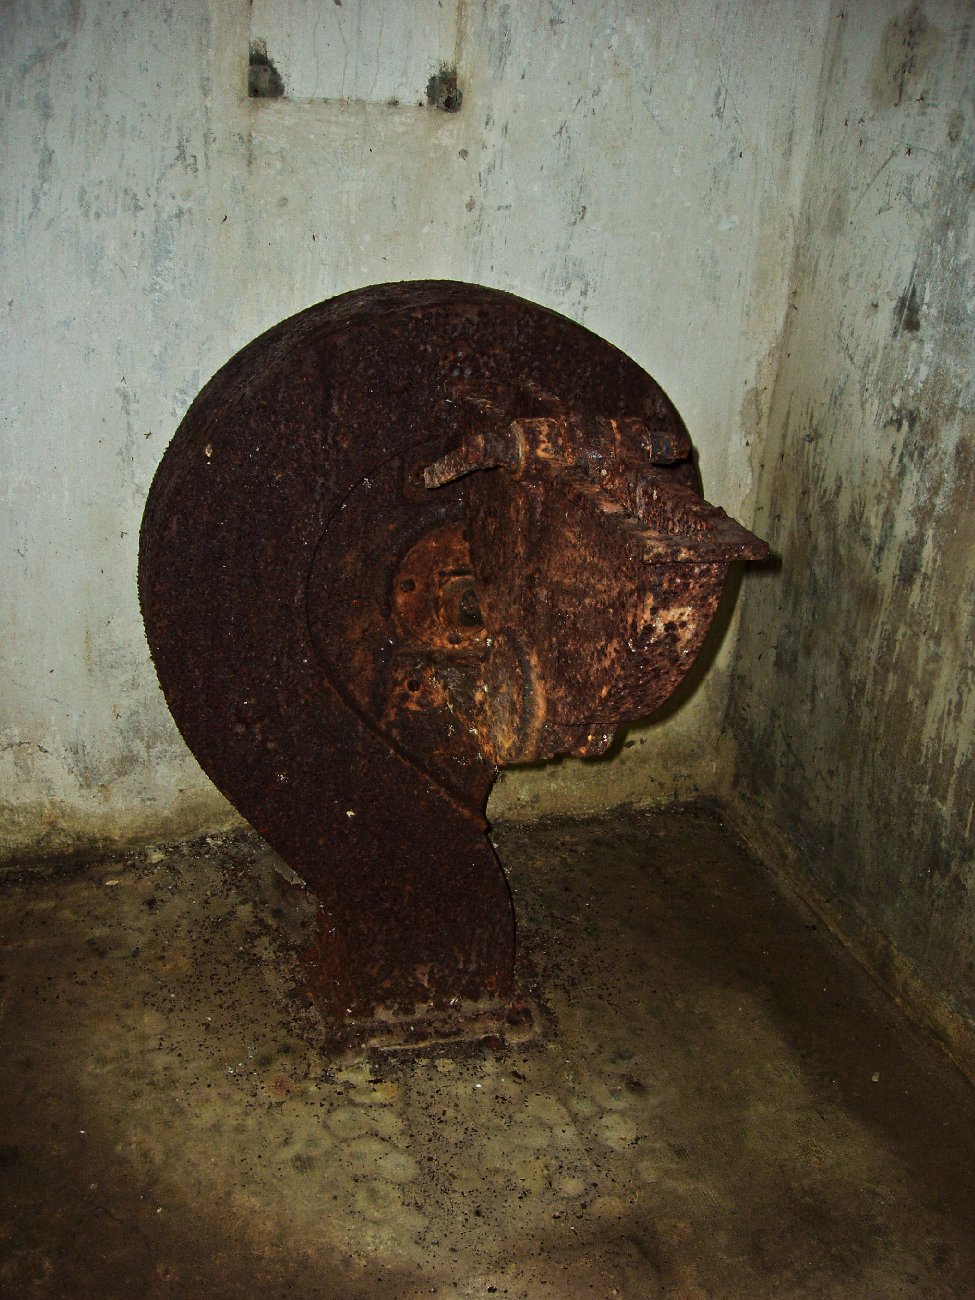
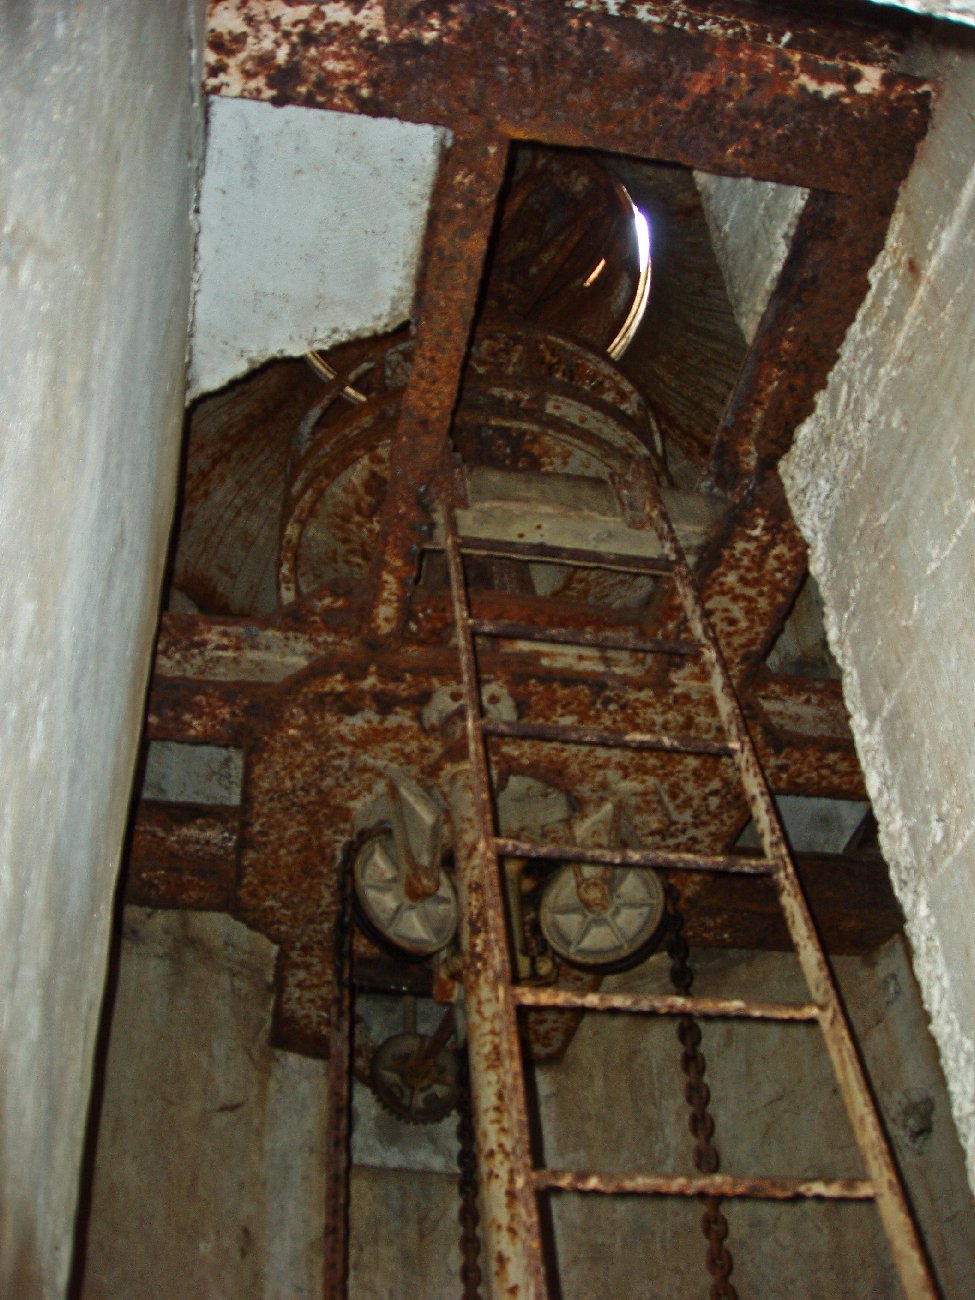
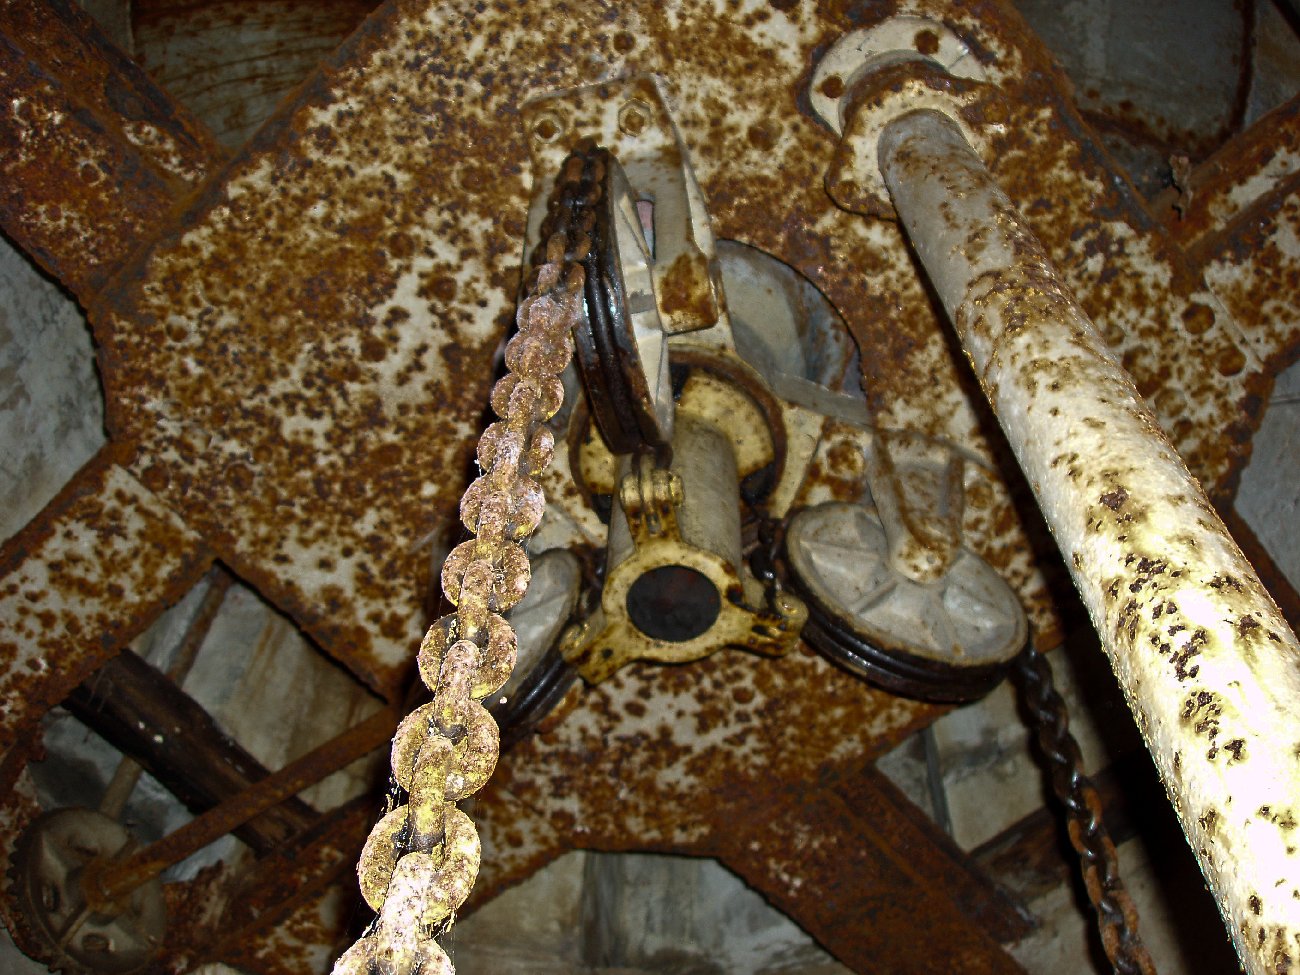
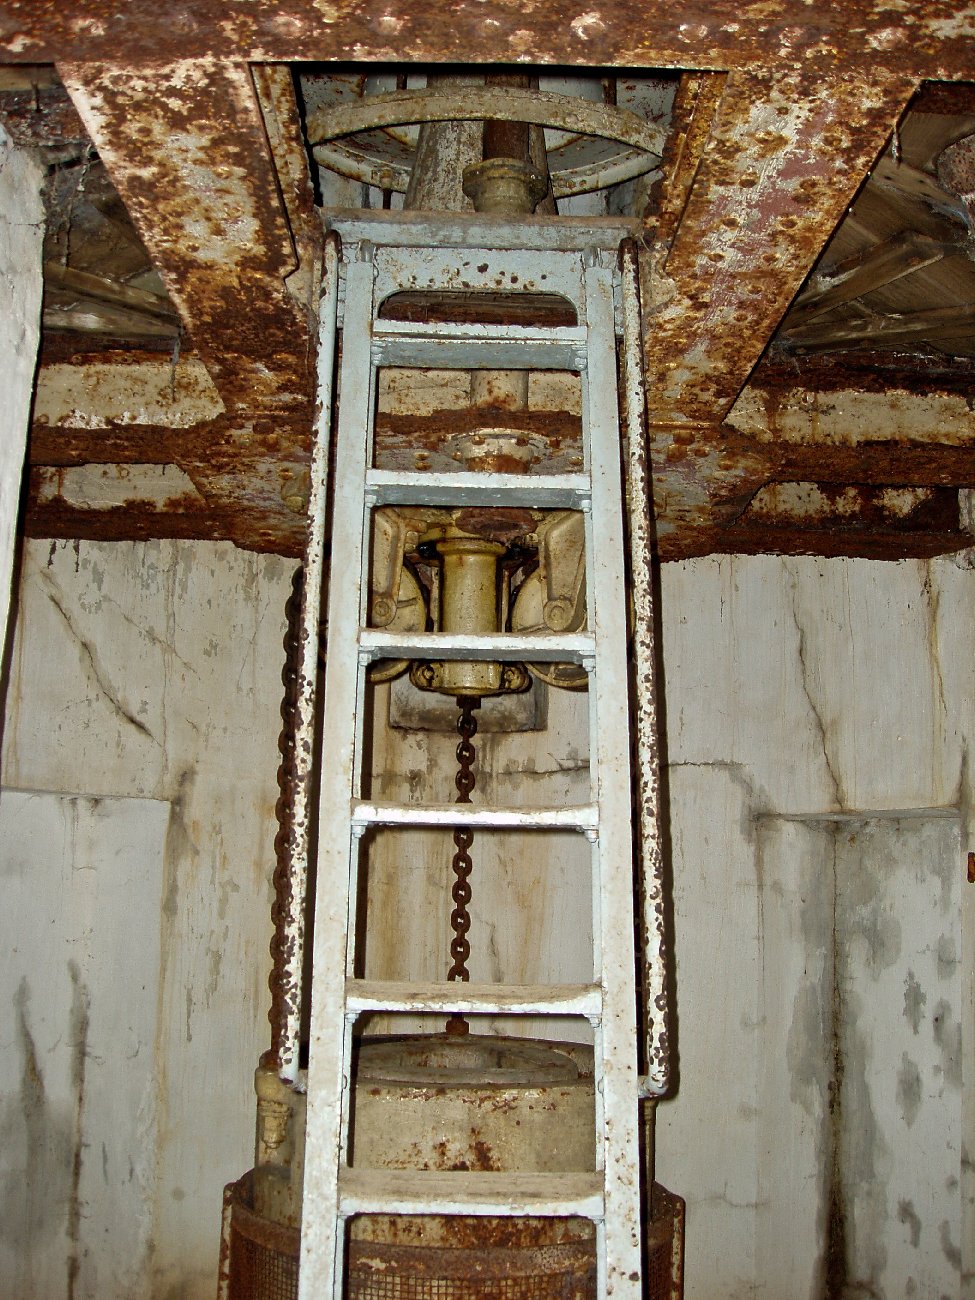
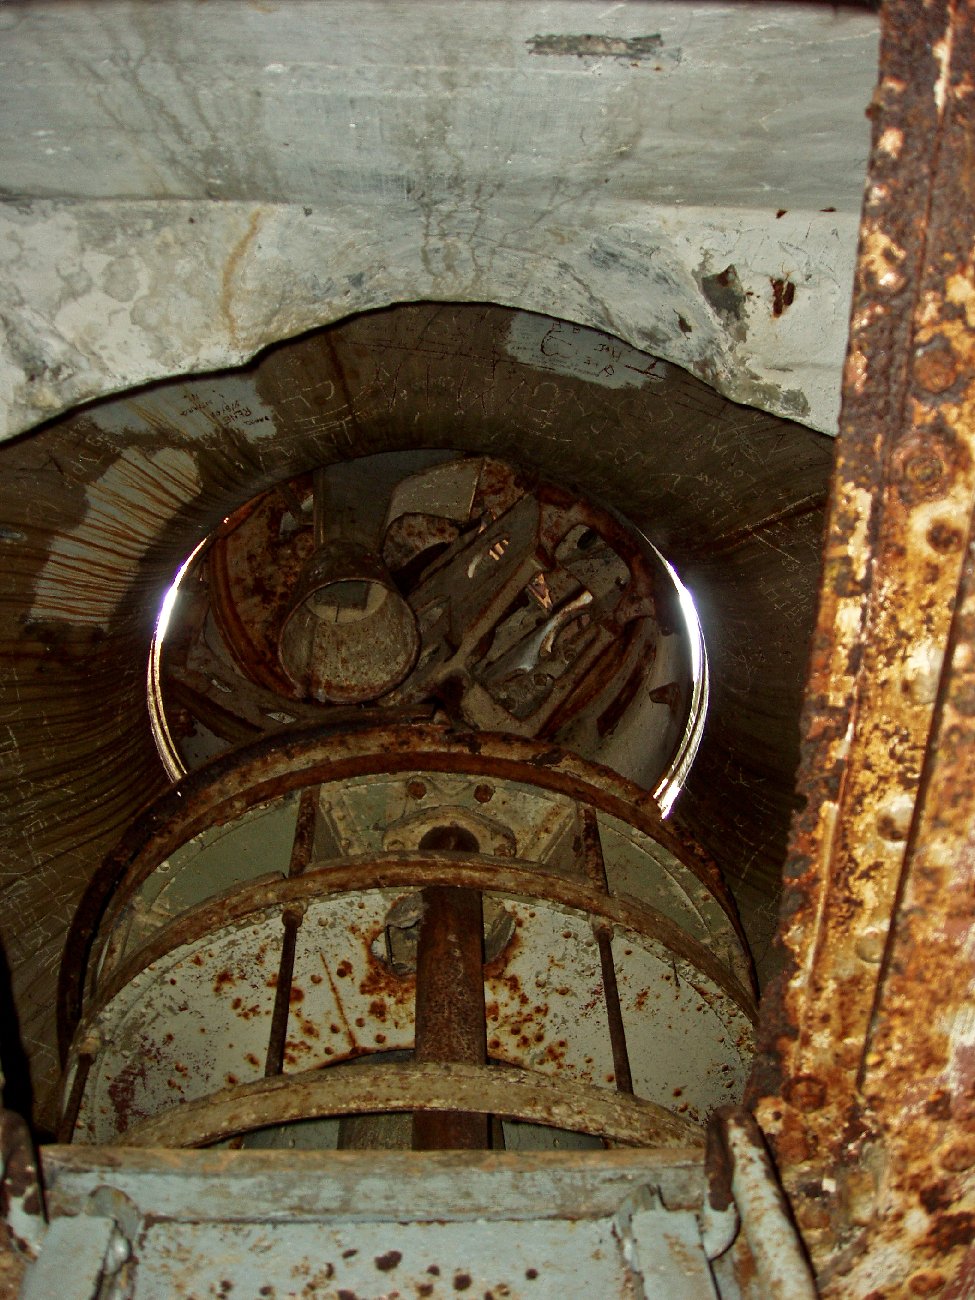
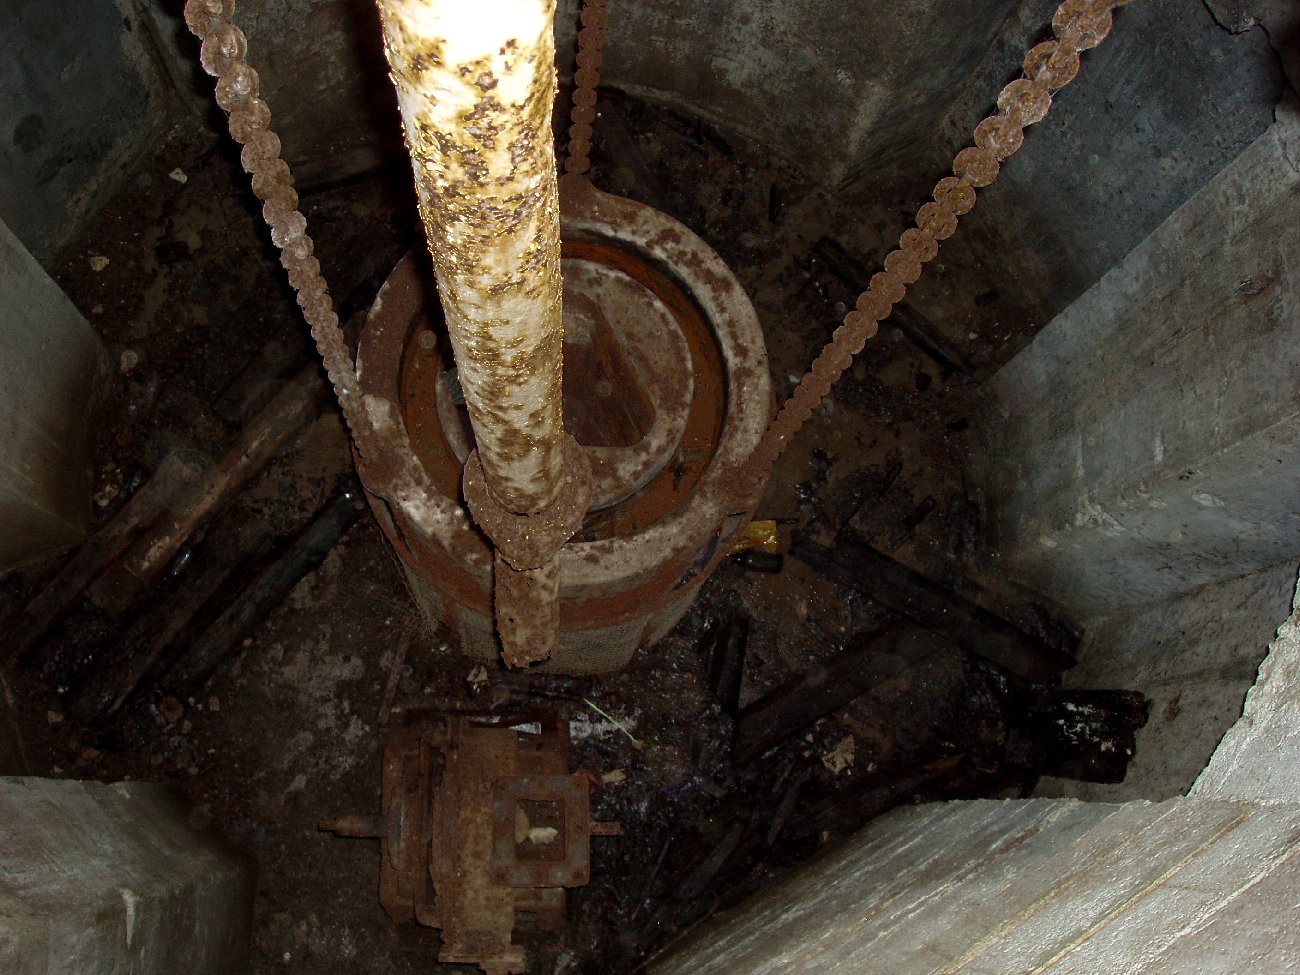
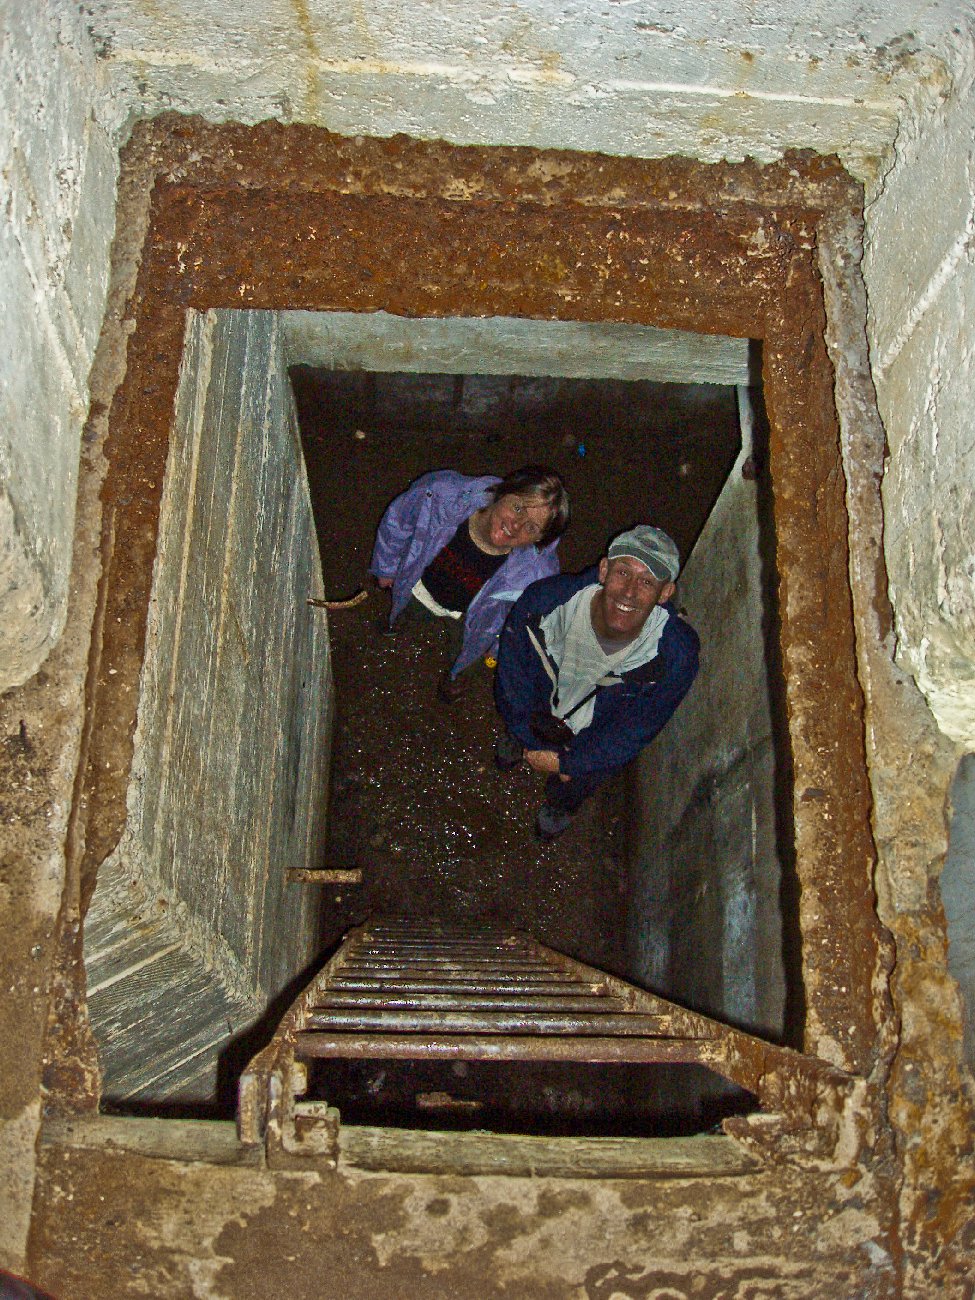
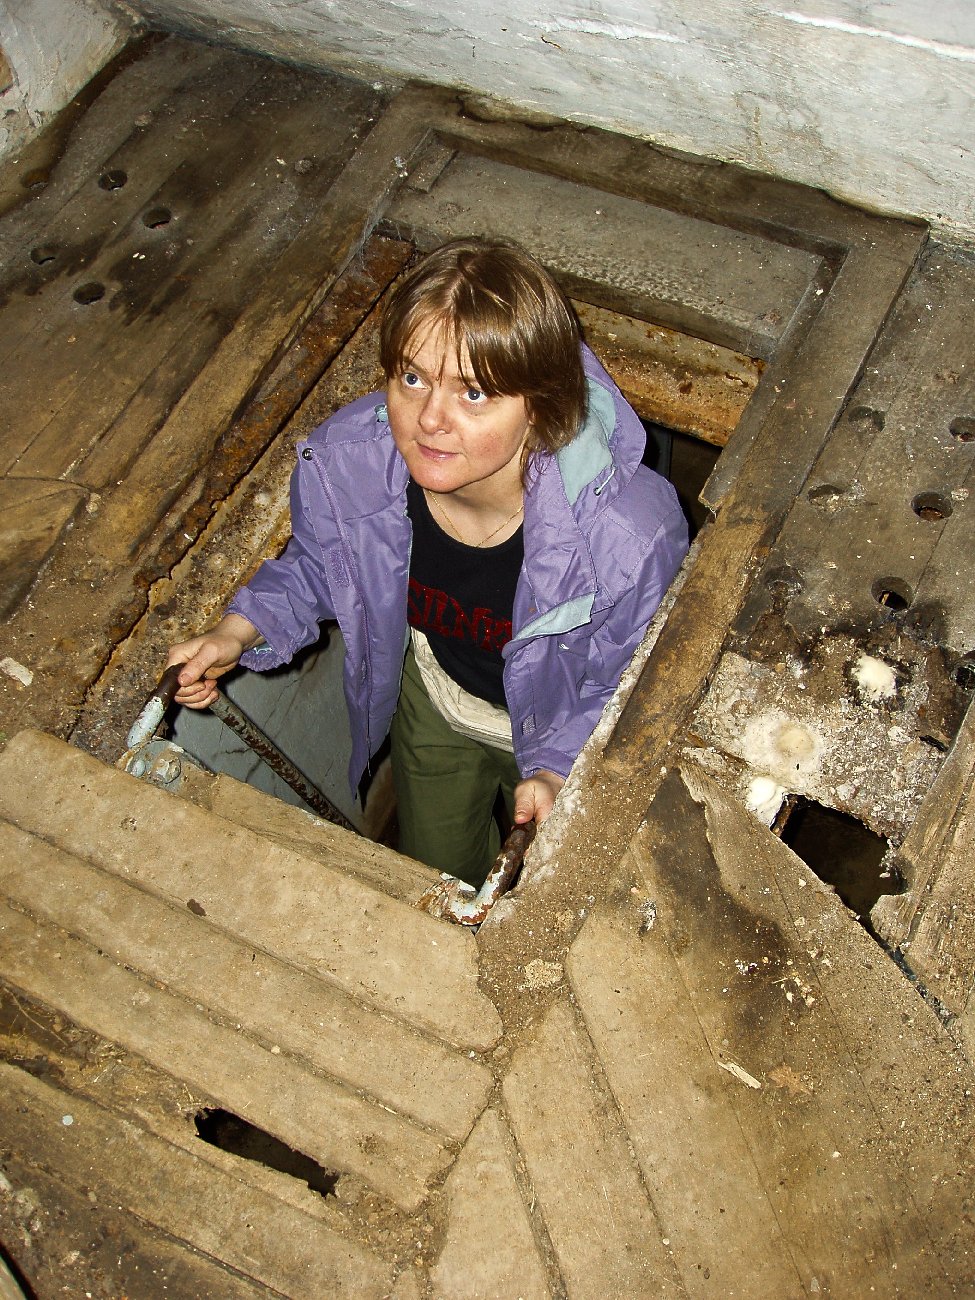
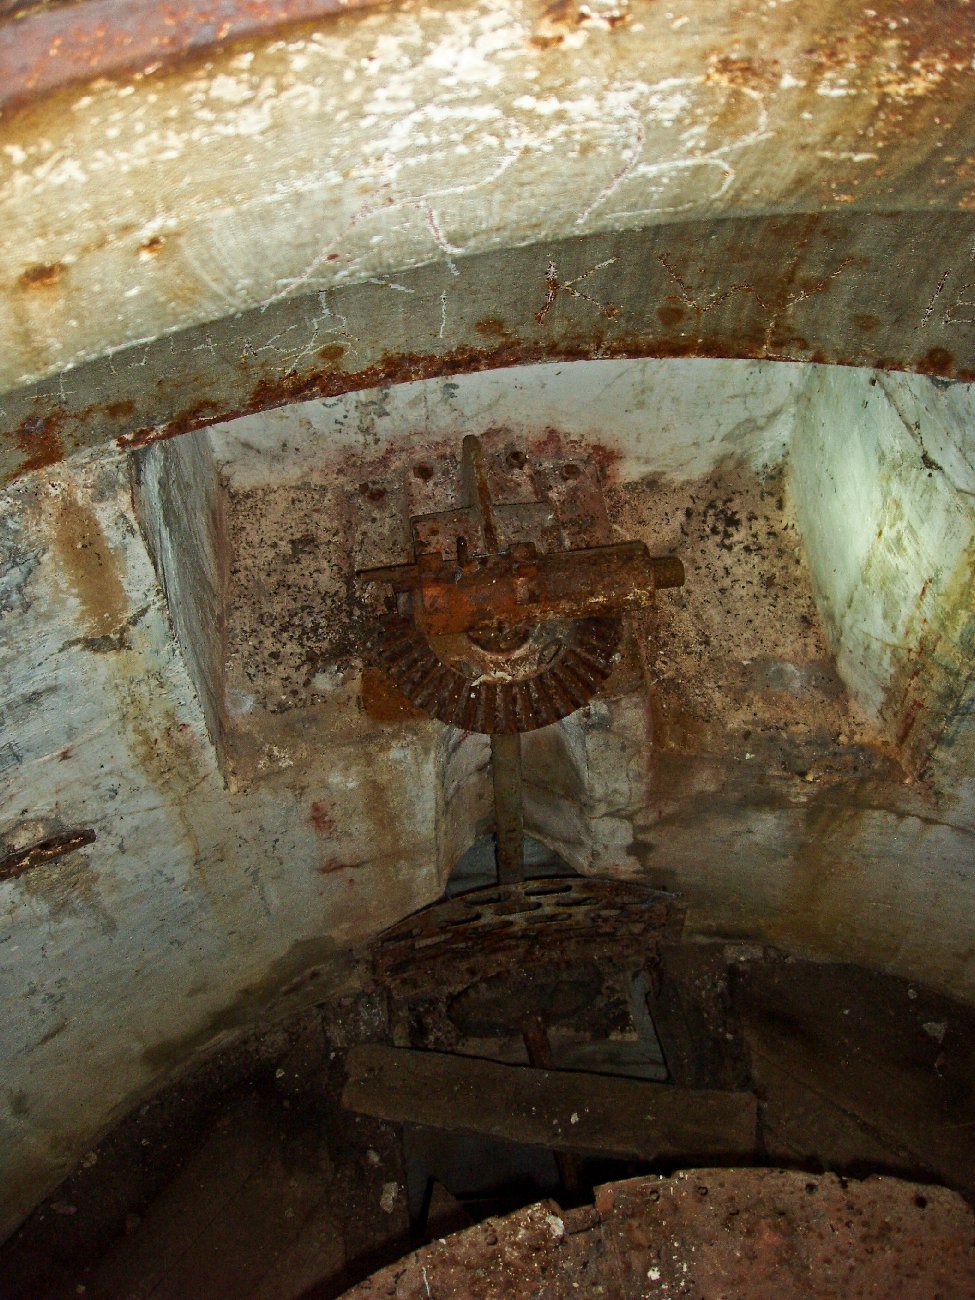
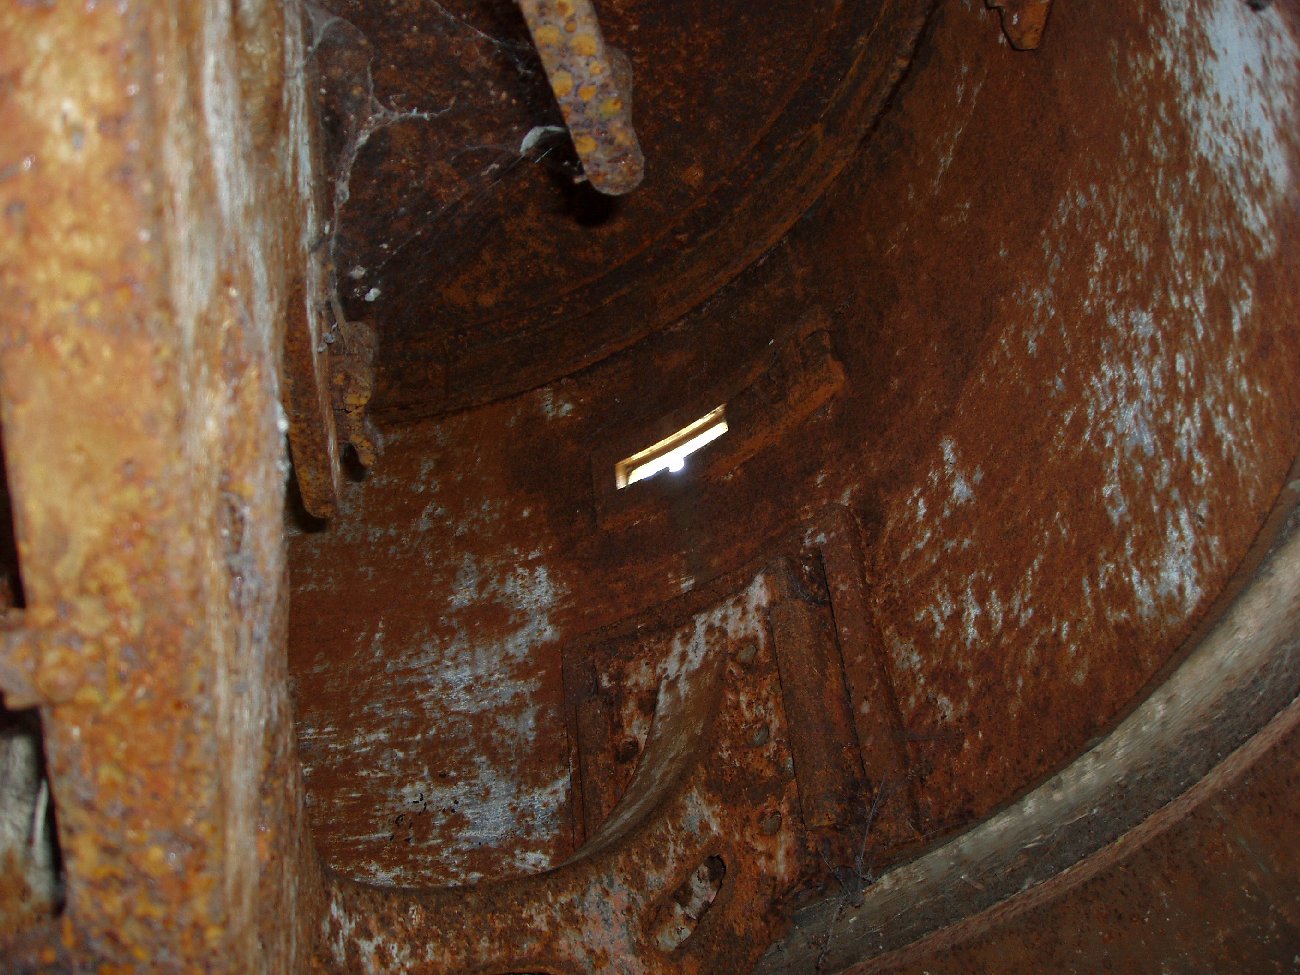
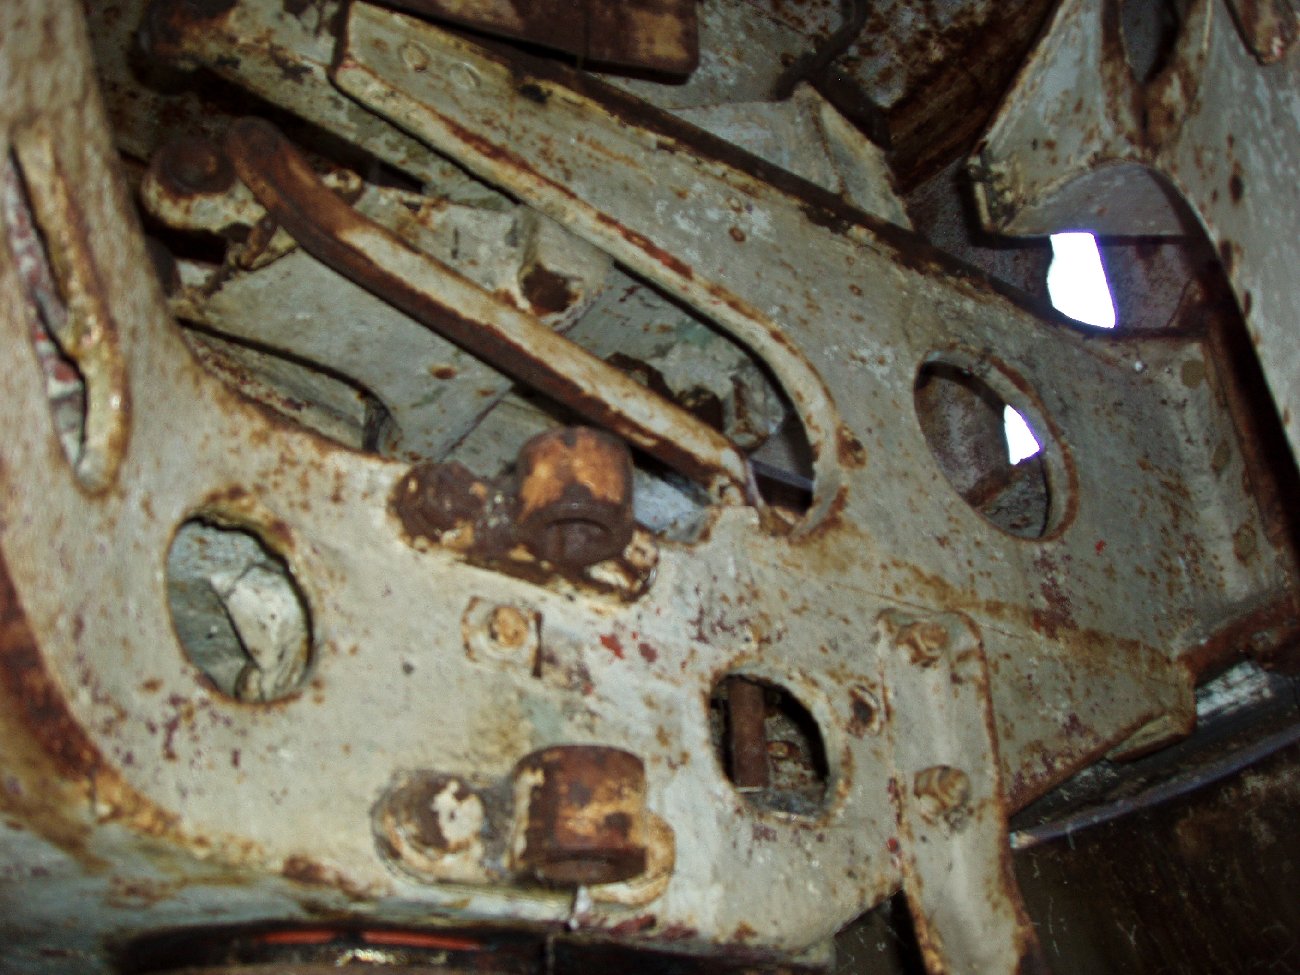
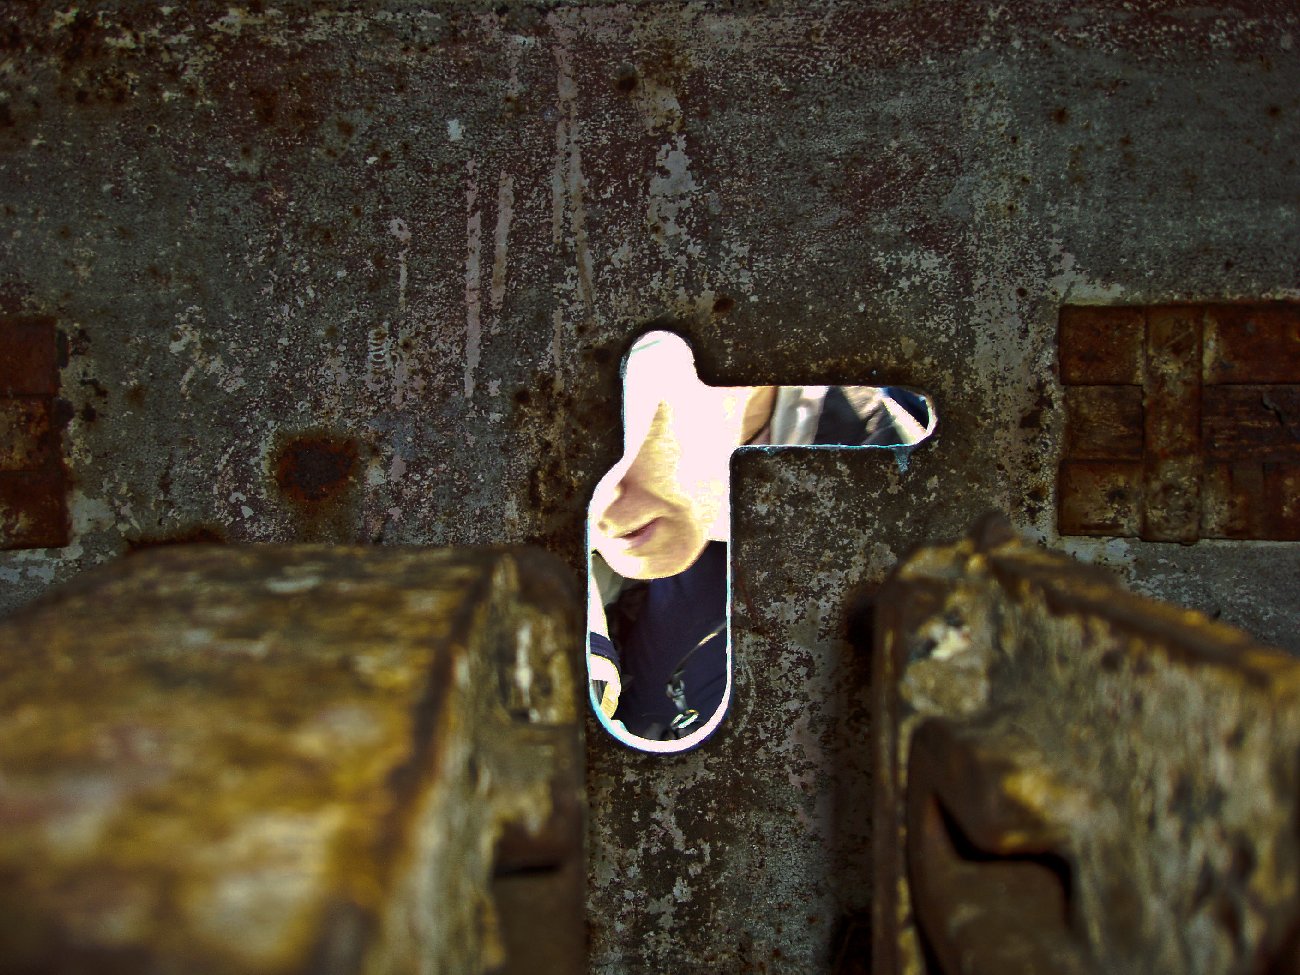
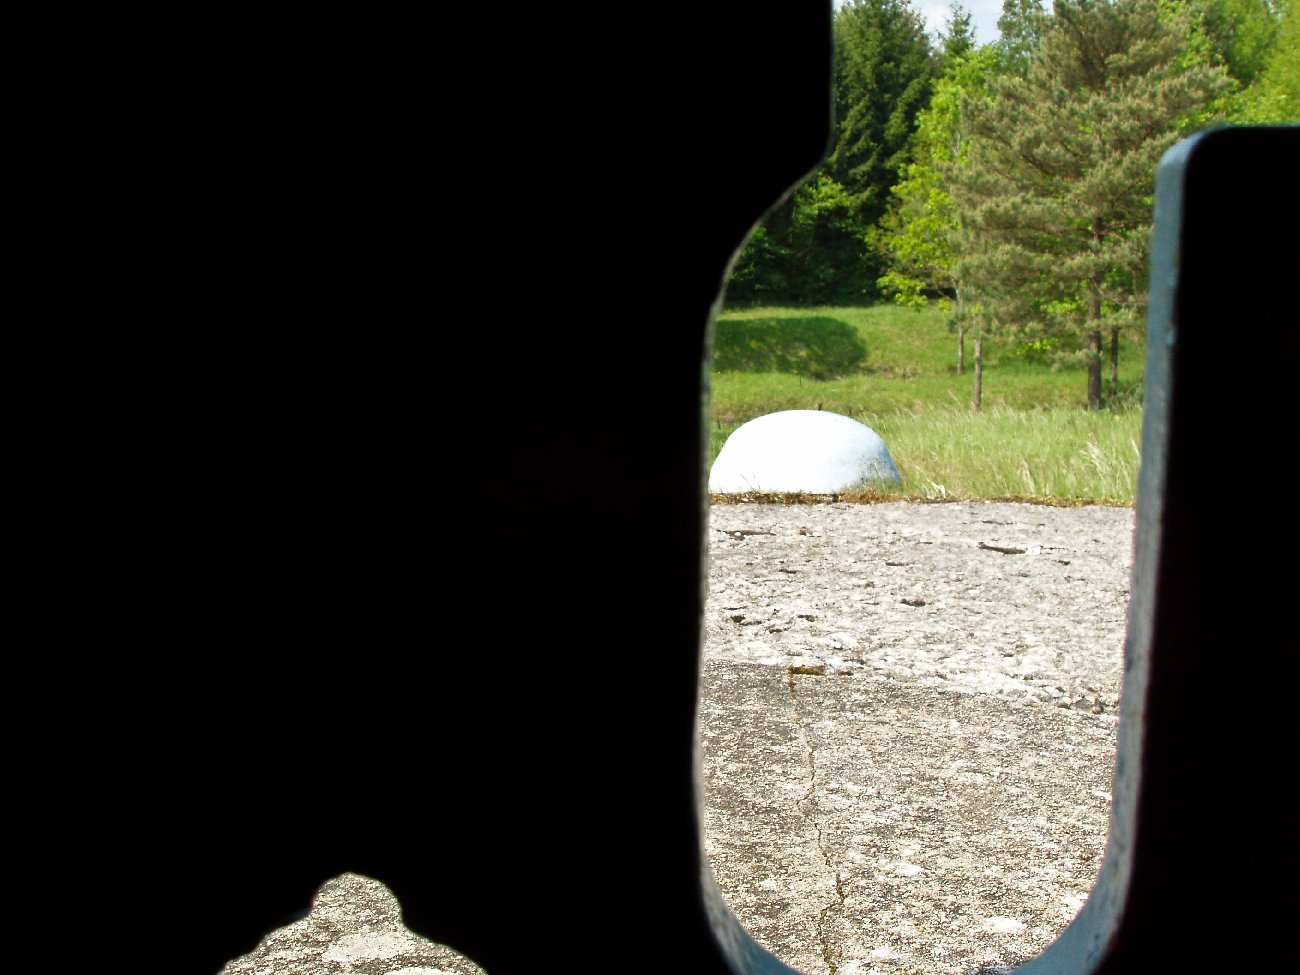
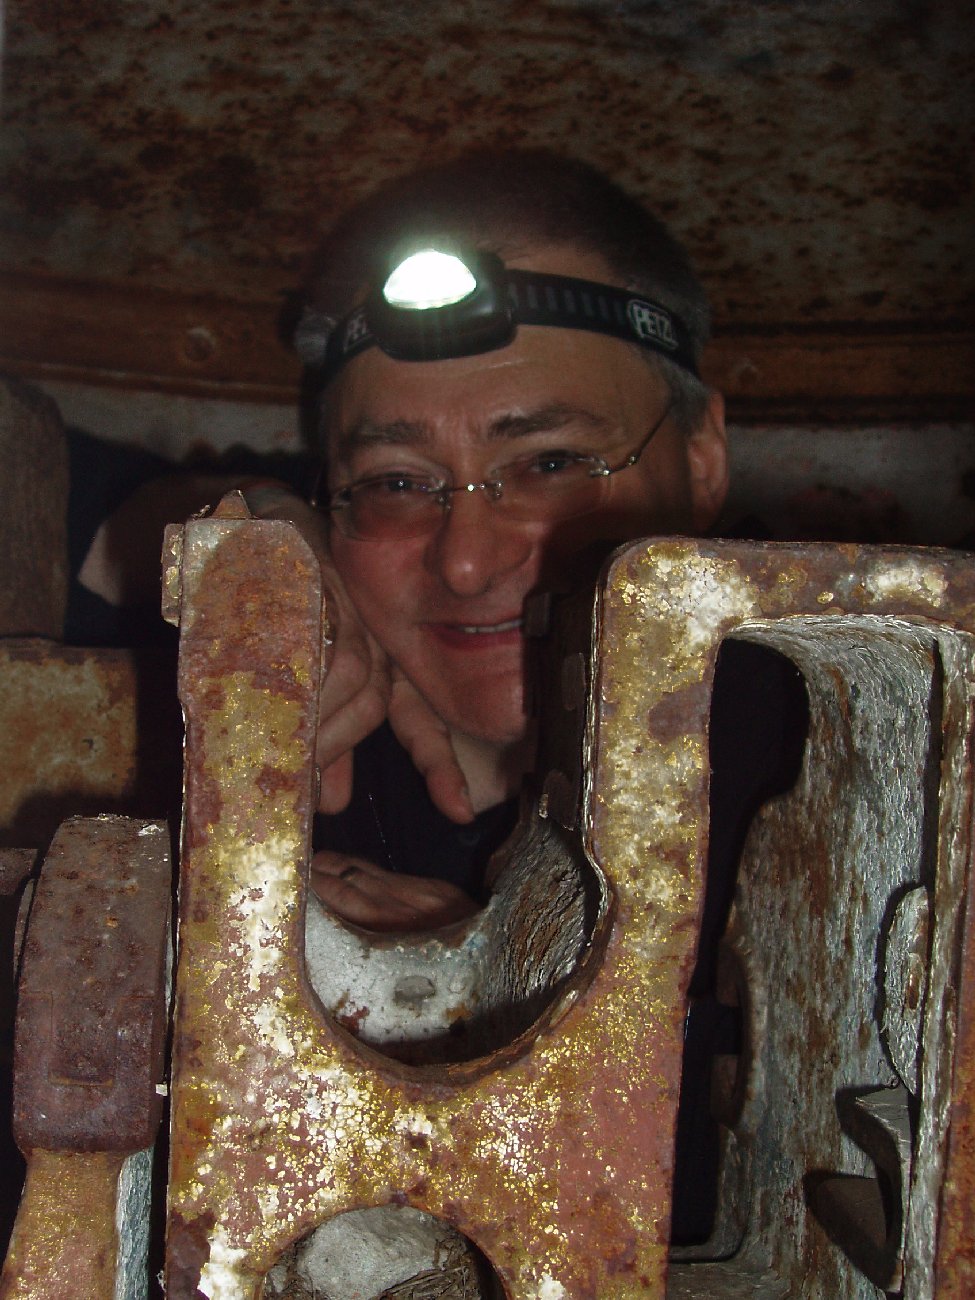
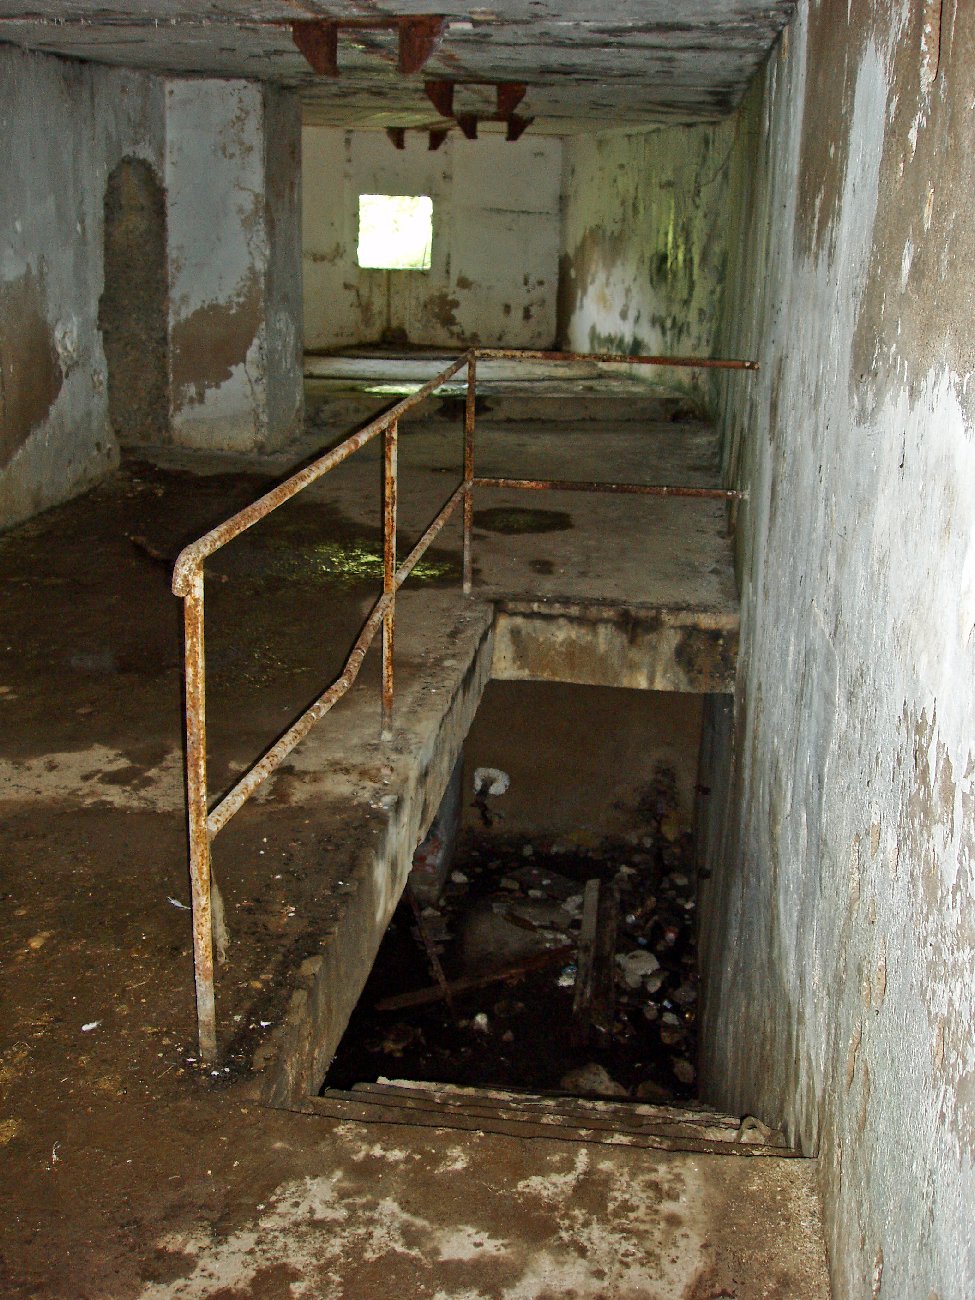
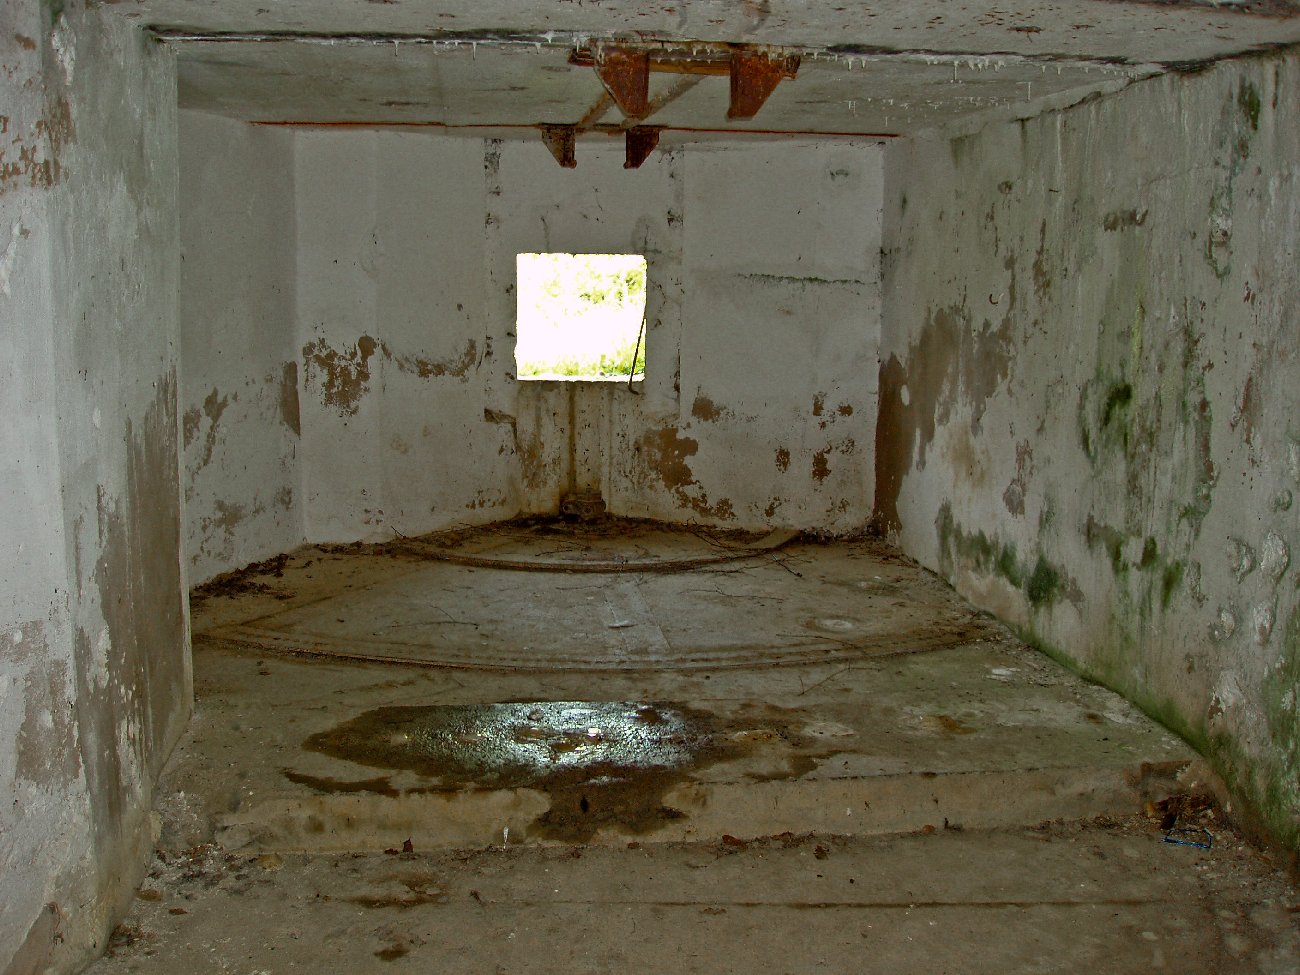
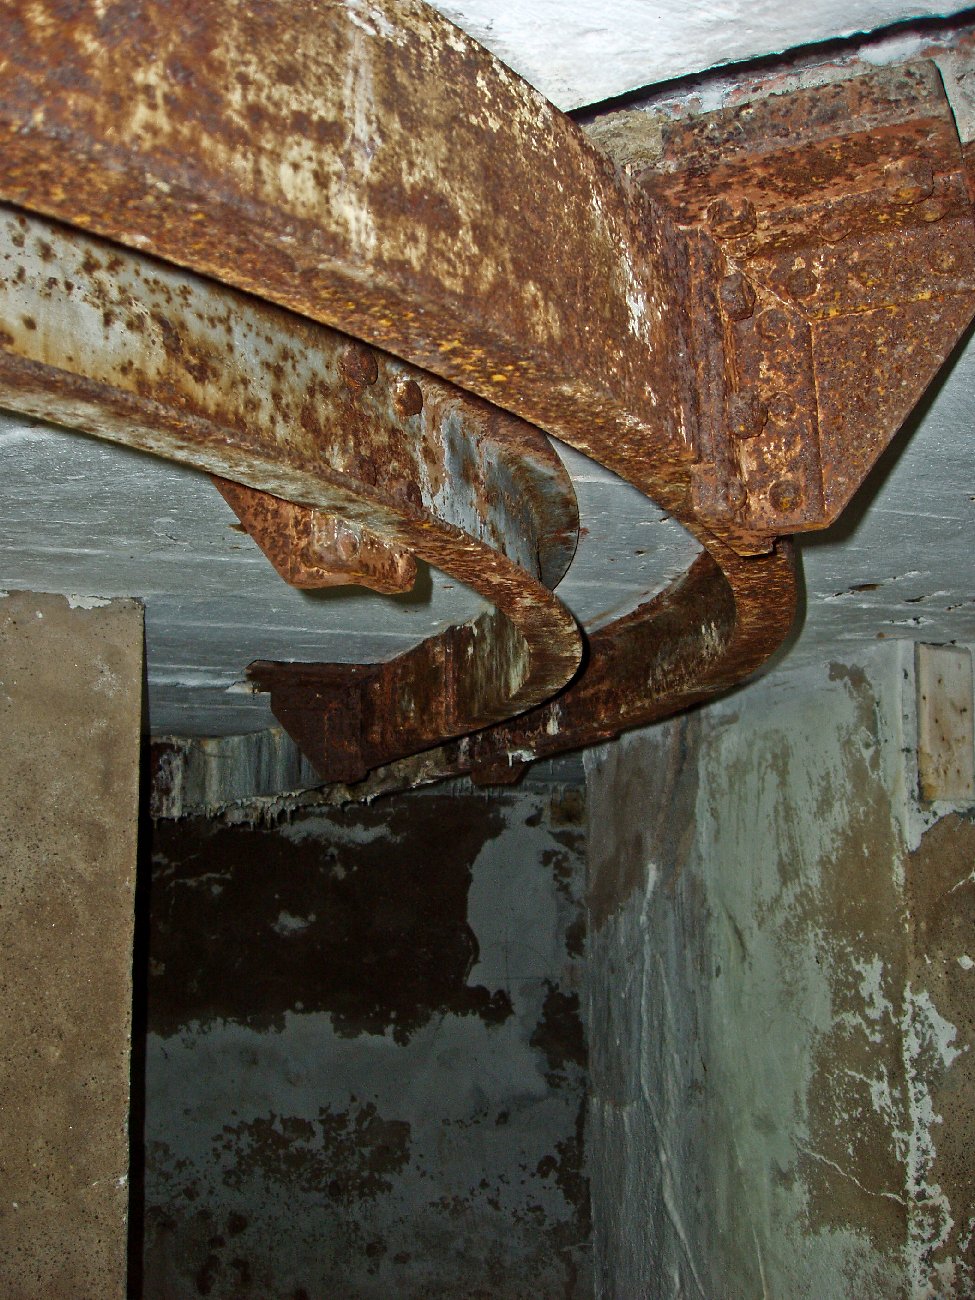
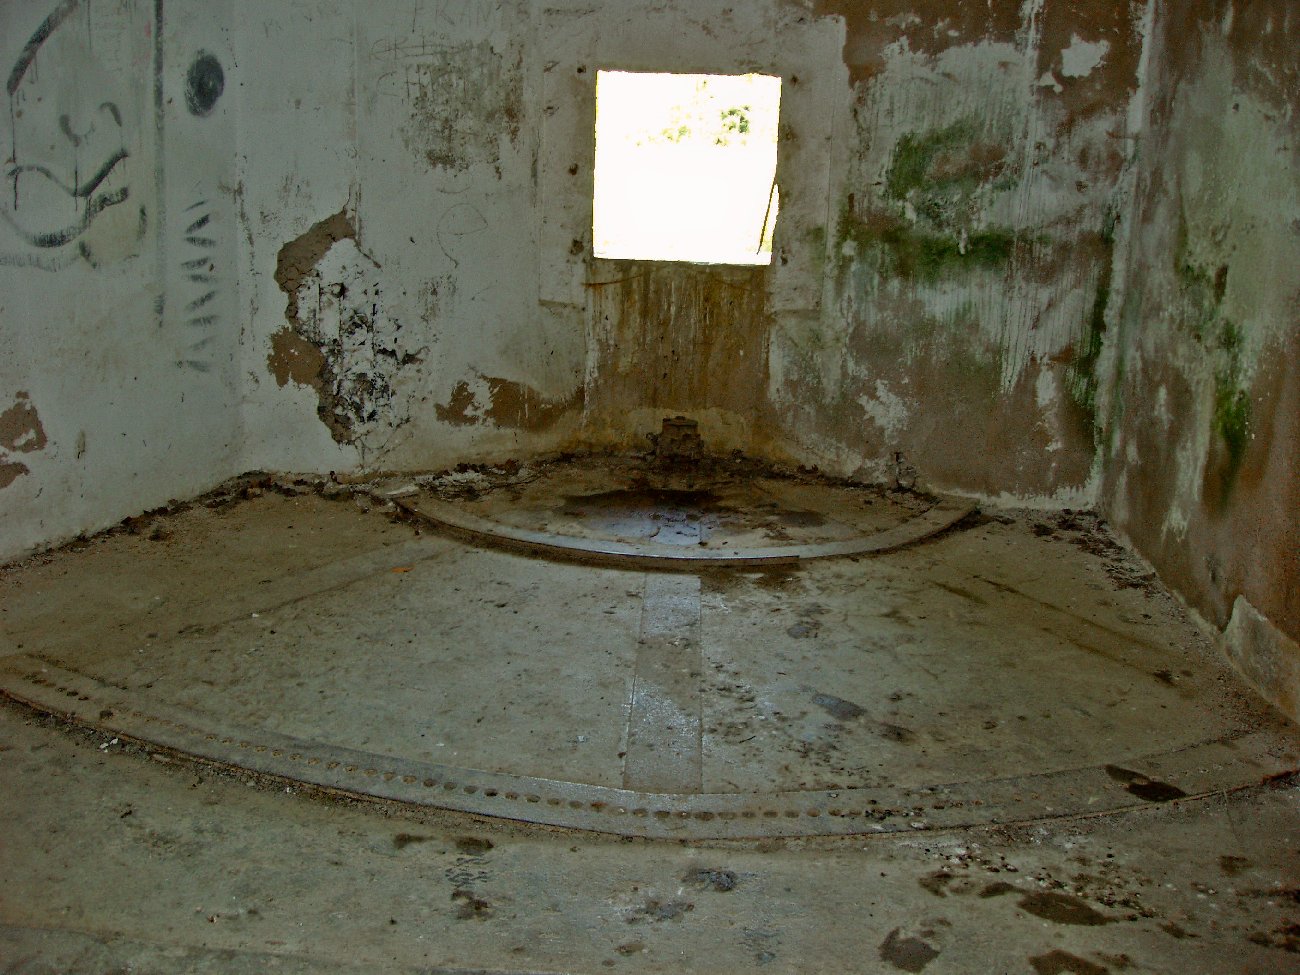
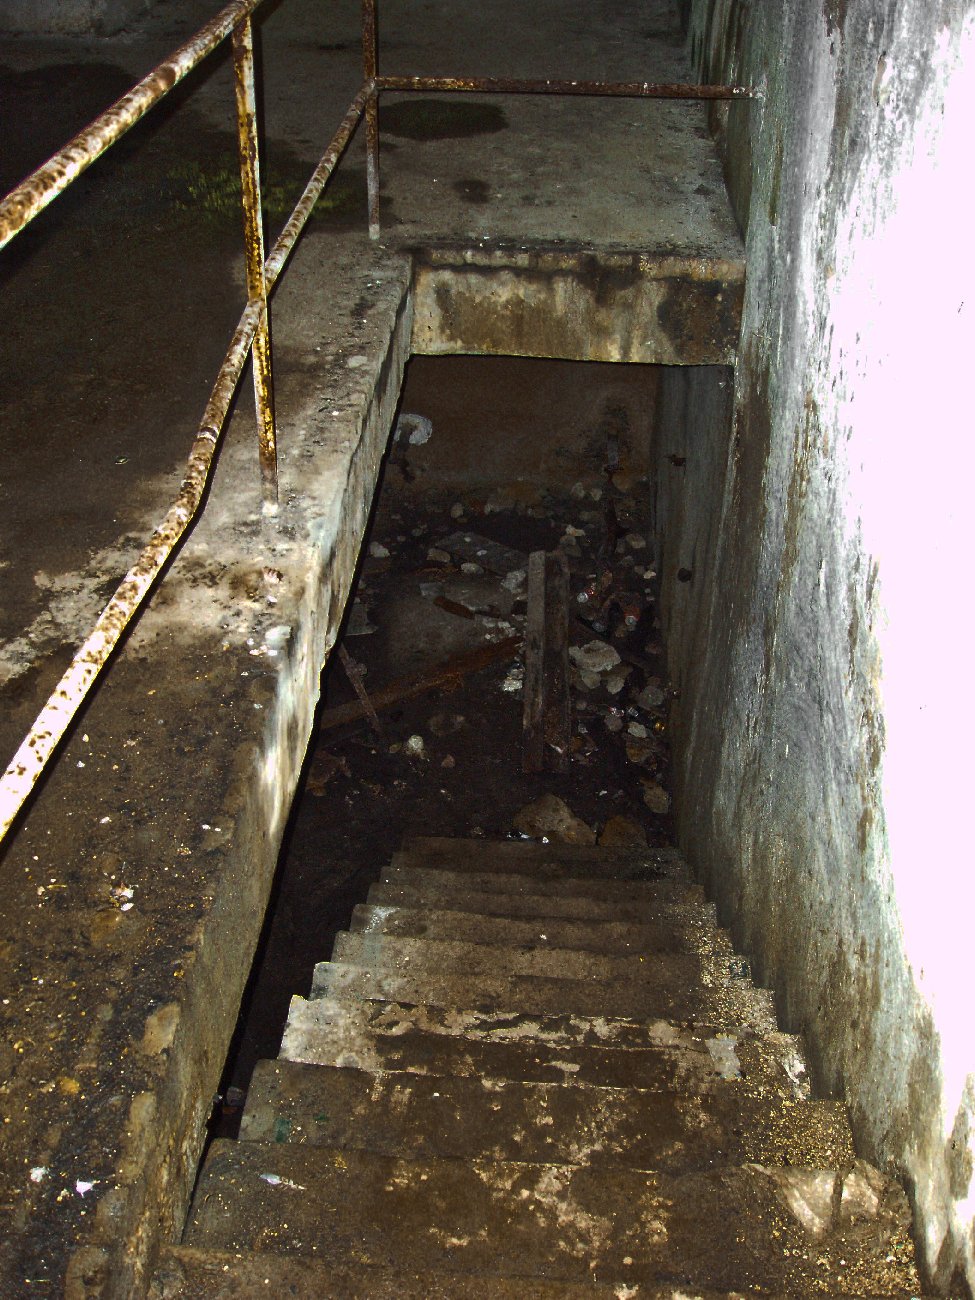
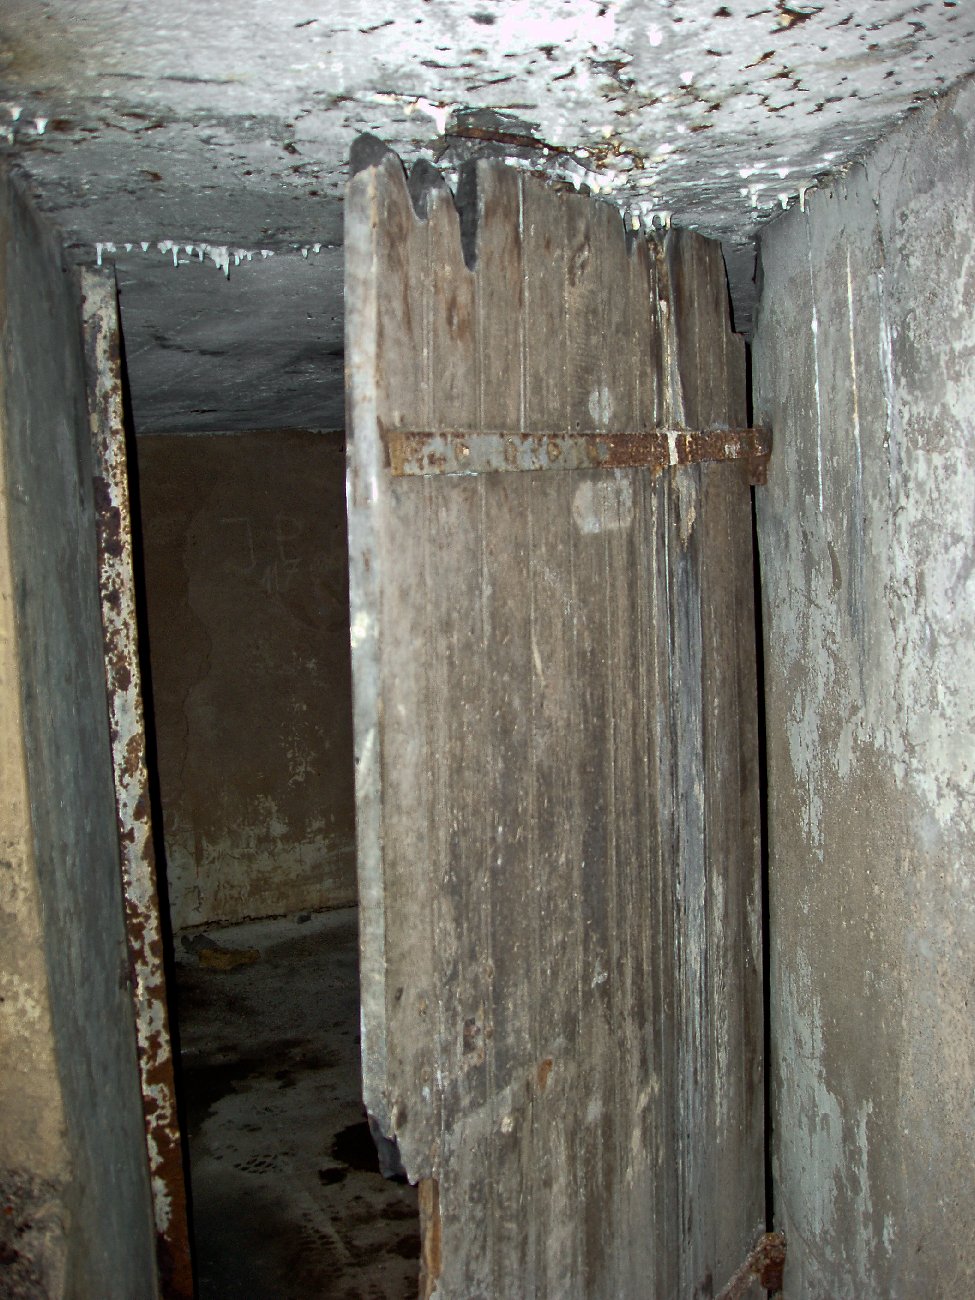
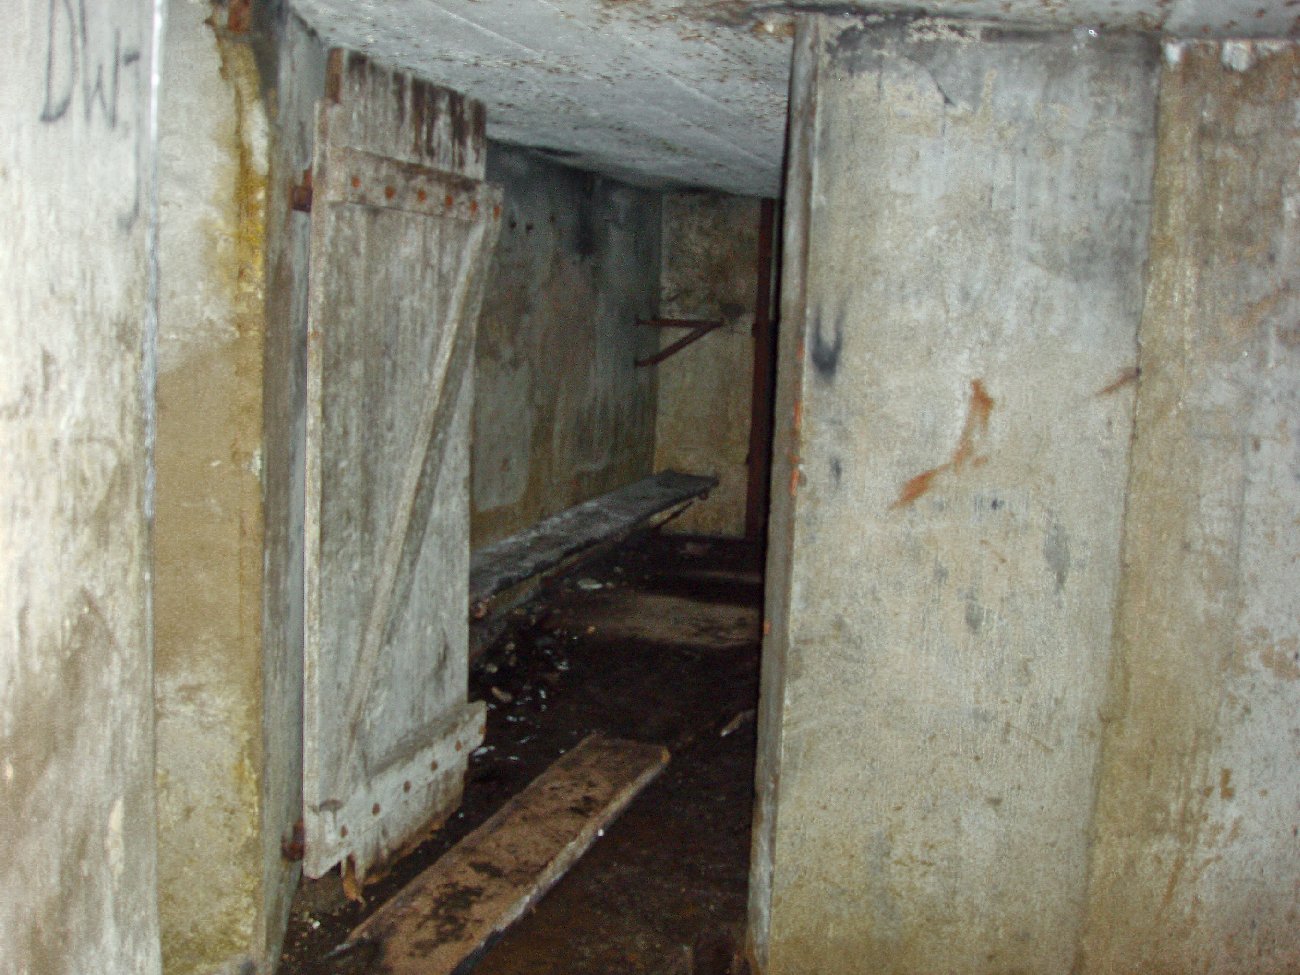
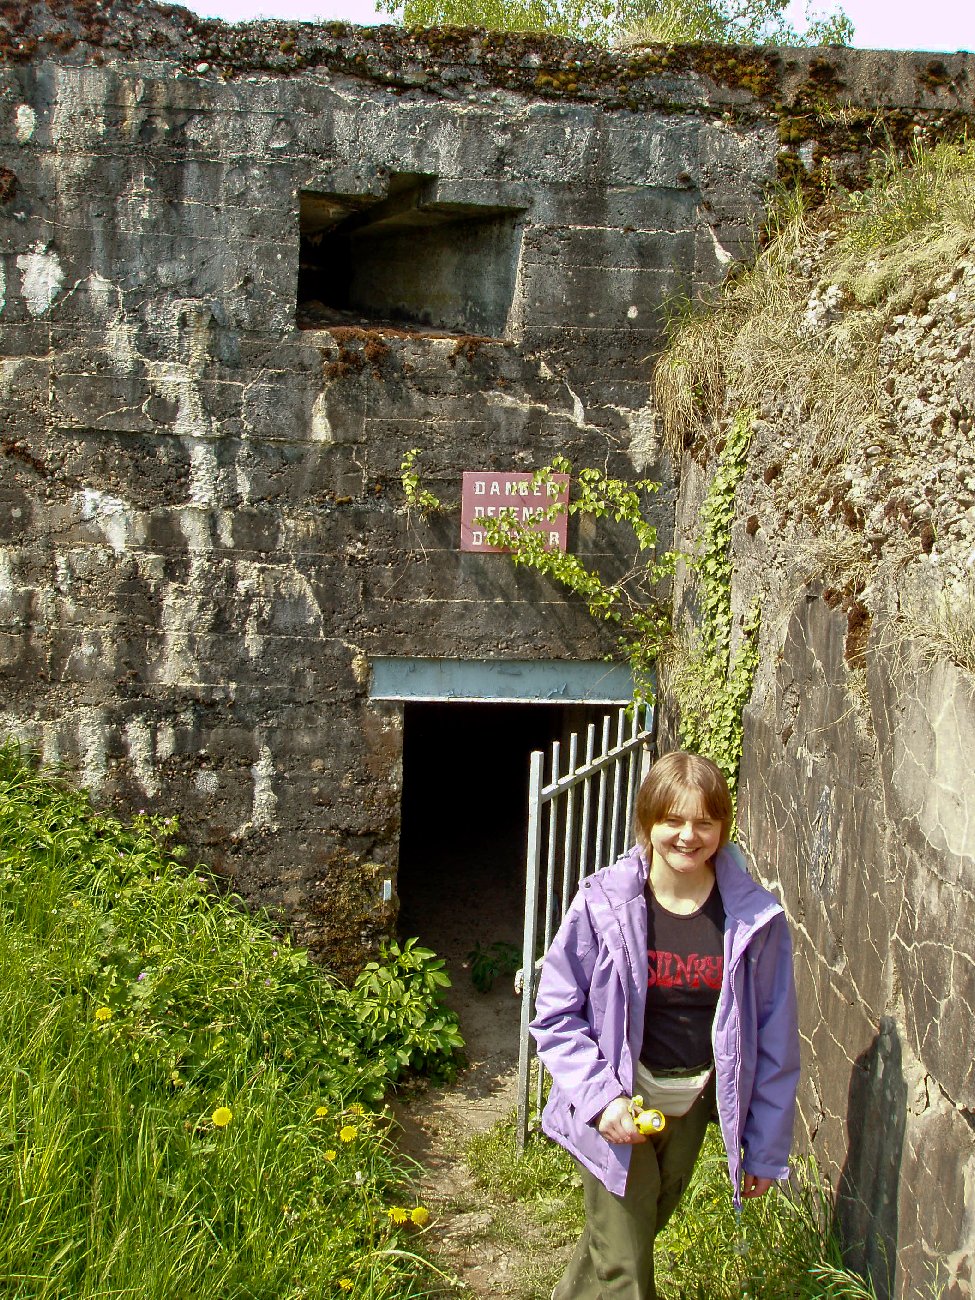
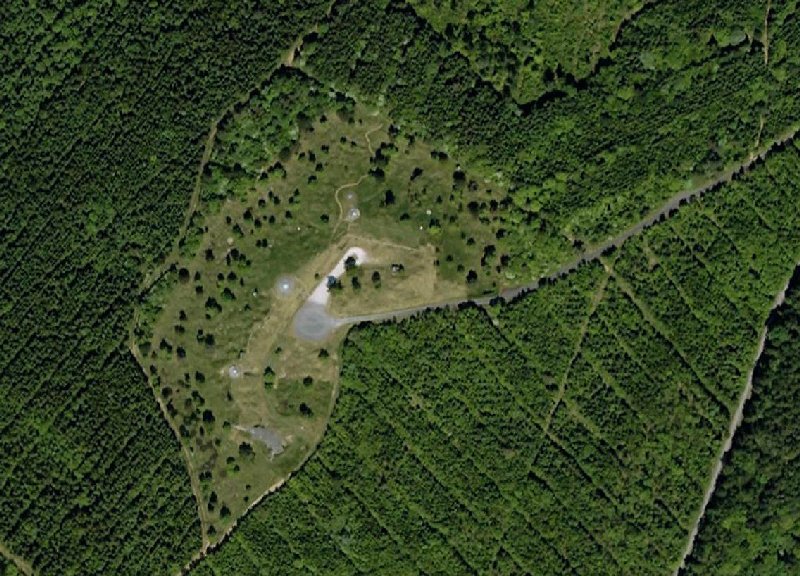
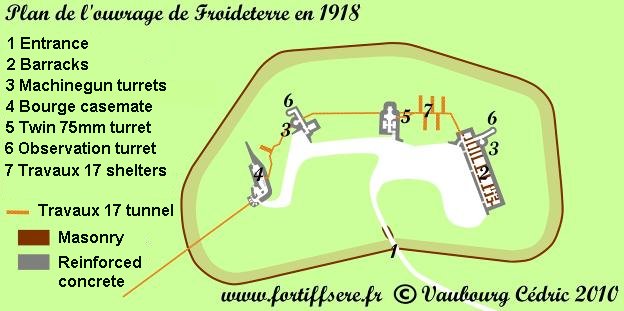
The Froideterre "works" might well have been smaller than it's closest cousins Belleville, and the mighty Douamont, but it packed a very serious punch, armed as it was with a retractable twin 75mm artillery turret, a Bourge casemate with two more 75mm QF artillery pieces, AND finally two retractable double machine gun turrets. Indeed Froideterre was much better armed than the next nearest fort - Souville - to the immediate rear which relied upon the deployment of none permanent artillery pieces.

A plan of the Froideterre is shown -  RIGHT  - (with thanks to Cedric and Julie Vaubourg).

After the horrendous fighting of 1916 all the Verdun forts underwent a series of modifications referred to as Travaux 17. A series of deep concrete lined tunnels were constructed for the purpose of connecting all fighting compartments within the fort, and also to provide an exit from the fort in case of a need for final abandonment in the face of overwhelming enemy forces. This was especially important for the ouvrages as the individual areas of these mini forts had never had any interconnection of compartments beforehand, unlike the forts proper.

The horrendous fighting in 1916 saw the Germans advance right up to, and on to the top of the Froideterre, but they failed to capture it and were eventually repulsed. The fort today is heavily damaged but internally it is in remarkably good shape despite the ravages of German heavy artillery. The ceiling of the corridor leading down to one of the twin machinegun turrets bulges downwards most alarmingly, and the general impression is that the only thing keeping it up is the re-bar in the concrete. Somewhat scarier still, the re-bar is in an advanced state of decay due to rust caused by the incessant water which drips through from above! So sooner, not later, one of these turrets will inevitably become inaccessible but for now at least, if you are prepared to take the risk, you can still make your way through! The metalwork of all the three retractable turrets is in really good condition and if you climb up into the MG turret and place your hips in the swivel stirrup, then the turret will swing freely on it's bearings after almost a century!

Penetration of the subterranean areas built in 1917 is supposed to be possible - take a look at the photographs on Cedric Vaubourg's excellent site, linked below - but we did not find the tunnels, possibly because we didn't know they existed beforehand. Out to the front of the fort there are still bits and pieces left of the barbed wire entanglements amongst the shell holes.


Here are some photographs of L'Ouvrage de Froideterre taken on two trips to Verdun in May, 2004 and May, 2011.


To view any of the photographs in a larger format click the small
photograph and a larger version will open in a secondary window.


 The first few pictures are from our 2004 visit...
 
The field of view across the fort glacis.
 
The twin 75mm QF artillery turret.
 
Underground now, in the barrack block part of the fort.
 
The roof here is very dodgy!
 
At the base of the 75mm turret.
 
At the base of the twin machinegun turret.
 
The field of view from the observation slit.
 
TJ in a turret!
 
The machine gun mount.
 
M looking suitably sun tanned after a week skiing on the way!
 
 The next pictures are from our 2011 visit...
 
The exterior rear of the fort.


The fort name was set in the stone of the wall.


The business end! The twin 75mm QF turret (foreground), the right twin MG turret (centre), and the associated observation turret (far left).
 
Looking down across the glacis at the front of the fort, shells holes are still evident.
 

The remains of barbed wire entanglements can still be found.


A barbed wire picket complete with tangled wire rusts away after the best part of a century.
 
Looking back towards the top of the fort from the depths of the ditch. The enemy would have to cross the wire and attack up this slope with this MG turret spitting 8mm bullets at them.
 

A century of erosion has softened the shell holes.


Almost back at the rear of the fort via the moat, the left hand MG turret is visible.

 
The 75mm turret carries two short barrelled Soixante-Quintze quick firing artillery pieces in a heavily armoured,  retractable turret.
 

Evidence of several direct hits which gave the gunners a headache!


The way in!


The gun lower platform.


A huge counterweight sits on the opposite end of a beam to balance the weight of the turret. Thus retraction and raising could be accomplished with man power alone.
 

On the crew platform ammunition was supplied to the loaders above.


The support crew also manually ventilated the turret of cordite fumes with this enormous fan.
 

The ammunition lift.


The underside of the firing platform where the gun layers and the commander sit. It is directly above the support crew platform.
 
A short ladder leads up into the fighting compartment of the turret where the guns were loaded, aimed and fired from.
 

The breeches of the "75 Cocktail" guns are visible in the turret.


On the floor in the turret can be seen the seat swivel for the gun layer and the traverse pedals for swinging the turret.
 
The recoil mechanism of one of the 75mm guns.
 
A viewing slit is situated between the barrels.
 
Française shell 75mm nous disons au revoir, et les Allemands bonjour!
 
Moving on into the fort accommodation now.
 
A latrine trough - the smell must have been quite something!
 
And the ubiquitous squatting plate so beloved of le belle France!
 
On the way to the bunk rooms.
 
TJ takes a piccy of this des rez!
 
Oh dear!
 

The way down to the Travaux 17 tunnels and deep shelter.


Moving deeper into the fort, on the right is the tunnel leading to one of the MG turrets and it's associated observation cupola.
 

The roof leading down this corridor is a bit dodgy!


Only this rusty re-bar holds the roof up now!


The ladder leads up into a 7 inch thick reinforced steel dome with a tiny slit through which to view the world. Fire control orders were transmitted to the adjacent MG turret through a speaking tube.
 

And that's pretty much the full scope of view the commander had!


Another hand cranked ventilator to remove the fumes from the MG turret compartment.
 

The ladder to the platform beneath directly the turret.


The counter balance is not a beam like on the 75mm turret but a bucket full of concrete connected over pulleys by a series of chains.
 

A second ladder goes up into the turret itself.

 
The turret MG mounts.


Looking down into the pit into which the turret retracts when under direct bombardment by heavy artillery.
 

Mark and TJ look up from the fort floor level towards the intermediate platform of the MG turret.
 

TJ ventures up on to the dodgy wooden intermediate platform!

 
Part of the turret bearing mechanism.


Climbing into the fighting compartment.


The double mount carried two Hotchkiss M1914 machineguns in an under and over configuration. The strip fed guns were fired independently rather than together, allowing one to be re-loaded whilst the other continued to fire.
 
Mark outside the turret!


The associated observation cupola can be seen through one of the MG slits.


M in a turret!


Last port of call now, the Bourge casemate. These were heavily reinforced, quick build concrete emplacements for two 75mm artillery pieces.
 

TDown to te magazine and a deep shelter for the gun crew.


The first emplacement. Note the swivel rails on the floor.


A heavy overhead rail runs between compartments for shifting replacement barrels between guns.
 
The second fighting compartment.
 
These stairs lead down to the magazine and shelter.
 
The remains of the crew seating.
 
A further room opens off the first.
 
And another one still.
 
Enough is enough for one day! Time to go...
 
Click above to navigate back to the

Verdun forts main page once more...

  Click above to navigate to Cedric & Julie Vaubourg's

excellent and informative site on the forts of France...