Fort Belleville


LOCATION:

 49°10'48.12"N -  5°23'2.47"E

FIND ME:

Click to view this location in Google Earth...

BUILT: 1875
MODIFIED: n/a
ACCESS:

Prohibited - but the fort is located adjacent to a modern housing estate and the reality is you can just walk straight in.

GARRISON:

164 men

ARMAMENTS:

n/a

NOTES:

Beware the upper areas of the fort as the roof is very unstable from heavy shelling. It is also extremely high and should you slip on wet grass or trip in the undergrowth it's a long drop to the ground of the fort interior.


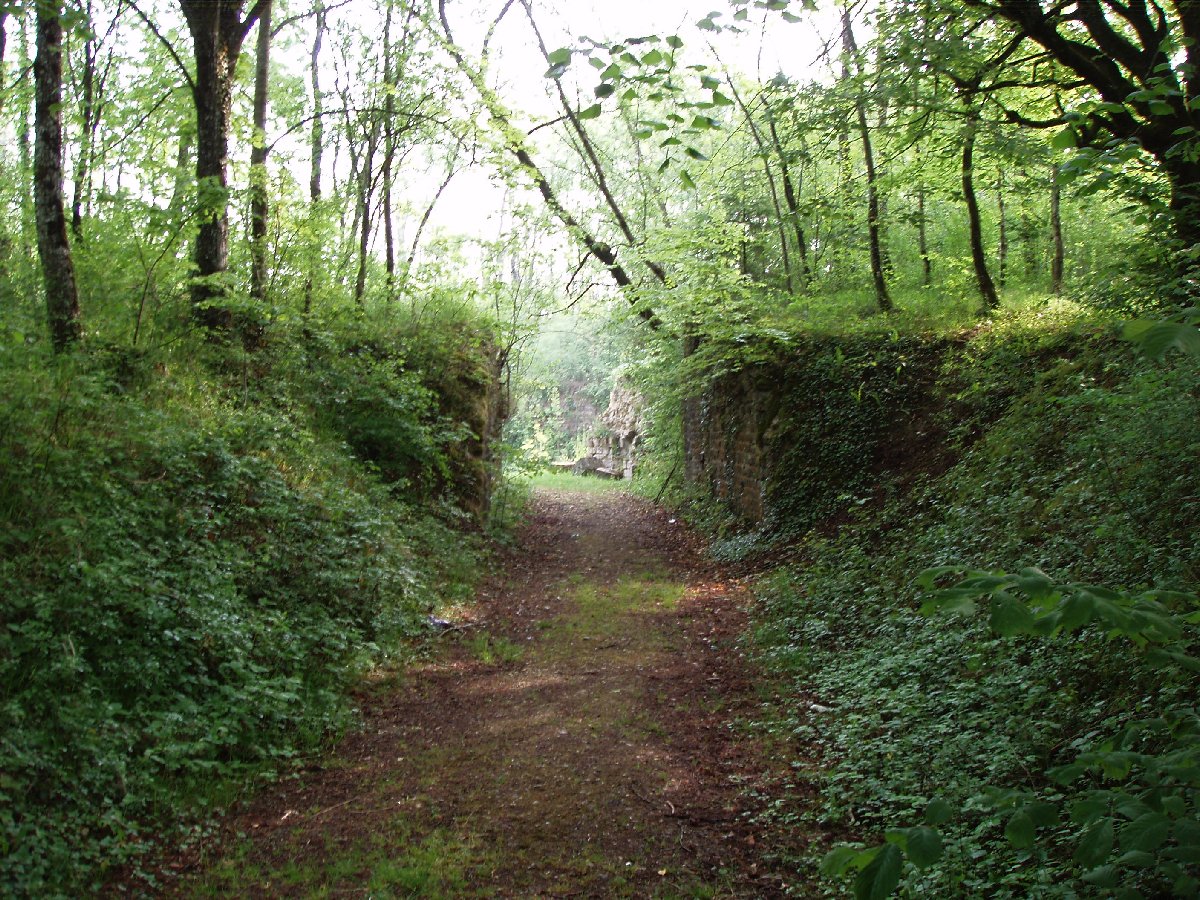
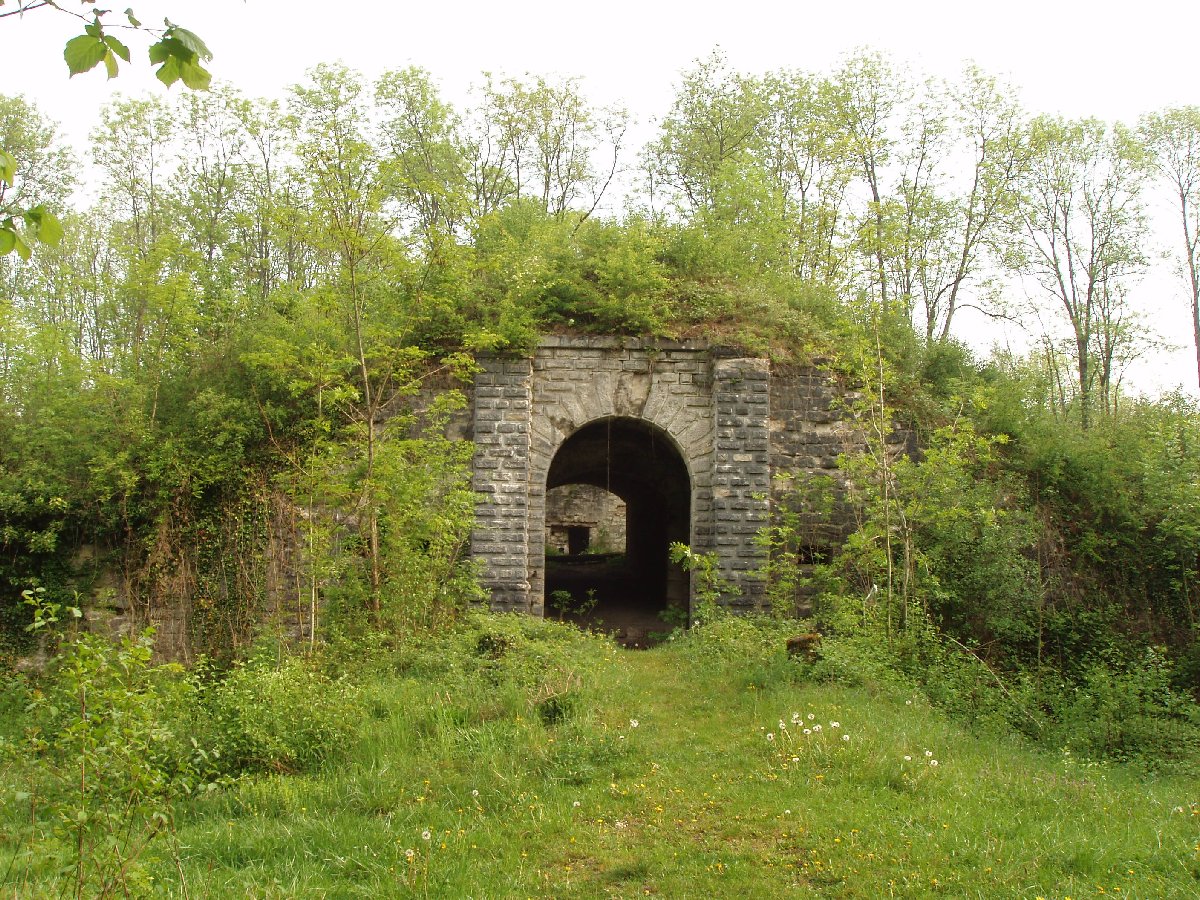
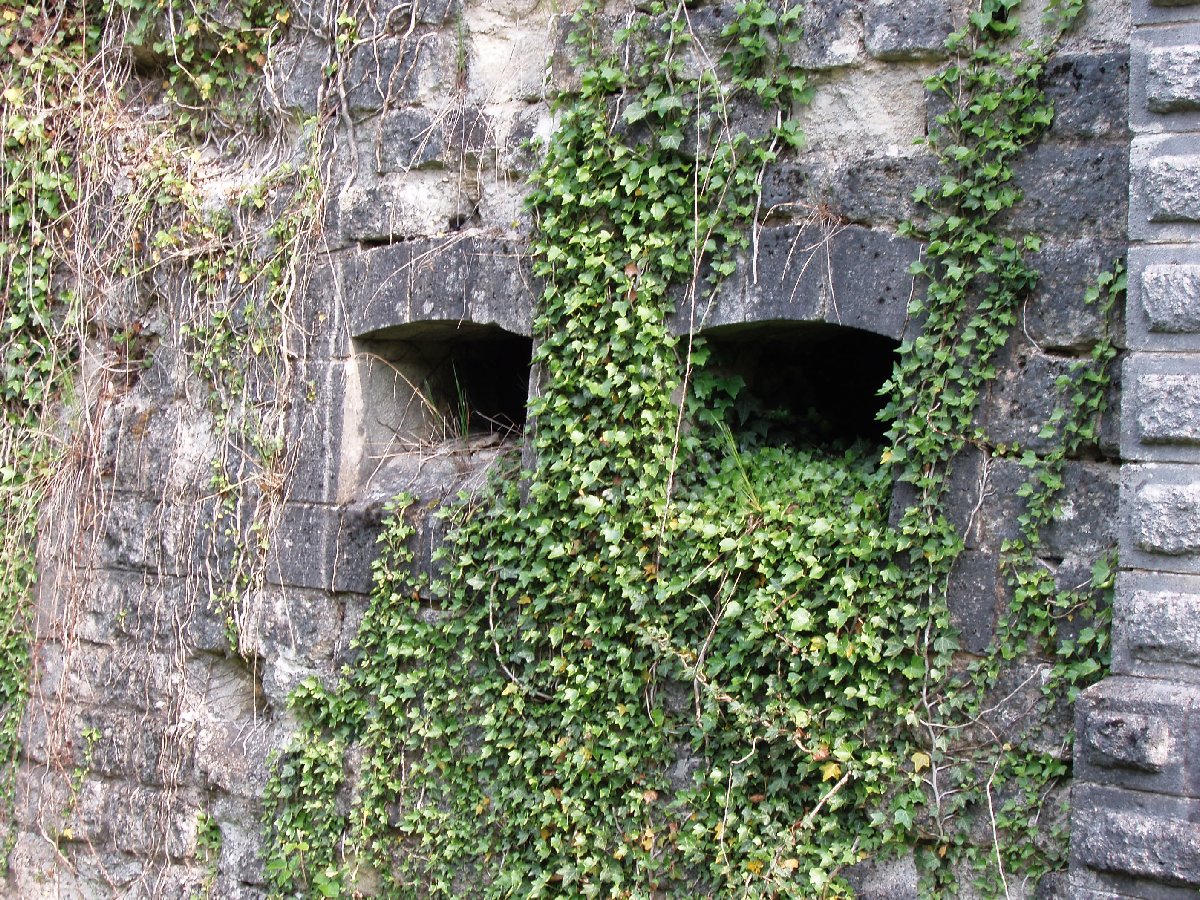
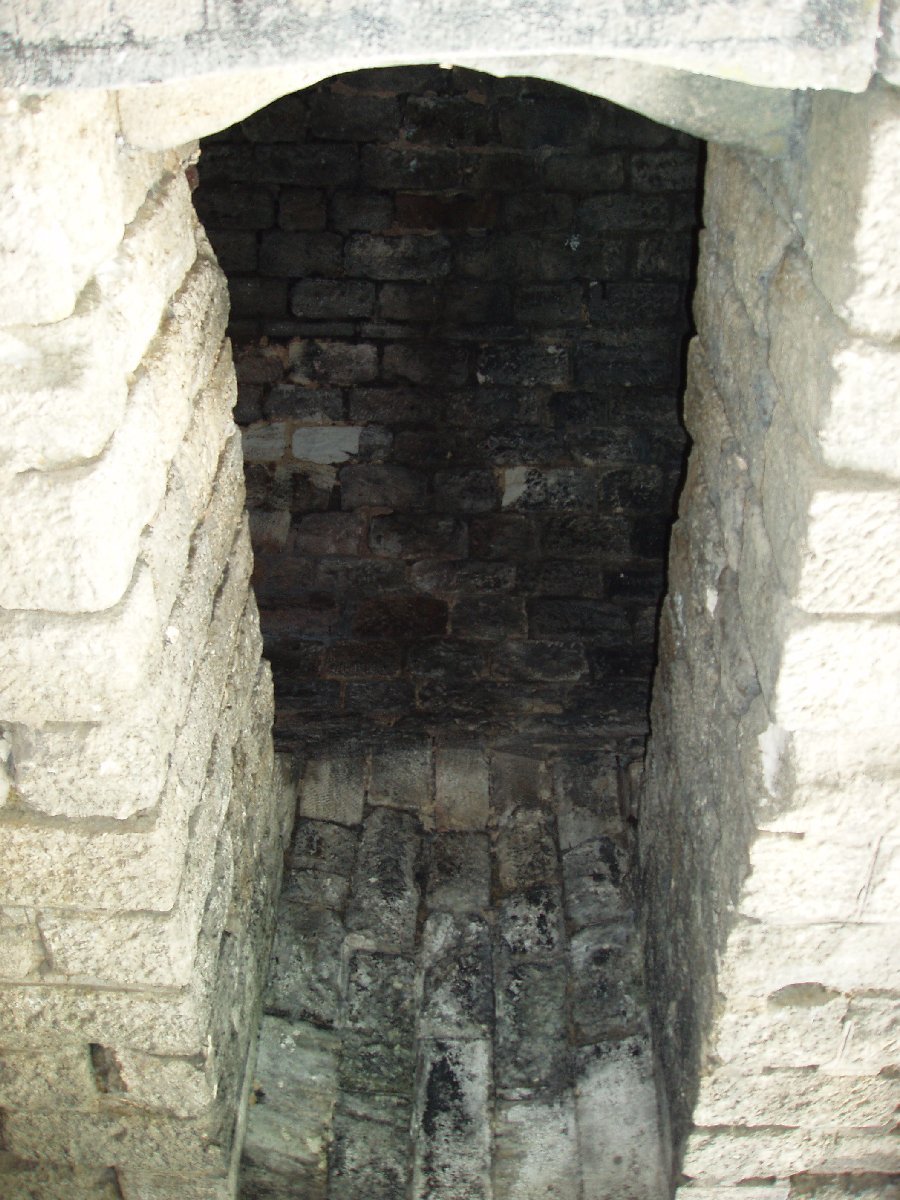
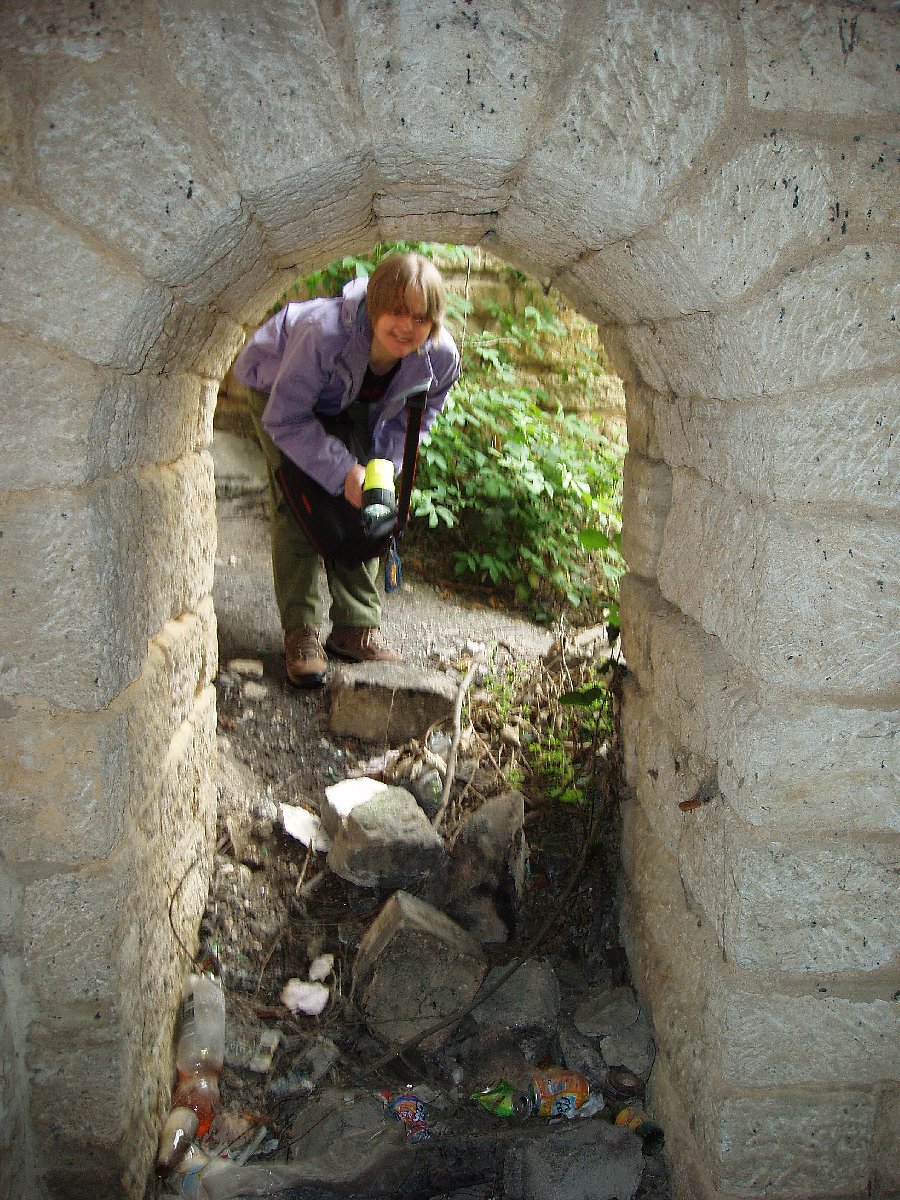
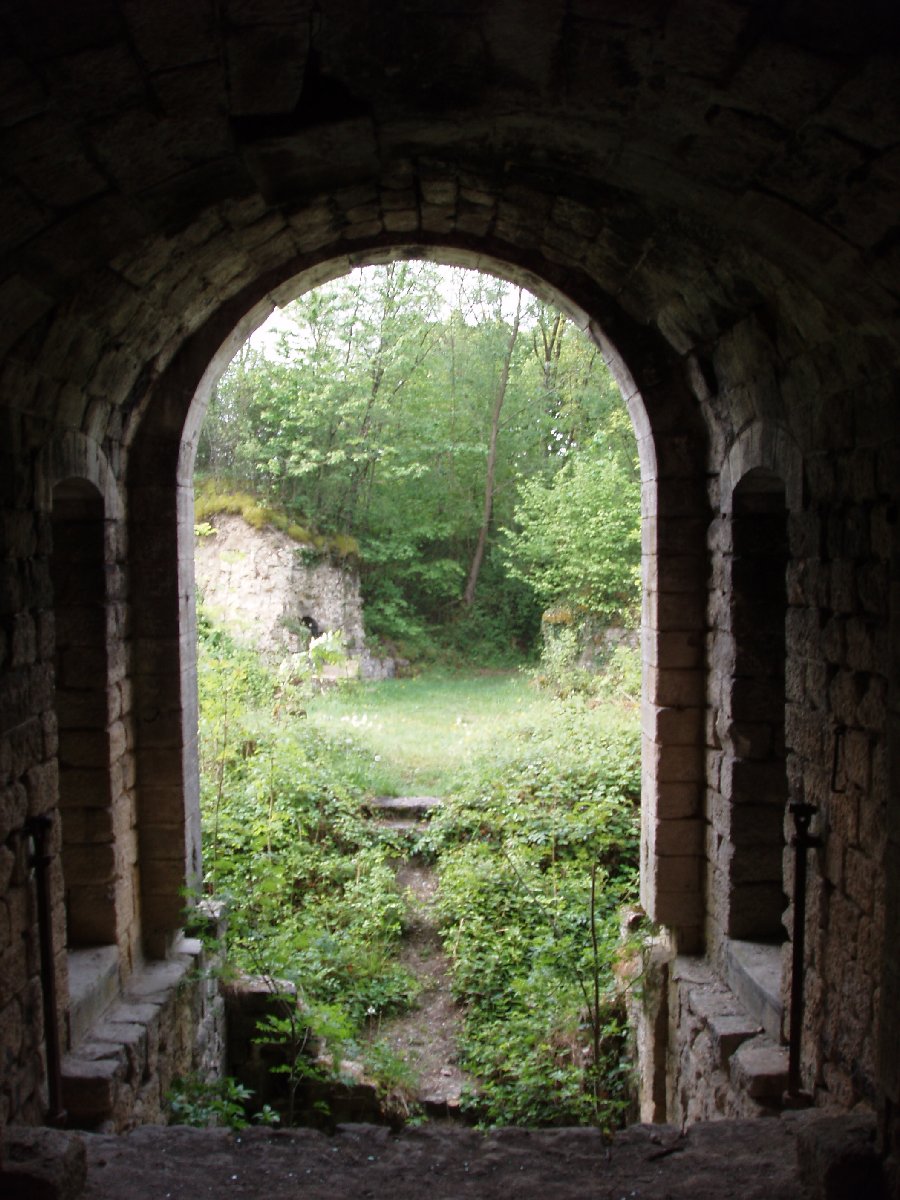
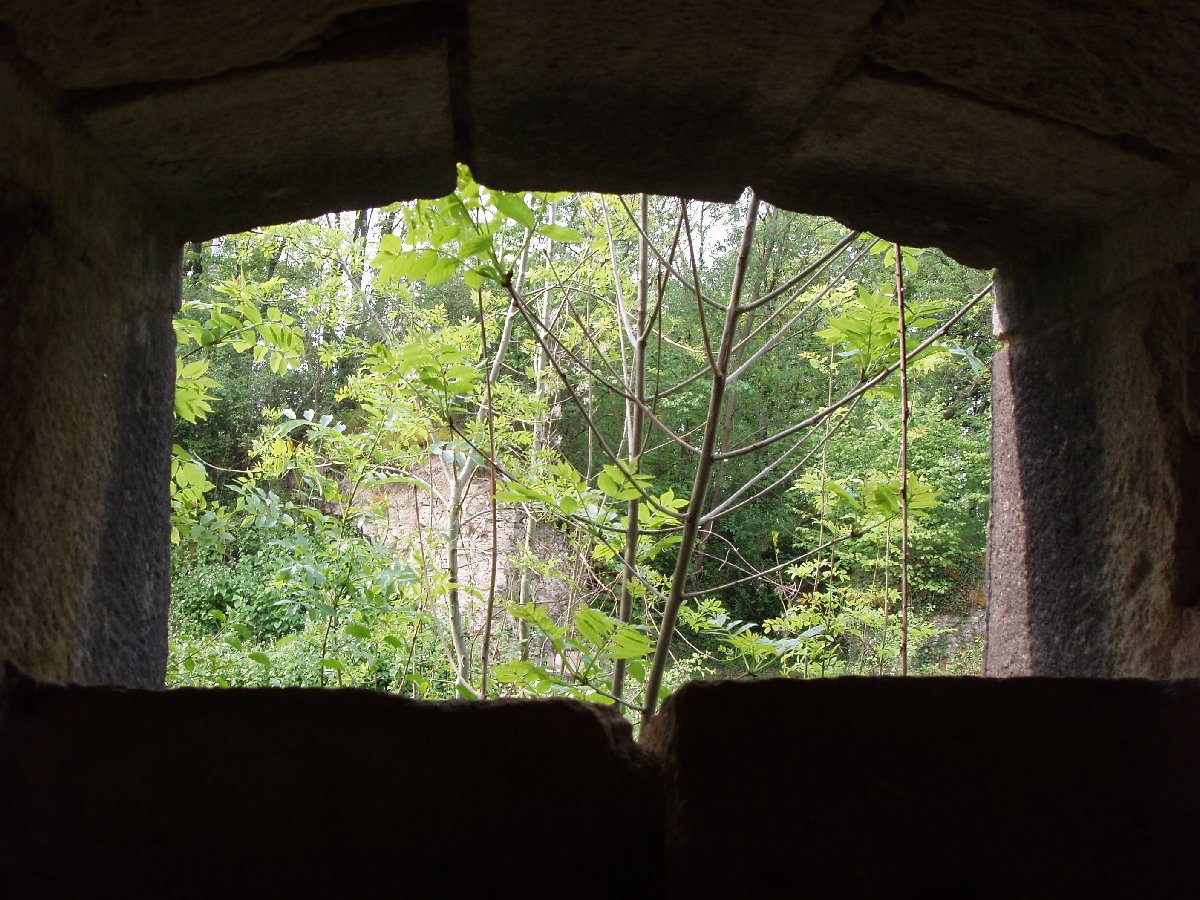
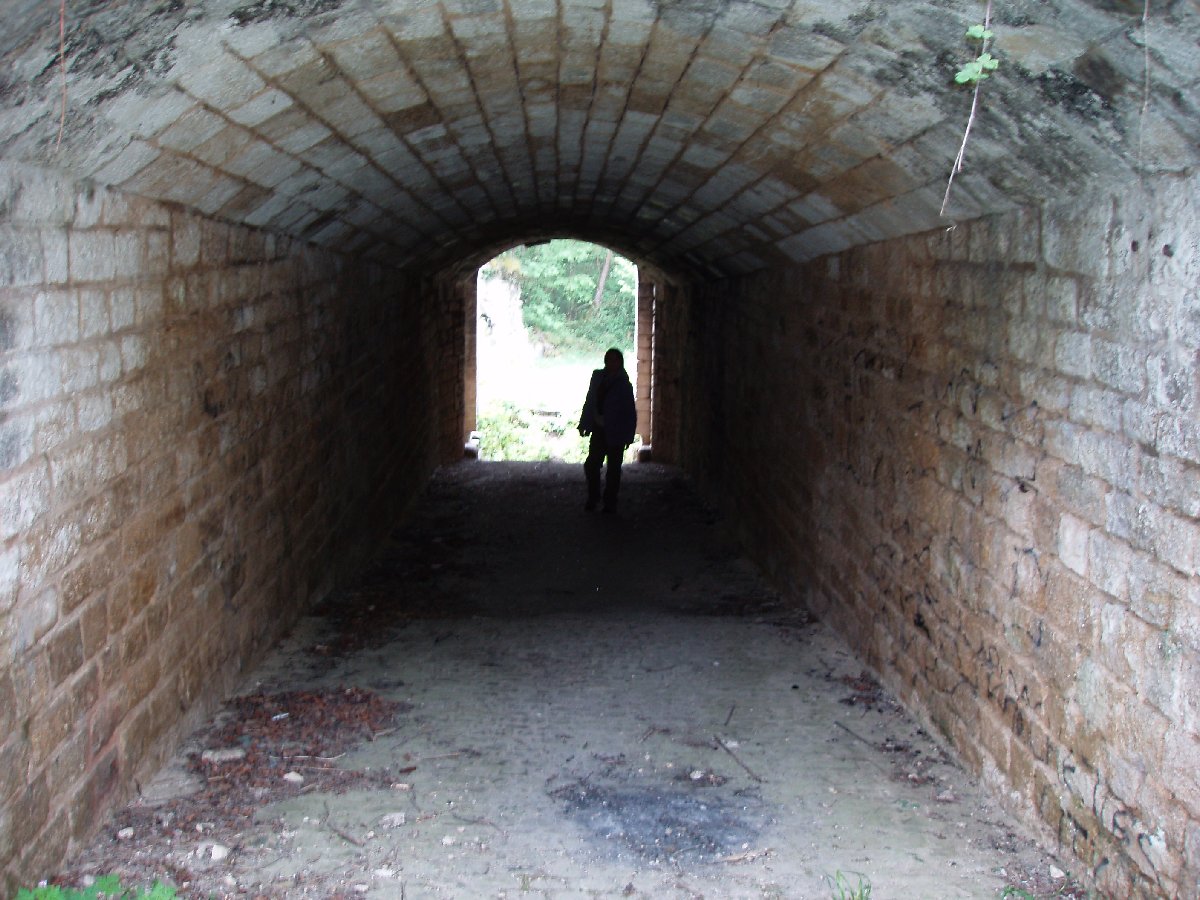
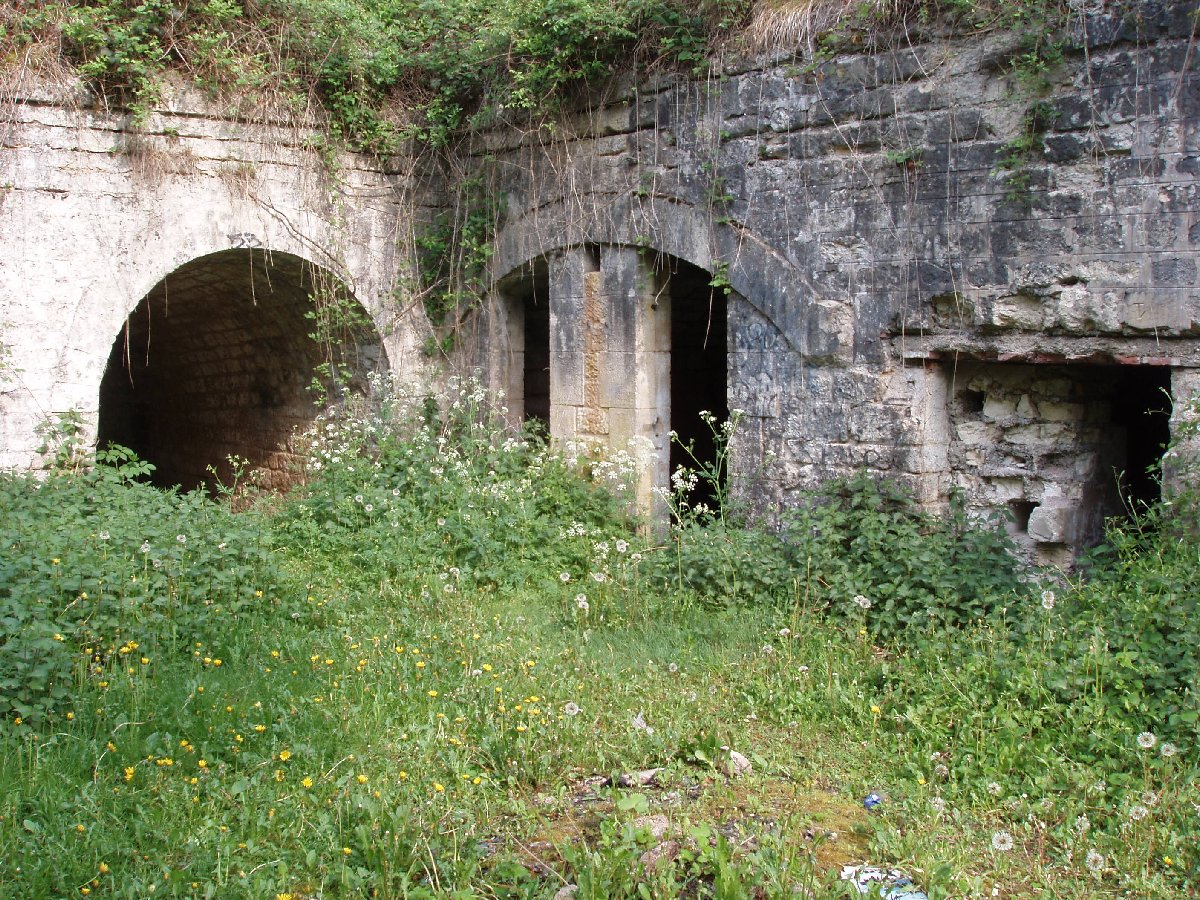
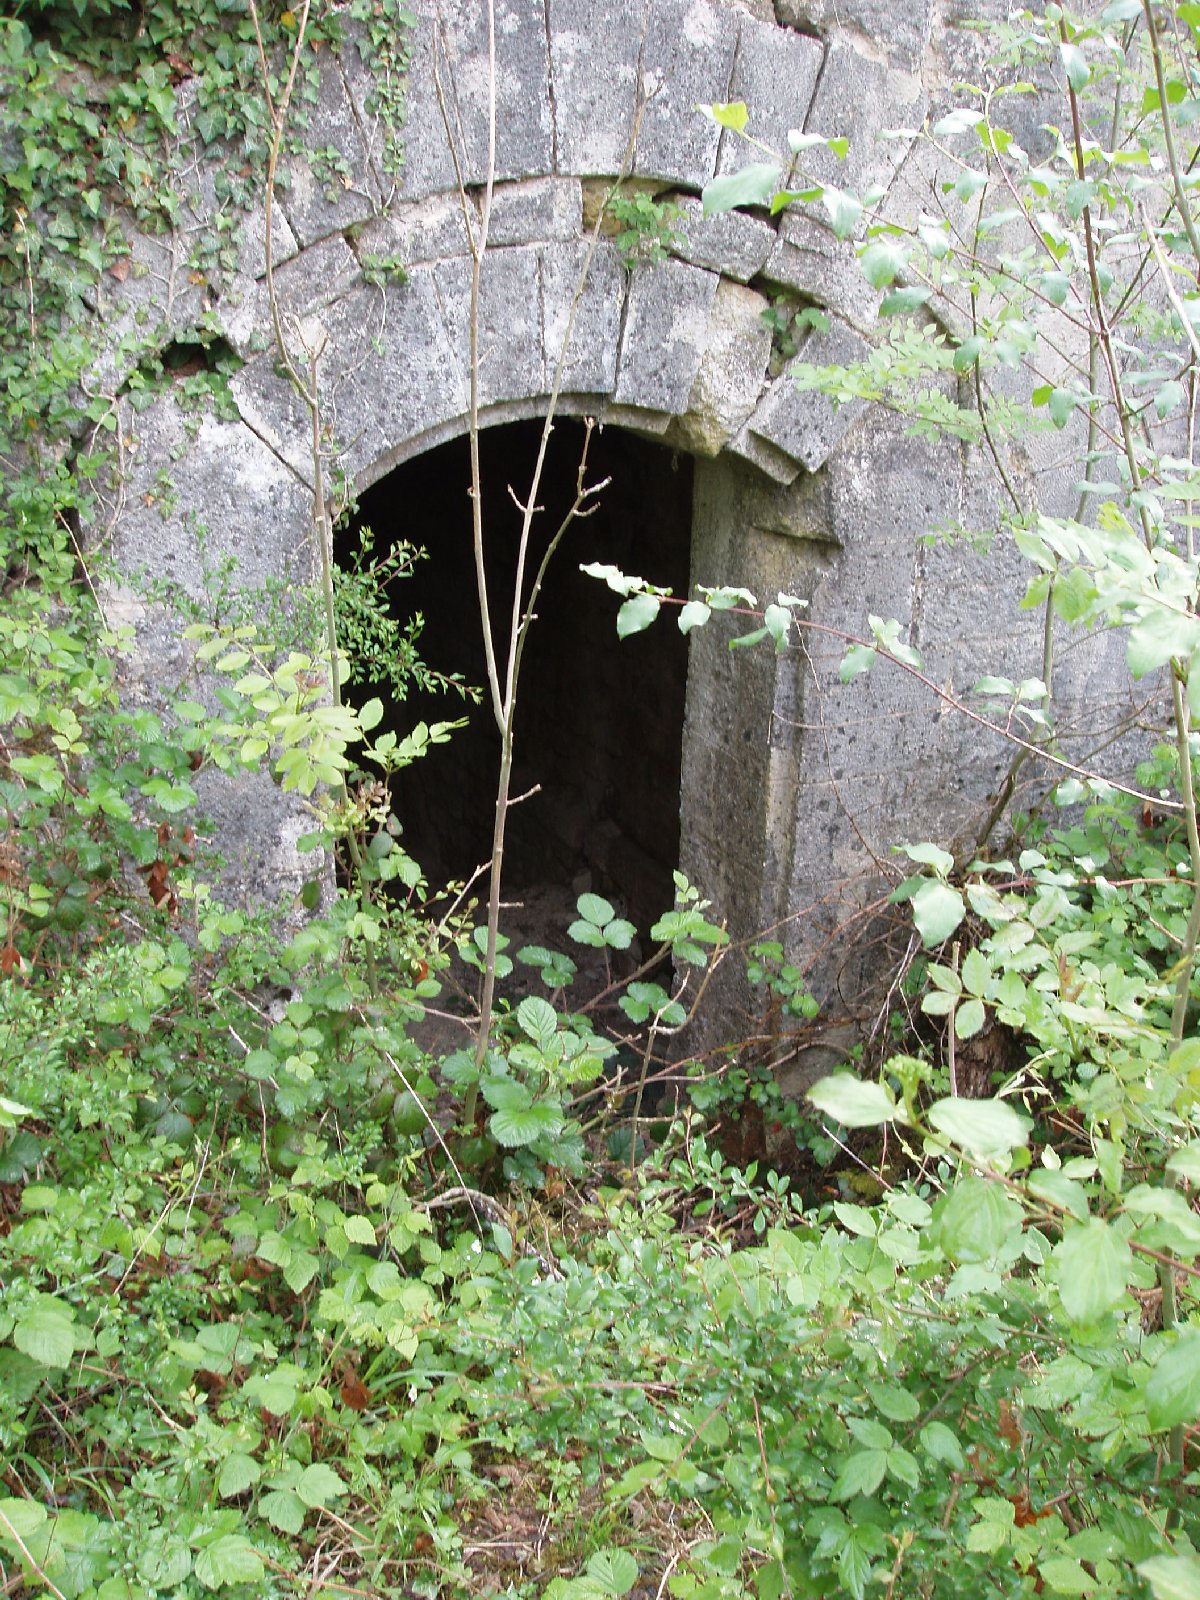
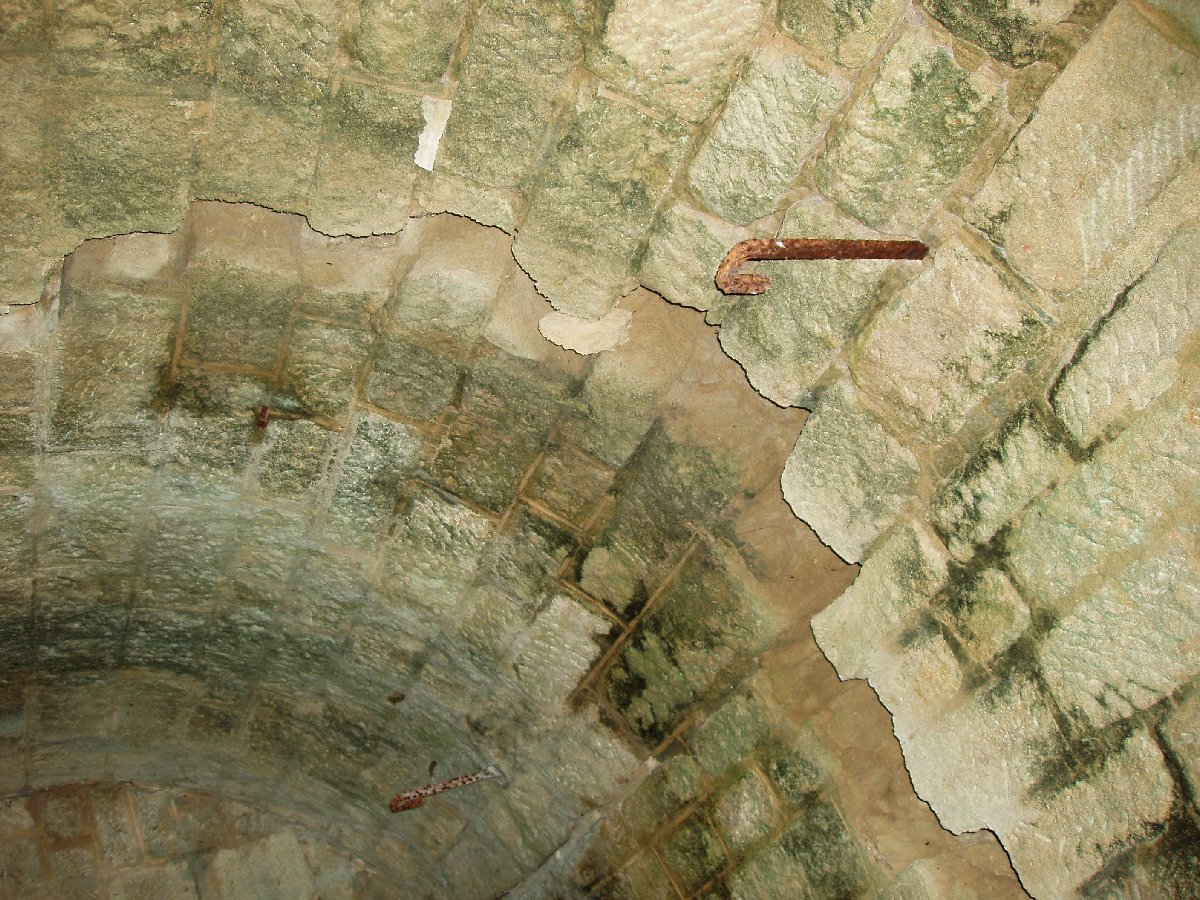
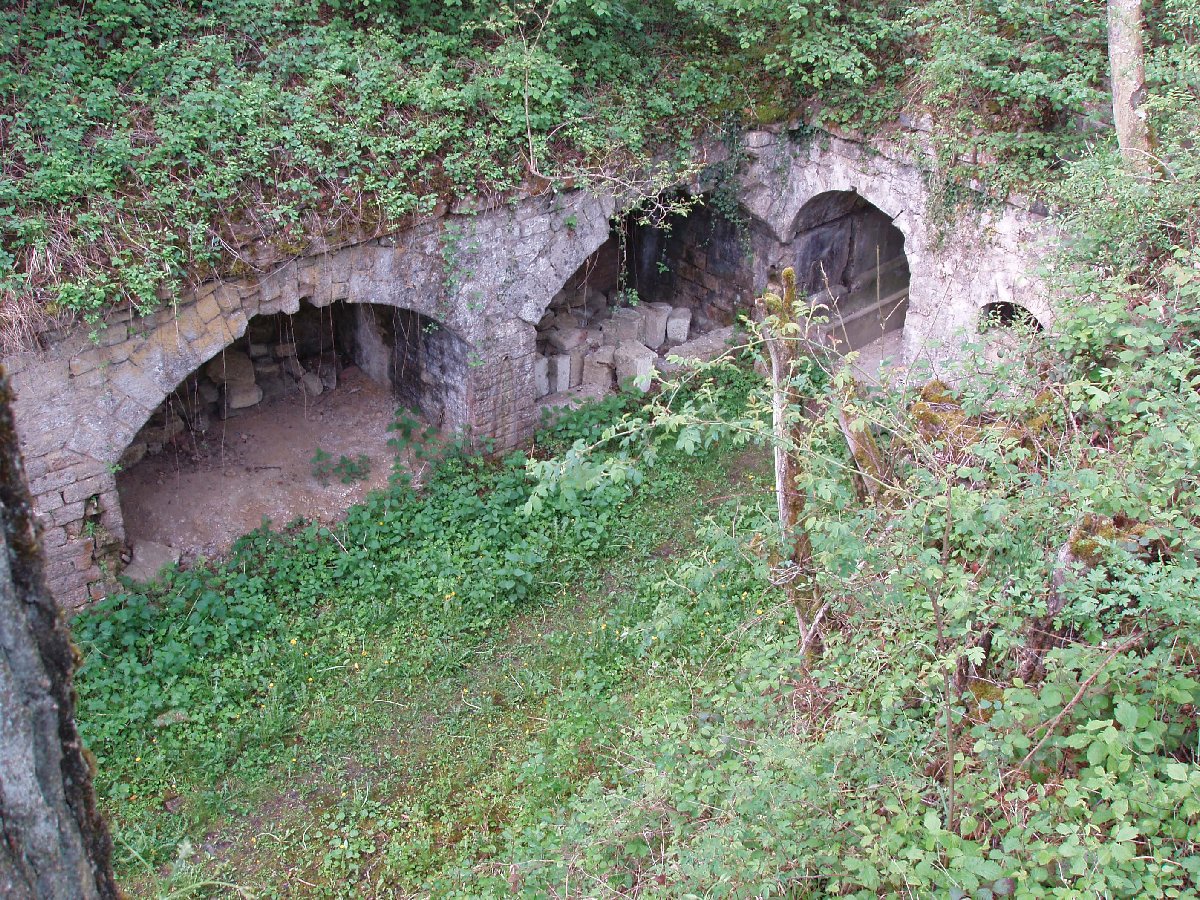
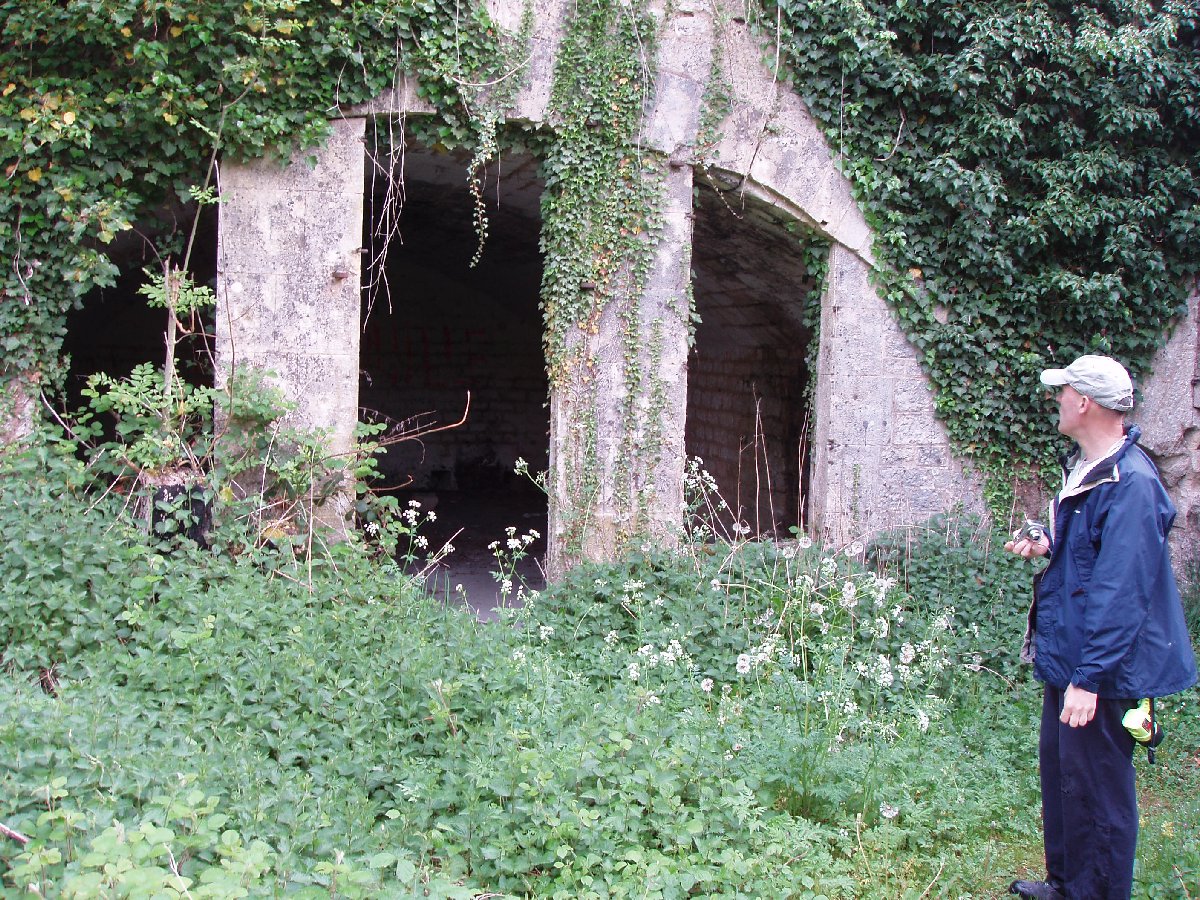
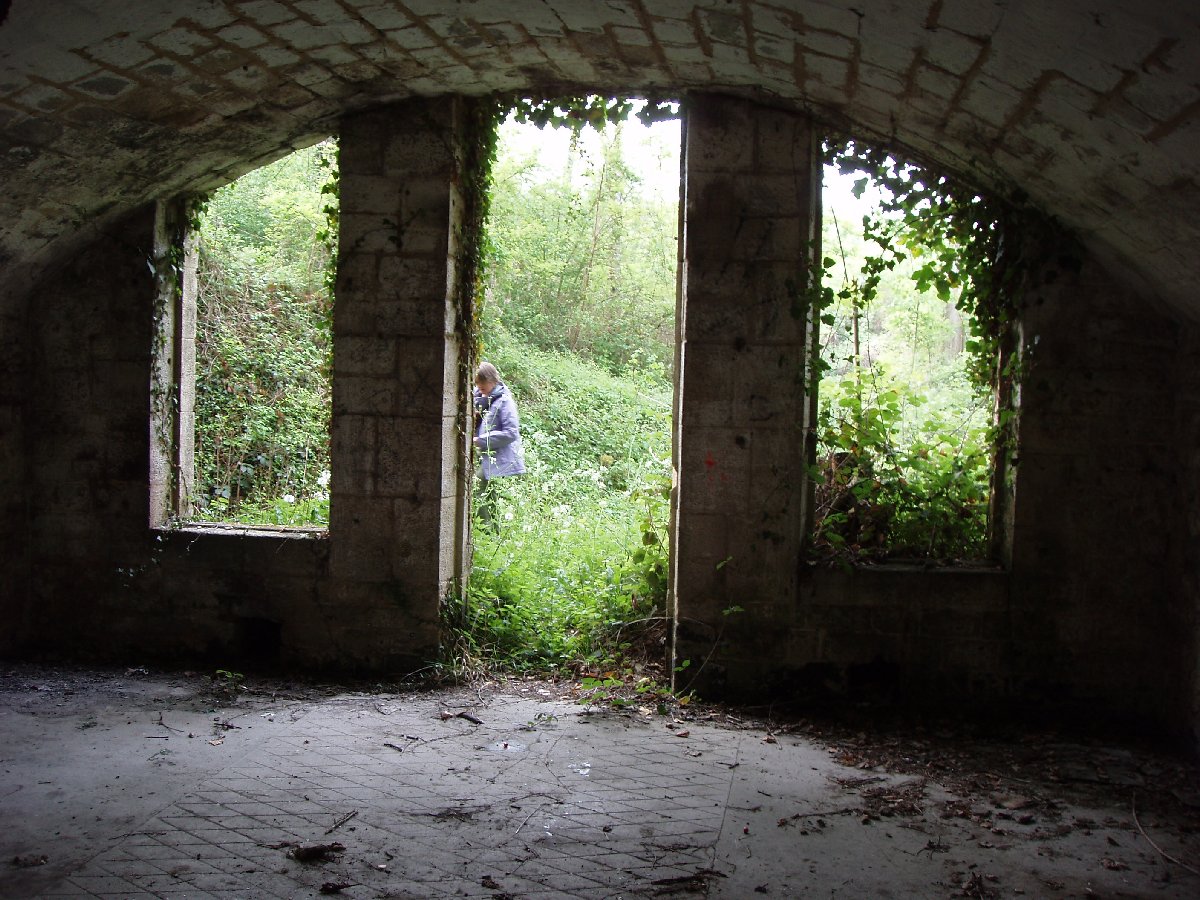
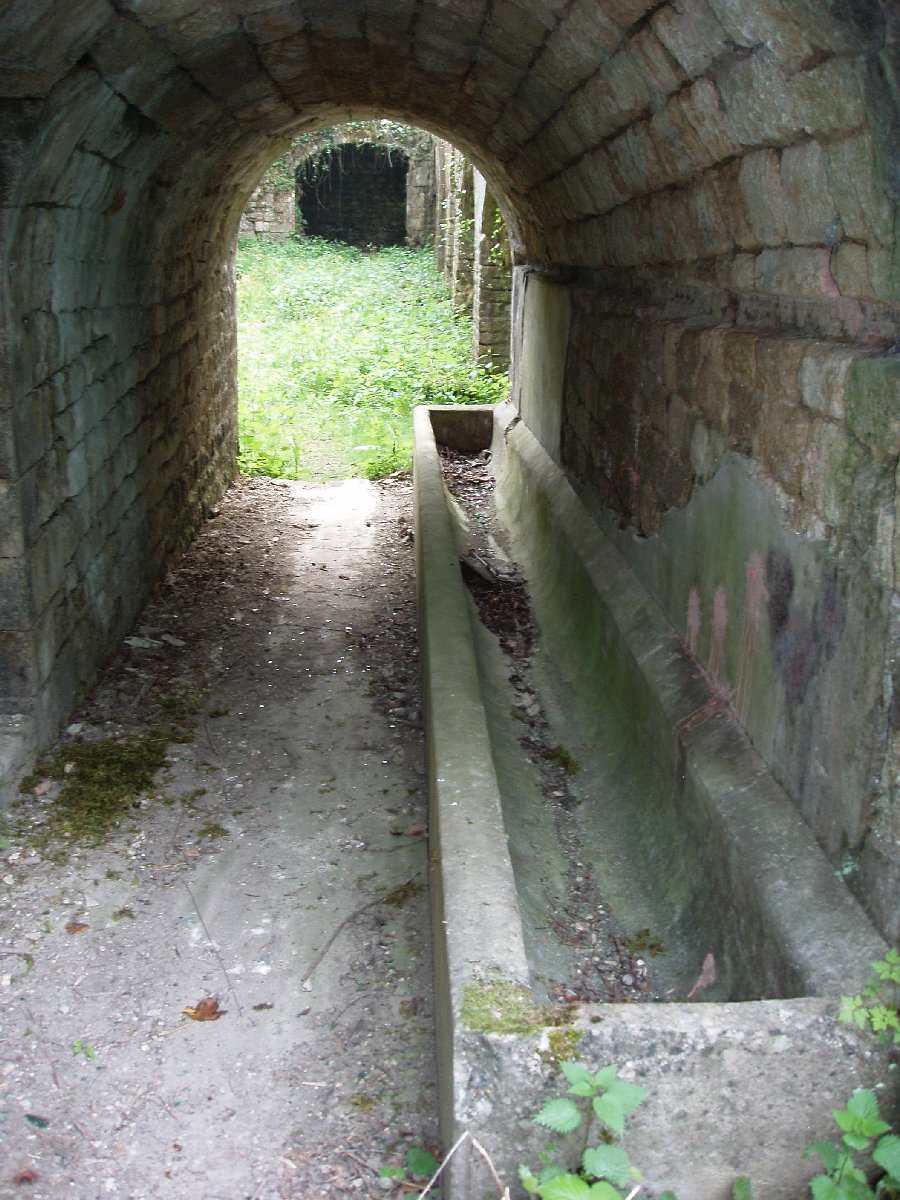
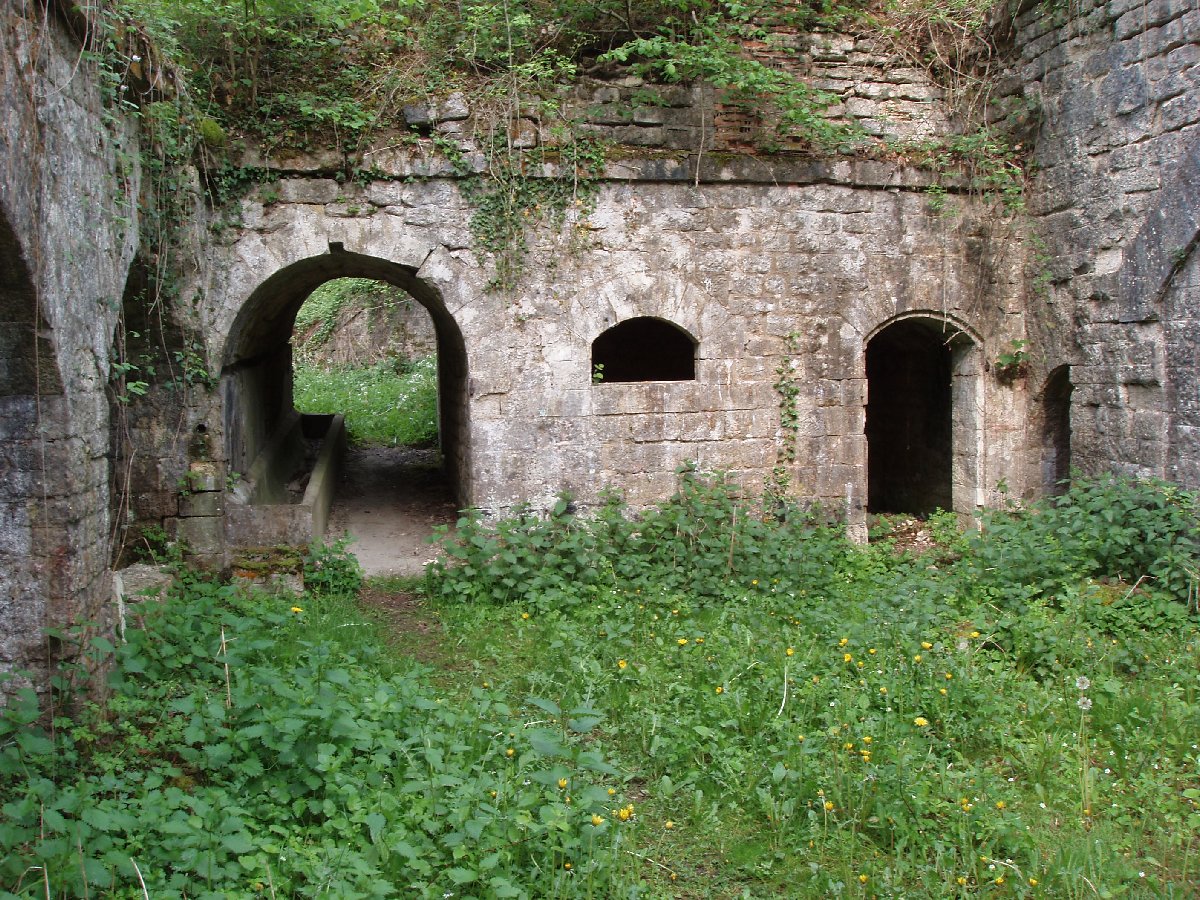
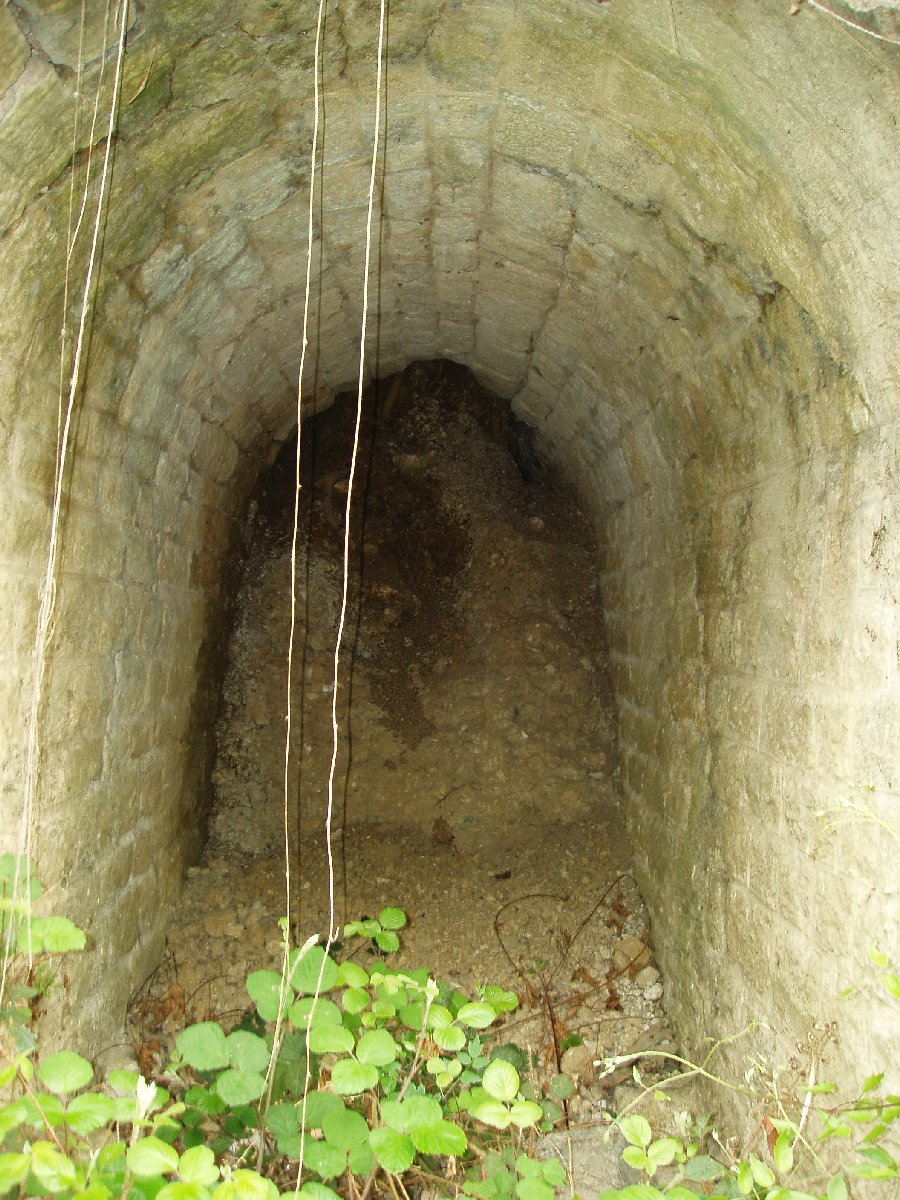
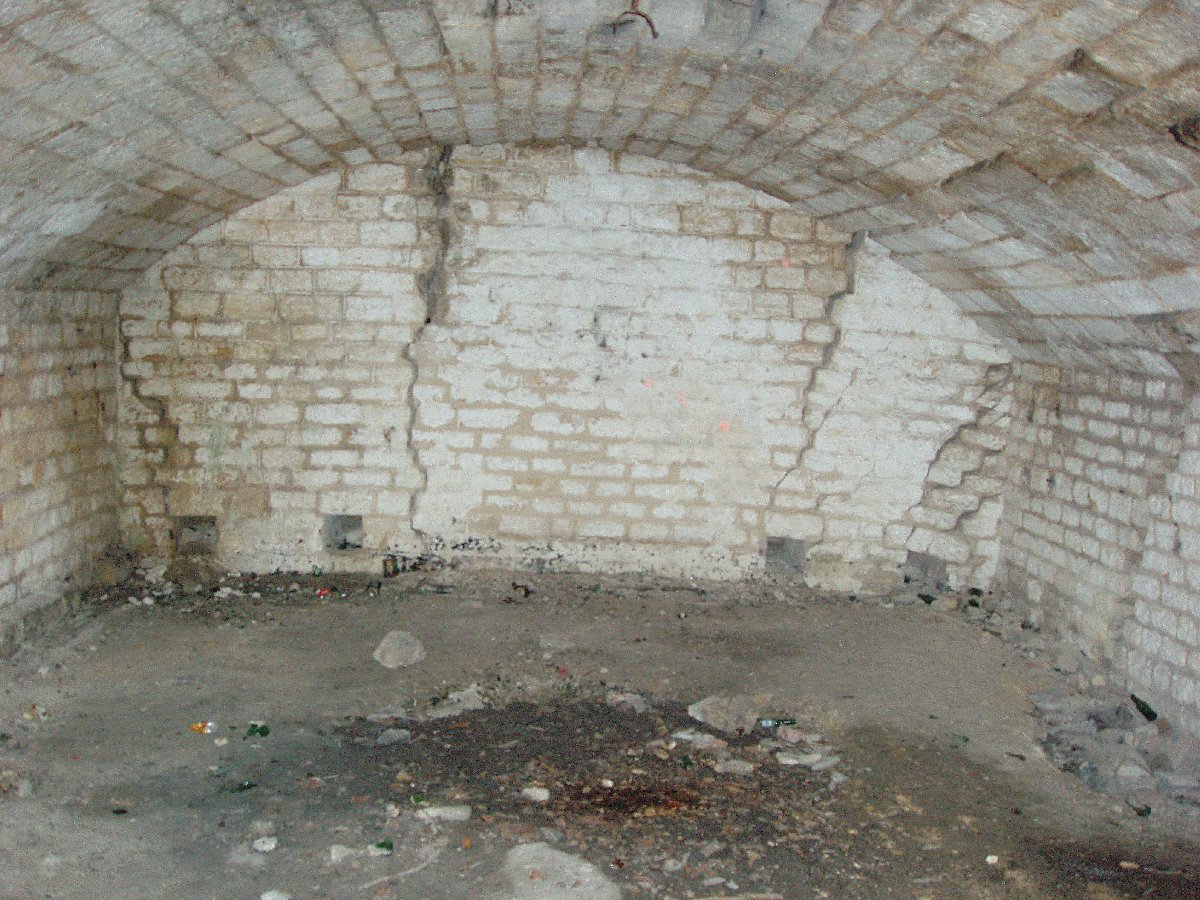
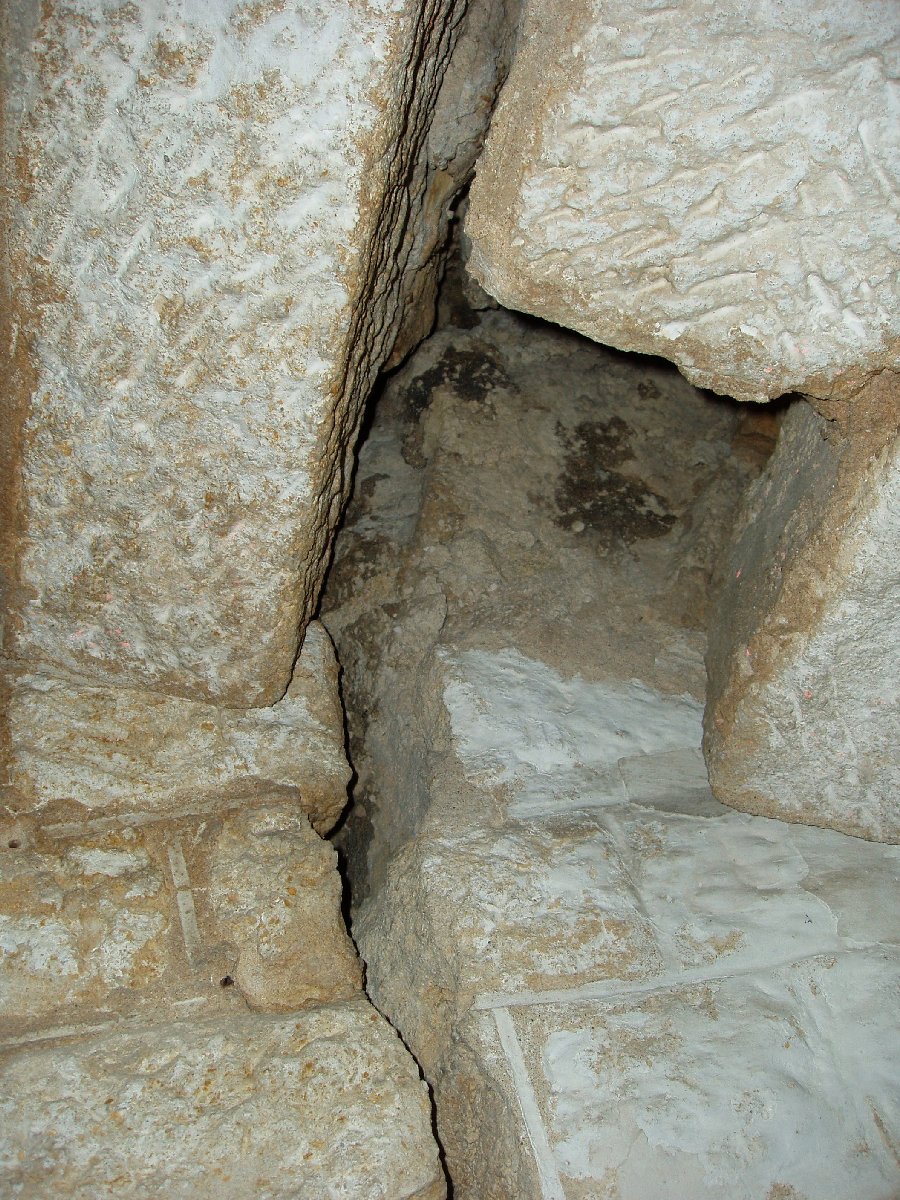
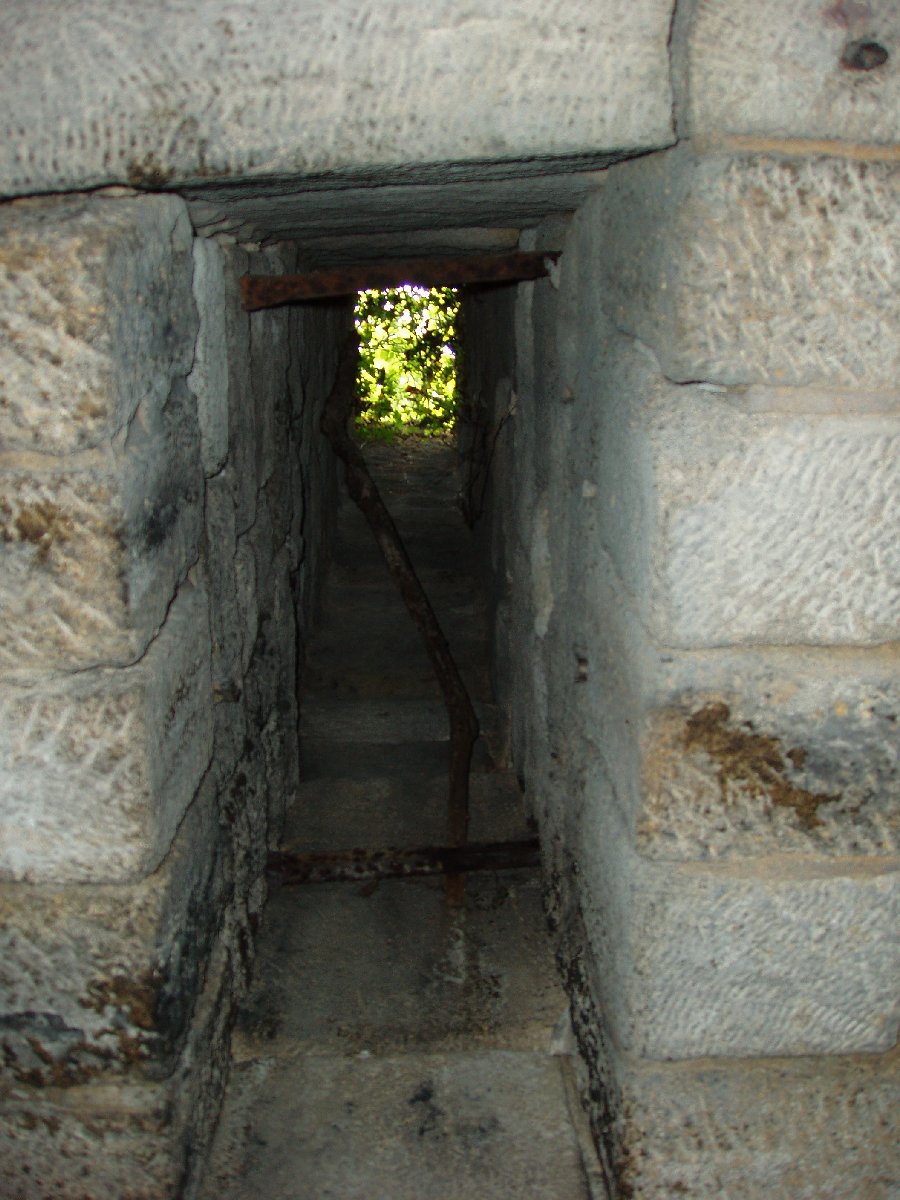
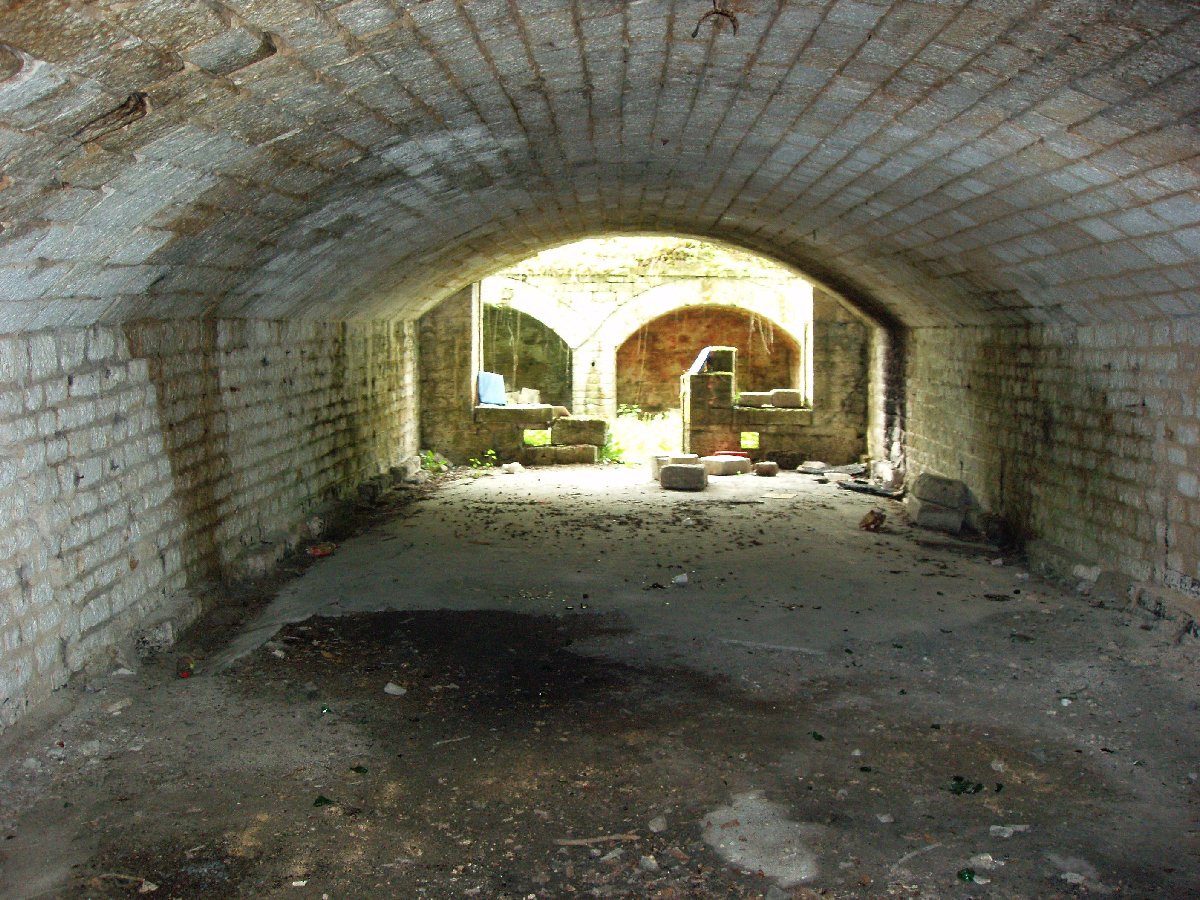
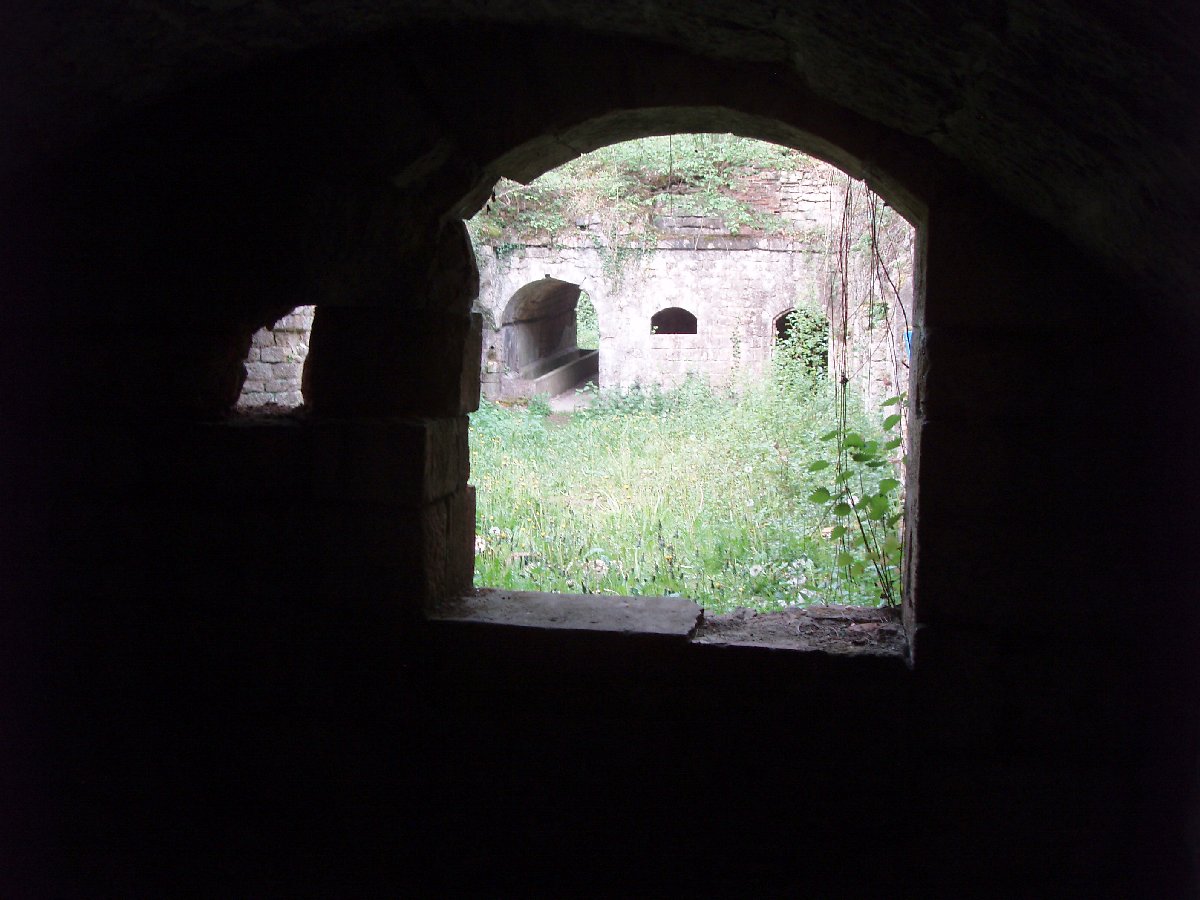
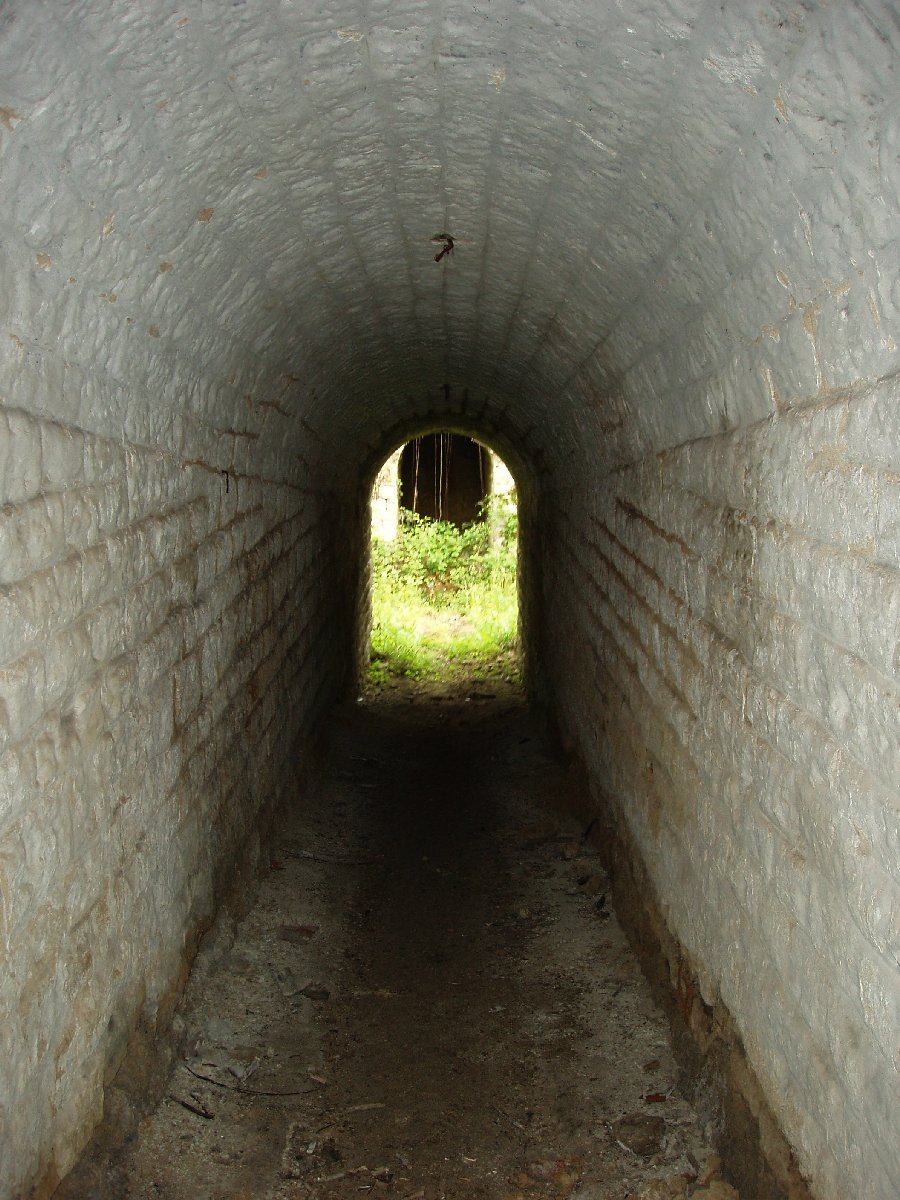
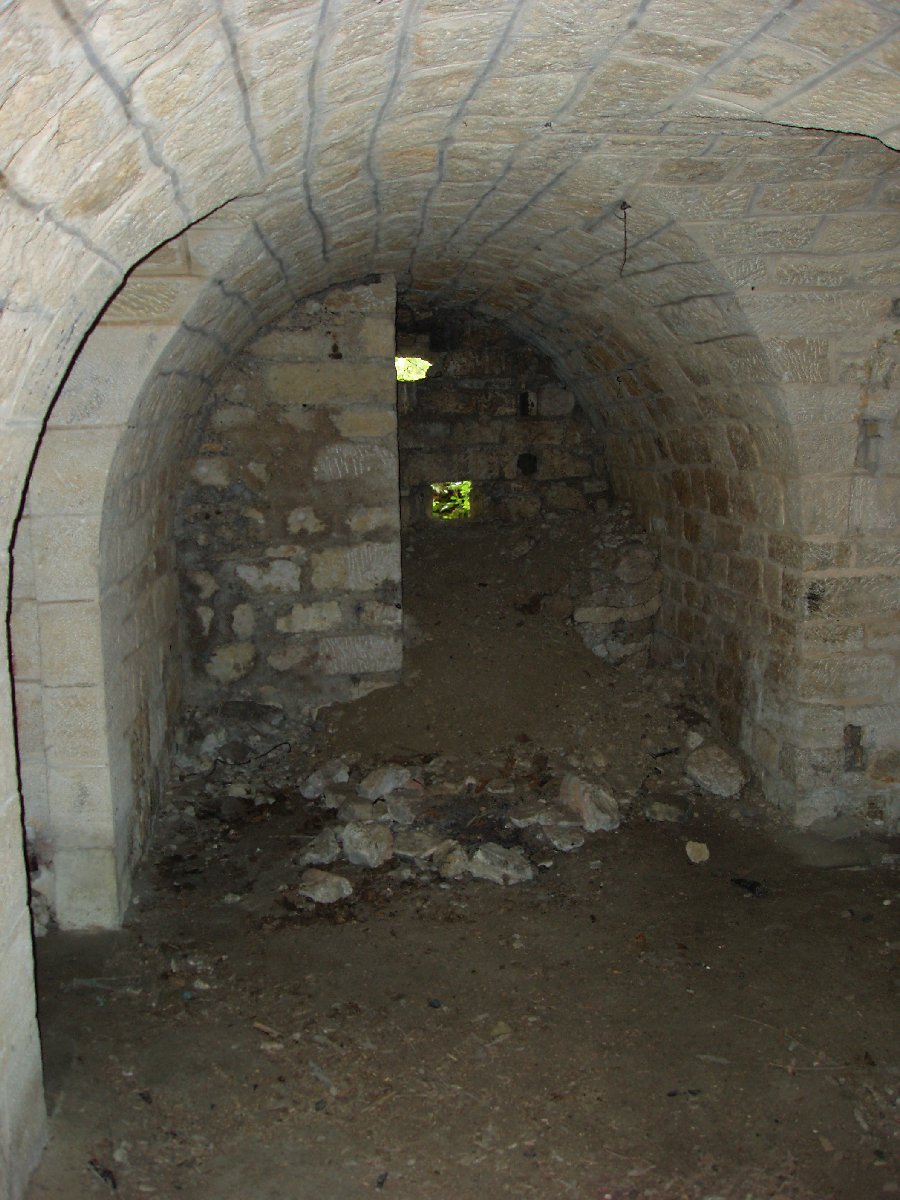
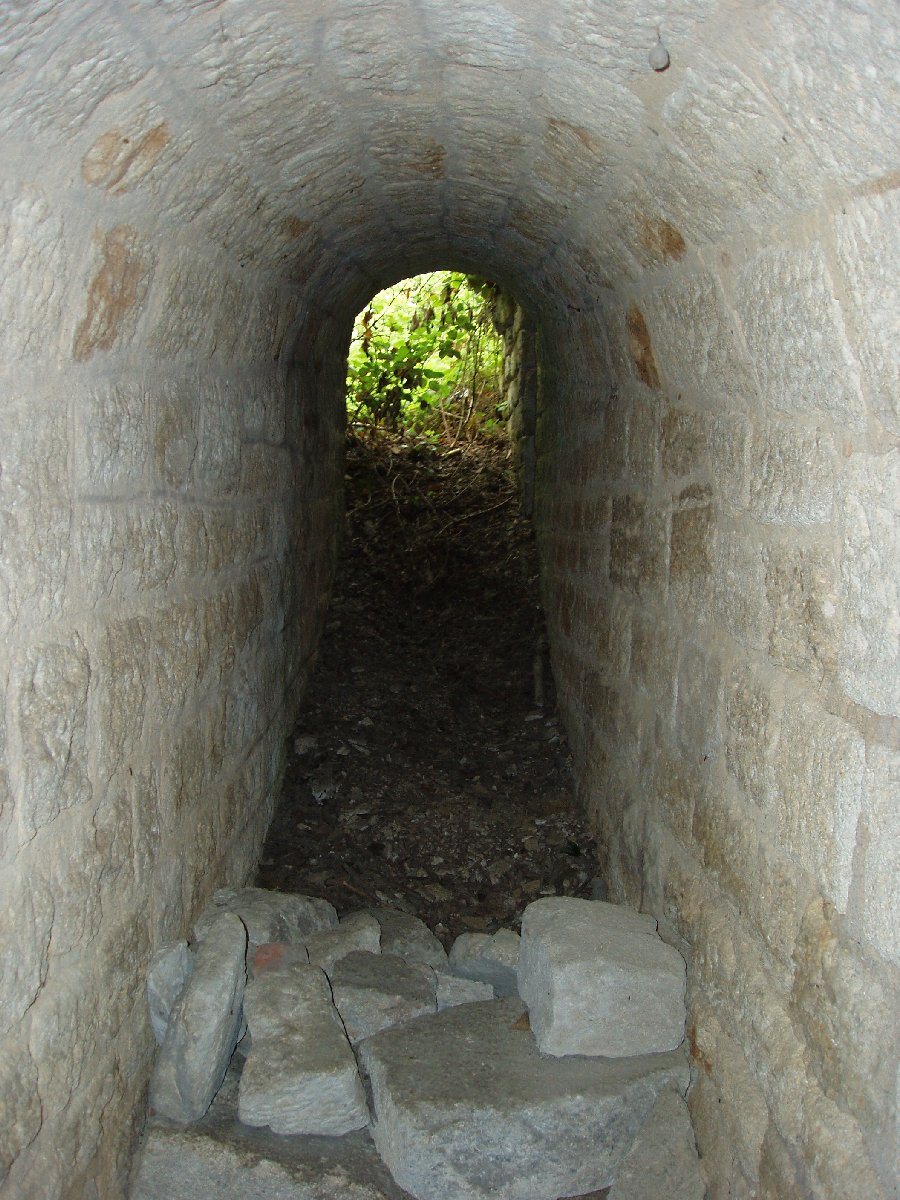
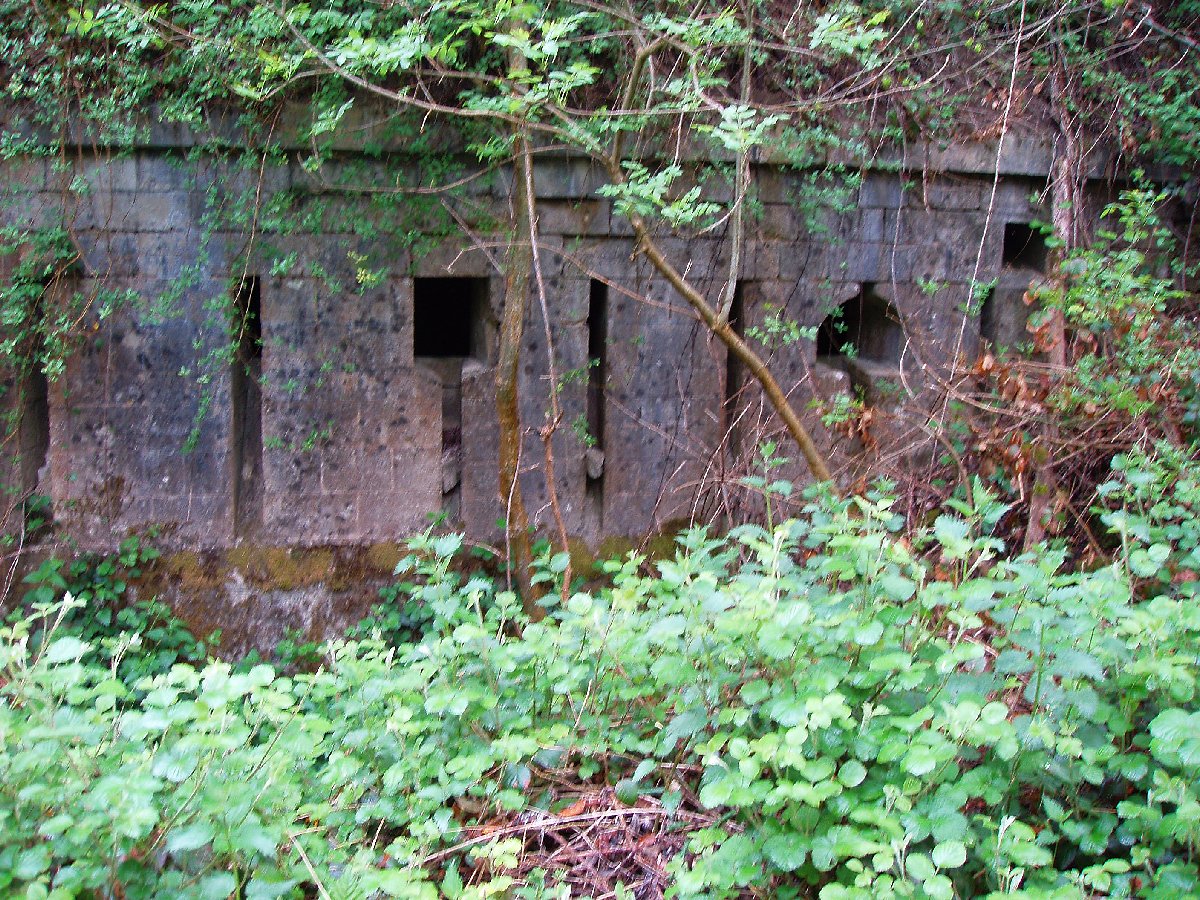
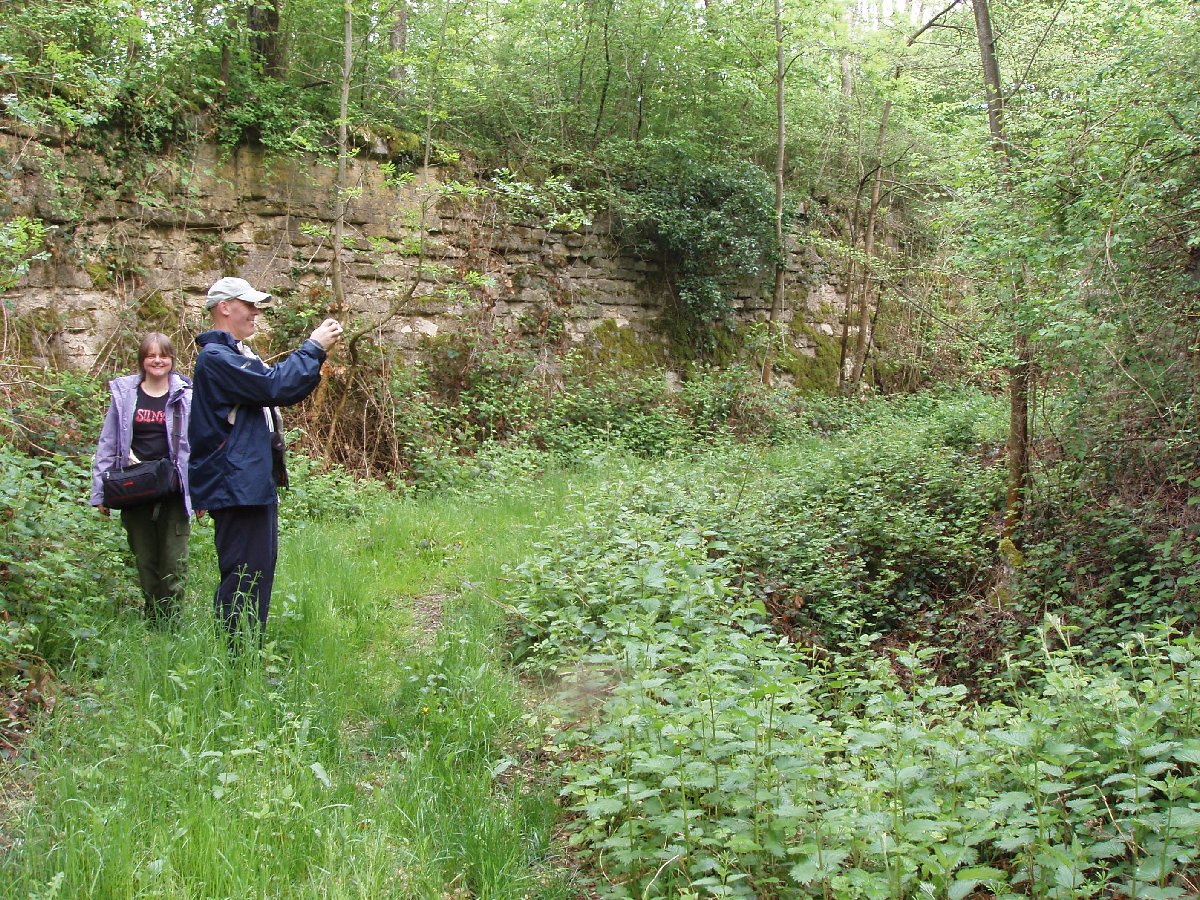
Fort Belleville was one of the six "Forts de la Panique" - literally Panic Forts - built in great haste in 1874 when diplomatic relations between Germany and France again deteriorated to the point where it was expected that another war was imminent. It's location is on a hill close to, and overlooking the city. At the time of it's construction it was not actually designated a fort, rather it was a large gun battery with parapets for infantry to defend the guns, and masonry shelters to protect the infantry during heavy bombardments. The shelters featured an unusual double "skin" construction with an air gap between the masonry layers to allow the blast from a penetrating artillery shell to dissipate without breaching the inner "skin". Unlike many of the Verdun forts Belleville did not have any armoured artillery, machine gun or observation turrets.

The fort today is very heavily damaged and the devastating effects on the structure of the heavy German artillery pieces such as their 420 mm howitzers, can be clearly seen. Penetration of the fort is possible and it is relatively easy to get a good idea of the fort layout. Great care should be taken when wandering around on top of the fort as there is nothing to prevent a serious fall into the fort interior and with the long undergrowth it is treacherously slippery. The glacis of the fort is very overgrown as is the ditch.

Here are some photographs taken at the fort in May 2011. To view any of the photographs in a larger format just click the small photograph of your choice and a larger version will open in a secondary window.

The path through the undergrowth leads to an outer wall surrounding the fort proper...

An inner earth covered gatehouse then gives access to a drawbridge pit and the fort's inner gate...

Firing ports allowed the gate guards to fire on anyone attempting to storm the inner gate through the moat...

Part of the gate house area...


Tracy looking immensely pleased because we have just got into our first fort of this trip!

Looking back across the entrance enclosure towards the outer walls from inside the gatehouse. The drawbridge pit can be seen however the bridge is long gone...

Looking out of a infantry firing port into the moat...

TJ in a tunnel! This is the main corridor running into the fort interior from the gate house...

Inside the fort proper. The arches lead through into sheltered accommodation areas for the fort's garrison...


The upper surface of the fort is littered with pits, holes and such like and with the heavy undergrowth it is treacherous. This is a chimney or ventilation shaft...

The risk of falling into the fort's courtyard is very real and the height is appreciable...

A vaulted stone door way into part of the fort...


Interior masonry work...

Part of the double "skin" masonry arrangement around an accommodation block. Designed to disperse the blast of a penetrating shell before it can rupture the inner wall...


Accommodation blocks or storage areas. A long trough can be seen to the right of the photograph running through the tunnel there...

A large shell crater. It is not easy to see the scale of destruction in this photograph but this crater was several feet deep and the ceiling of the chamber below was seriously damaged...

The location of these shelters would suggest they are for artillery crews to avoid counter battery fire...

From the inside looking out...

The large trough running through this corridor could be a latrine or  possibly for washing. It is not a horse trough - the narrowness of the corridor would prevent more than one horse at a time being led through to drink...


The doorway to the right of the picture leads into a small room, which is possibly the fort commandant's office or the like.

Roof fall in a corridor leading off towards the outer, rear wall of the fort...


Serious damage to the wall and roof of this accommodation block marries up with the large shell crater shown previously...

Fracturing of the wall and ceiling in the chamber...

Chimney or ventilation shaft leading up to the top of the fort...


Deep within an accommodation block...


A further shelter at 90 degrees to the axis of the main accommodation blocks with a firing port to cover the courtyard in case the defences are breached...

A narrow tunnel leads into the forward wall of the fort and the fighting scarp galleries for the infantry to defend against enemy who have gained access to the moat...


Within the scarp galleries proper...


Deep shelter under the forward area of the fort...

A narrow tunnel leads up into the forward sector of the moat to allow the defending infantry to sally forth to mop up any remaining enemy after having been engaged by the scarp galleries...

Detail of the scarp gallery firing ports...

Click above to navigate back to the

Verdun forts main page once more...

Within the moat...